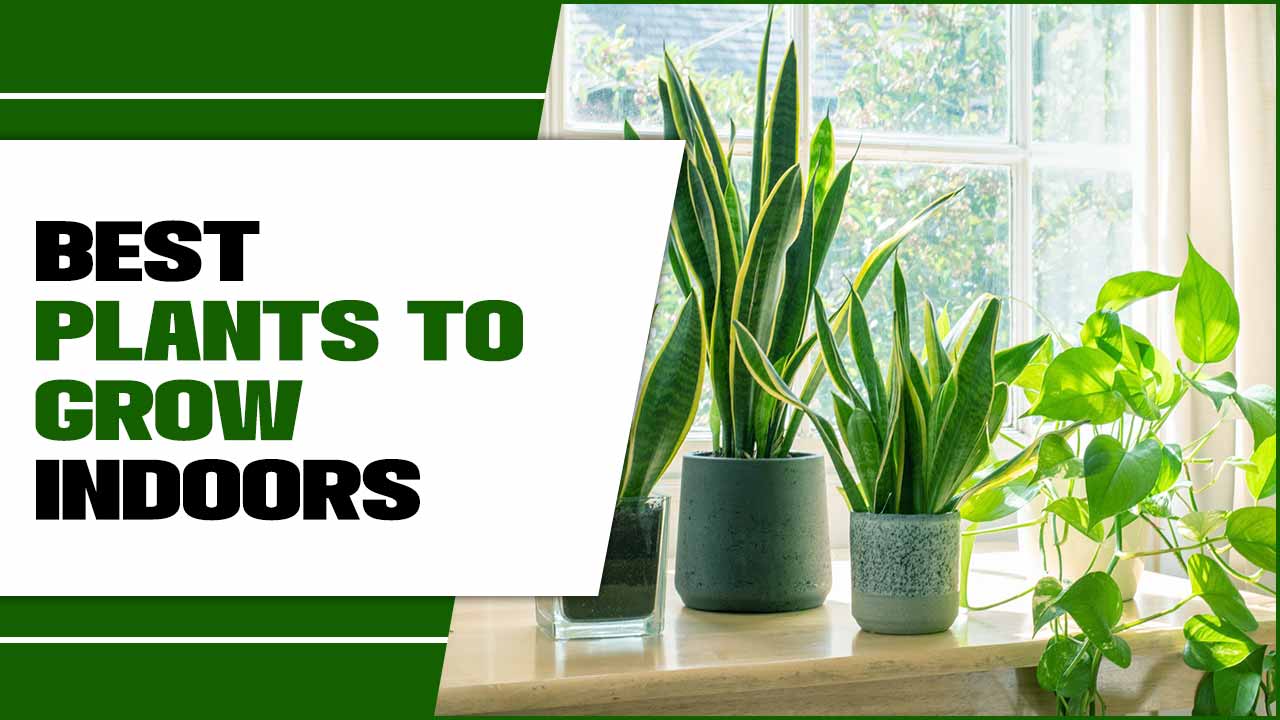
Corn Plant Care Summary: Provide bright, indirect light, water thoroughly when the top inch of soil is dry, use well-draining potting mix, and maintain average room humidity. Avoid overwatering and direct sun to keep your Corn Plant thriving indoors.
Welcome, fellow plant lovers! Are you a bit unsure about keeping your leafy green friends happy and healthy inside your home? You’re not alone! Many of us admire the elegant, tree-like silhouette of the Corn Plant (Dracaena fragrans) and dream of adding its tropical charm to our living spaces. But then the worry sets in: is it tricky to care for? What if I do something wrong? I’m here to tell you that with a few simple tips, nurturing a Corn Plant indoors can be incredibly rewarding and surprisingly easy. This guide will walk you through everything you need to know, turning any uncertainty into confident green thumb energy!
Why Choose a Corn Plant for Your Indoor Oasis?
The Corn Plant, scientifically known as Dracaena fragrans, is a fantastic choice for indoor gardeners, especially beginners. It’s a hardy plant known for its lush, sword-like leaves that often have beautiful green stripes, sometimes with yellow or creamy edges, reminiscent of — you guessed it — corn stalks. Beyond its attractive appearance, the Corn Plant is renowned for its air-purifying qualities, helping to remove common indoor toxins like formaldehyde and benzene from your air (Houseplants411). Its stately growth adds a touch of elegance to any room, from a sunny living area to a dimmer corner of an office. It’s resilient, forgiving, and doesn’t demand constant attention, making it an ideal companion for busy lifestyles or for those just starting their plant journey.
Understanding the Corn Plant’s Needs
To keep your Corn Plant happy and looking its best, we need to understand what it loves most. Think of it like giving a new friend a tour of your home – you want to show them their favorite spots and explain any house rules! For the Corn Plant, these “rules” are all about light, water, soil, and temperature.
1. Light: Finding the Sweet Spot
Corn Plants are native to tropical African forests, where they grow under the canopy of larger trees. This means they prefer bright, but indirect light. Think of it as dappled sunlight filtering through leaves.
- Ideal Placement: Place your Corn Plant near an east-facing window where it can receive gentle morning sun. A south or west-facing window can also work, but you’ll need to position the plant a few feet away from the window or use a sheer curtain to diffuse the strong afternoon sun.
- Signs of Too Little Light: If your plant’s leaves start to look pale, dull, or if new growth seems leggy and stretched out, it might not be getting enough light.
- Signs of Too Much Light: Direct, intense sunlight can scorch the leaves, causing brown, crispy patches. If you see these, the plant is likely getting too much direct sun.
Consistency in light is key. While they can tolerate lower light conditions for a while, their growth will be slower, and the vibrant coloring on their leaves might fade. Aim for that bright, indirect sweet spot for the best results.
2. Watering: The Art of Not Drowning!
Watering is often where new plant parents get a little nervous. The most common mistake with Corn Plants is overwatering, which can lead to root rot. The key is to let the soil dry out slightly between waterings.
- The Finger Test: The best way to know when it’s time to water is to stick your finger about 1-2 inches into the soil. If it feels dry, it’s time to water. If it still feels moist, wait a few more days and check again.
- Watering Technique: When you do water, water thoroughly until you see water draining from the bottom of the pot. This ensures that all the roots get a good drink.
- Drainage is Crucial: Always use a pot with drainage holes! This is non-negotiable for preventing waterlogged soil.
- Frequency: In general, you might water your Corn Plant every 1-2 weeks, but this can vary greatly depending on the season, humidity, and light in your home. It’s always better to check the soil than to stick to a rigid schedule.
- Water Quality: Corn Plants can be sensitive to chemicals in tap water, such as fluoride and chlorine. If you notice brown tips on the leaves, consider using filtered water, distilled water, or letting your tap water sit out overnight before using it. This allows some of the volatile chemicals to dissipate.
Remember, a thirsty Corn Plant will droop its leaves, but it can usually bounce back with a good watering. A waterlogged one can suffer from much more serious problems.
3. Soil Requirements: Giving Roots a Comfy Home
Just like we need the right foundation, plants need the right soil to thrive!
- Well-Draining Mix: The most important characteristic of Corn Plant soil is that it drains well. A standard, good-quality potting mix is a great starting point.
- Improving Drainage: To further enhance drainage, you can amend your potting mix with perlite or coarse sand. A good DIY mix could be 2 parts potting soil, 1 part perlite, and 1 part peat moss or coco coir.
- Avoid Compacted Soil: Over time, soil can become compacted. This is another reason why using a well-aerated mix and repotting when necessary is important.
- Indicator of Needing Repotting: If water drains very slowly, or if roots are consistently poking out of the drainage holes, it might be time for a new pot with fresh soil.
You can find excellent indoor potting mixes at your local garden center. Look for ones specifically designed for houseplants or tropical plants.
4. Temperature and Humidity: Mimicking the Tropics
Corn Plants hail from warm, humid climates, so they appreciate similar conditions indoors.
- Temperature: They are happy in average room temperatures, ideally between 65-75°F (18-24°C). They can tolerate slightly cooler temperatures down to about 60°F (15°C), but avoid prolonged exposure to cold drafts or temperatures below 50°F (10°C).
- Humidity: While they appreciate humidity, Corn Plants are generally tolerant of average household humidity levels. However, if your home is particularly dry, especially during winter months when heating systems are on, you might notice brown leaf tips.
Boosting Humidity (If Needed):
- Misting: Lightly misting the leaves occasionally can help, though this is a temporary fix.
- Pebble Tray: Place the pot on a pebble tray filled with water. As the water evaporates, it increases humidity around the plant. Make sure the bottom of the pot isn’t sitting directly in the water.
- Grouping Plants: Placing your Corn Plant with other houseplants can create a mini humid microclimate.
- Humidifier: For drier environments, consider using a room humidifier. This is often the most effective way to consistently raise humidity levels.
Keeping your Corn Plant in a consistent, comfortable temperature range without extreme fluctuations will help it flourish.
Feeding Your Corn Plant: A Little Goes a Long Way
Corn Plants aren’t heavy feeders, but a little nutrition during their active growing season can help them maintain their vibrant foliage and robust growth.
- When to Fertilize: Feed your plant during the spring and summer months when it’s actively growing. Avoid fertilizing during the fall and winter when growth naturally slows down.
- Type of Fertilizer: Use a balanced liquid houseplant fertilizer. Look for one with a N-P-K ratio (Nitrogen-Phosphorus-Potassium) around 10-10-10 or 20-20-20.
- Dilution is Key: Always dilute the fertilizer according to the package instructions. In fact, using it at half the recommended strength is often sufficient and can prevent over-fertilization, which can damage the roots.
- Frequency: Fertilize about once a month during the growing season.
- Over-fertilization Signs: Watch for signs like yellowing leaves (different from underwatering), leaf tip burn, or a crust of fertilizer salts on the soil surface. If you suspect over-fertilization, flush the soil with plain water and hold off on feeding for a few months.
A healthy feeding routine ensures your Corn Plant has the energy to produce those beautiful glossy leaves it’s known for.
Pruning and Maintenance: Keeping it Tidy
Pruning your Corn Plant is mostly about aesthetics and maintaining its shape, but it also helps encourage bushier growth and remove any unsightly parts.
- When to Prune: You can prune your Corn Plant any time it starts to look leggy, has dead or damaged leaves, or when it outgrows its space. The active growing season (spring/summer) is ideal for more significant pruning.
- How to Prune:
- Removing Yellow Leaves: Simply snip off yellowing or browning leaves at their base with clean, sharp scissors or pruning shears.
- Controlling Height: If the plant gets too tall, you can cut the main stem an inch or two above a leaf node. New shoots will emerge from just below the cut, often resulting in a bushier plant.
- Encouraging Branching: To encourage a fuller, bushier plant, you can prune multiple stems at different heights.
- Cleaning Leaves: Dust can accumulate on the broad leaves, blocking sunlight and making the plant look dull. Gently wipe down the leaves with a soft, damp cloth every few weeks. This also allows you to inspect the plant for any pests.
Regular maintenance ensures your Corn Plant remains a beautiful focal point in your home.
Repotting Your Corn Plant: Giving it Room to Grow
As your Corn Plant matures, it will eventually need more space for its roots to grow. This is called repotting.
- When to Repot: Generally, repot every 2-3 years, or when you notice signs that the plant is root-bound. Common signs include:
- Roots growing out of the drainage holes.
- Water draining very quickly through the pot without soaking the soil.
- Growth has stalled significantly.
- The plant dries out unusually fast.
- Choosing a New Pot: Select a new pot that is only 1-2 inches larger in diameter than the current one. A pot that is too large can hold too much moisture, leading to root rot. Ensure the new pot has drainage holes.
- The Repotting Process:
- Gently remove the Corn Plant from its current pot. You might need to tap the sides of the pot or run a knife around the edge if it’s stuck.
- Inspect the roots. If they are tightly coiled and circling the pot (root-bound), you can gently loosen them with your fingers. Trim away any dead or mushy roots with clean shears.
- Add a layer of fresh, well-draining potting mix to the bottom of the new pot.
- Place the Corn Plant in the new pot, ensuring the top of the root ball is about an inch below the rim of the pot.
- Fill in the gaps around the root ball with fresh potting mix, gently firming it down.
- Water the plant thoroughly after repotting and place it back in its usual spot.
- Post-Repotting Care: Avoid fertilizing immediately after repotting, as the disturbed roots need time to recover. Resume your regular feeding schedule in about 4-6 weeks.
Repotting at the right time gives your Corn Plant the best chance to continue its healthy growth cycle.
Common Pests and Problems
While Corn Plants are relatively pest-resistant, they can occasionally face minor issues. Early detection and treatment are key!
Common Pests:
- Spider Mites: Tiny pests that create fine webbing and can cause stippling (tiny white spots) on leaves. They thrive in dry conditions.
- Mealybugs: Small, white, cottony insects that cluster on stems and the undersides of leaves.
- Scale: Small, brown, or tan bumps that stick firmly to stems and leaves.
What to Do:
- Isolation: If you spot any pests, first isolate the affected plant to prevent them from spreading to other houseplants.
- Wipe Them Off: For minor infestations, you can often wipe pests off with a damp cloth or cotton swab dipped in rubbing alcohol.
- Horticultural Oil or Insecticidal Soap: For more persistent pests, use a horticultural oil or insecticidal soap. Follow product instructions carefully, and always test on a small area of the plant first.
- Neem Oil: A popular natural option that is effective against many common houseplant pests.
Common Problems & Solutions:
| Problem | Cause | Solution |
|---|---|---|
| Brown Leaf Tips/Edges | Low humidity, fluoride/chlorine in water, inconsistent watering, or over-fertilization. | Increase humidity, use filtered/distilled water, water consistently, check fertilizer. |
| Yellowing Leaves | Overwatering (most common), underwatering, or nutrient deficiency. | Check soil moisture before watering. If overwatered, allow to dry out. If underwatered, water thoroughly. Fertilize if deficient. |
| Drooping Leaves | Underwatering or overwatering. | Check soil moisture. If dry, water. If moist, let it dry out and check for root rot. |
| Leaf Spots | Fungal infection (often from overwatering or poor air circulation) or over-fertilization. | Improve air circulation, avoid wetting foliage when watering, ensure good drainage, reduce fertilizer. |
Keeping an eye on your plant and addressing issues early will help maintain its health and beauty.
Can Corn Plants Bloom Indoors?
Yes, Corn Plants can bloom indoors, but it’s not very common and usually requires very mature plants and optimal conditions. When they do bloom, they produce fragrant, small, white flowers that grow in clusters. The scent is often described as sweet and spicy, which is where the species name fragrans comes from. Don’t be disappointed if yours never blooms – it’s a bonus, not a requirement for a healthy plant. The plant’s lush foliage is its primary ornamental feature indoors.
Corn Plant Propagation: Sharing the Green Love
Want more Corn Plants? They are quite easy to propagate, making it simple to share with friends or expand your own collection. The most common methods are stem cuttings and air layering.
Method 1: Stem Cuttings
This is the most straightforward method for beginners.
- Take Cuttings: Using clean, sharp scissors or a knife, cut a section of stem about 4-6 inches long. It should have at least two leaf nodes (where leaves attach to the stem). You can also use sections of the main trunk if the plant has grown tall.
- Prepare Cuttings: Remove the lower leaves from the cutting, leaving only a couple at the top.
- Rooting Medium: You have two main options:
- Water: Place the cuttings in a jar or vase filled with water. Ensure the leaf nodes are submerged. Change the water every few days to keep it fresh.
- Potting Mix: Dip the cut end into rooting hormone (optional, but can speed up rooting) and then plant it in a pot filled with moist, well-draining potting mix.
- Provide Conditions: Place the cuttings in a warm spot with bright, indirect light.
- Patience: Roots typically form in 2-6 weeks in water, and slightly longer in soil. You’ll know they are ready to be planted in their own pots (if rooting in water) when the roots are at least an inch long.
Method 2: Air Layering
This method is a bit more involved but often results in a healthier, faster-growing new plant because it roots while still attached to the parent plant.
- Choose a Stem: Select a healthy stem on the parent plant that is at least 6 inches long.
- Make an Incision: About a foot down from the top of the stem, make a shallow, upward-slanting cut about


