Quick Summary
Growing a thriving indoor rosemary plant is simple with optimal light, well-draining soil, and mindful watering. Provide at least 6-8 hours of sunlight daily, water only when the soil is dry to the touch, and ensure good air circulation to prevent common issues.
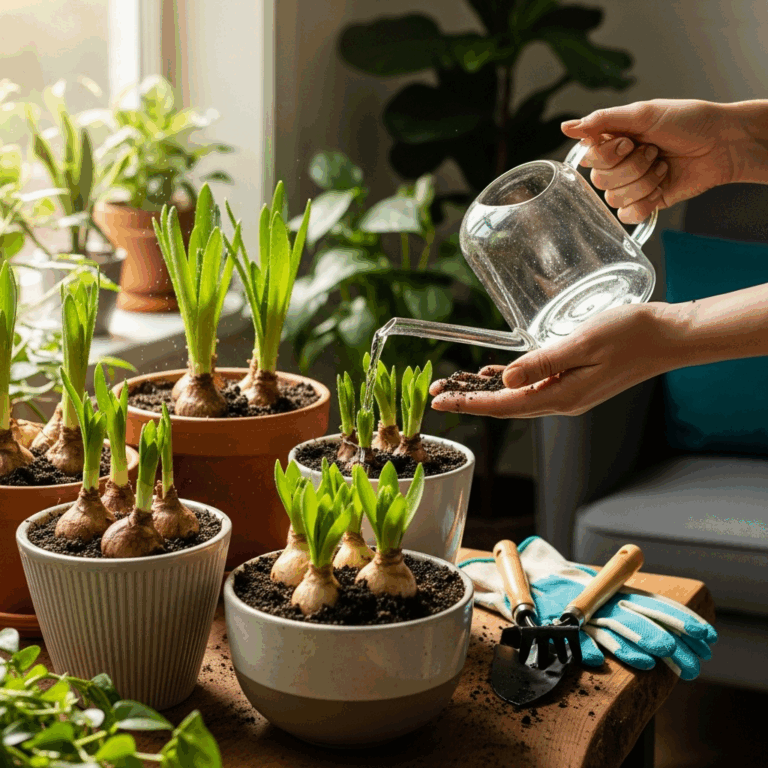
Welcome to EcoPatchy! Many of us love the scent and flavor of fresh rosemary, but keeping it alive indoors can feel like a puzzle. Don’t worry, it’s totally achievable! Rosemary is a forgiving herb if you give it what it loves. Too much water? Too little sun? We’ve all been there. This guide breaks down exactly how to care for your indoor rosemary plant, making sure it flourishes beautifully.
We’ll walk through everything you need to know, from picking the right spot to keeping pests away. By the end, you’ll have a happy, healthy rosemary plant ready to spice up your cooking or simply bring a lovely aroma to your home. Let’s get started on this green journey together!
Understanding Rosemary’s Needs: Sunshine and Thirst
Rosemary (Rosmarinus officinalis) is a Mediterranean native, which means it’s used to warm, dry conditions and lots of sunshine. This is the most crucial piece of information when you’re trying to care for an indoor rosemary plant. Replicating its natural habitat as closely as possible indoors is key to its success.
Indoor environments can be tricky because light levels and humidity often differ greatly from where rosemary thrives outdoors. Understanding these needs will help you avoid common pitfalls and create a happy home for your fragrant herb.
Light Requirements: The More, The Merrier!
Rosemary absolutely adores sunlight. When you’re figuring out where to place your indoor rosemary plant, think “sunniest spot available.” Direct sunlight is best for keeping it compact and fragrant.
- Ideal Scenario: A south-facing window that receives at least 6-8 hours of direct sunlight per day is perfect.
- If You Don’t Have Enough Sun: Don’t despair! You can supplement with a grow light. Look for full-spectrum LED grow lights specifically designed for plants. A simple grow light can make a huge difference, especially during the dark winter months. You can find great options on sites like GrowOrganic.com, which offers helpful information on choosing the right lights for vegetable and herb growing.
- Signs of Not Enough Light: Leggy growth (long, thin stems with few leaves), pale green leaves, and a general lack of aroma are all indicators that your rosemary isn’t getting enough sun.
Watering Wisdom: When Dry, Then Water
This is where many beginners go wrong. Rosemary prefers to dry out between waterings. It absolutely hates sitting in soggy soil, which can lead to root rot, a common killer of indoor herbs.
- The Finger Test: The best way to know when to water is to stick your finger about an inch or two into the soil. If it feels dry, it’s time to water. If you feel any moisture, wait a little longer.
- Water Thoroughly: When you do water, water deeply until you see water draining from the bottom of the pot. This ensures all the roots get a good drink.
- Empty Saucers: Always empty any excess water that collects in the saucer beneath the pot. Never let the plant sit in standing water.
- Adjust Based on Environment: You’ll likely need to water less in cooler, less humid months and more in warmer, drier summer conditions. Pay attention to your plant and its environment!
Soil and Potting: Drainage is King
The right soil mix and pot are crucial for preventing waterlogged roots. Rosemary needs excellent drainage.
- Potting Mix: Use a well-draining potting mix. A good quality potting soil amended with perlite or coarse sand works very well. You can also find specialized cactus or succulent mixes that offer superior drainage.
- Pot Type: Terracotta pots are excellent for rosemary because they are porous, allowing excess moisture to evaporate through the sides of the pot, which helps the soil dry out more evenly.
- Drainage Holes: Ensure your pot has drainage holes! This is non-negotiable. If a pot you love doesn’t have holes, you’ll need to drill them or add a layer of rocks at the bottom (though drainage holes are far superior).
- Repotting: Rosemary plants don’t need constant repotting. Only repot when the plant becomes root-bound, meaning the roots are circling tightly around the inside of the pot. This usually happens every 2-3 years. Choose a pot that is only 1-2 inches larger in diameter than the current one.
Temperature, Humidity, and Airflow
Rosemary thrives in conditions that mimic its native Mediterranean climate: warm days, cooler nights, and good air movement.
Temperature Preferences
Rosemary is quite adaptable when it comes to temperature, but it prefers conditions most of us find comfortable.
- Daytime: Ideal temperatures are between 65-80°F (18-27°C).
- Nighttime: A slight drop in temperature at night, around 50-60°F (10-15°C), is beneficial and can encourage stronger growth and scent.
- Avoid Extremes: Keep your rosemary away from drastic temperature fluctuations, such as direct blasts from heating vents or leaky windows in winter.
Humidity Matters
While rosemary prefers its soil to dry out, it does appreciate a bit of humidity in the air. Indoor heating can make the air very dry, especially in winter.
- Increase Humidity: You can increase humidity around your plant by:
- Placing the pot on a pebble tray filled with water. Make sure the bottom of the pot isn’t sitting directly in the water.
- Grouping plants together, as they release moisture through transpiration.
- Using a small humidifier near the plant.
- Watch for Signs of Dry Air: Crispy leaf edges can sometimes indicate low humidity, though it’s often a sign of too much direct sun or inconsistent watering too.
Crucial Air Circulation
Good airflow is vital for preventing fungal diseases and keeping pests at bay. Stagnant air can be detrimental to rosemary.
- Ventilation: Open windows occasionally, especially if you can do so without drastic temperature changes.
- Fans: A small oscillating fan on a low setting, run for a few hours a day, can greatly improve air circulation around your plant, especially in humid indoor environments.
- Spacing: Don’t crowd your rosemary plant with other houseplants. Give it some breathing room.
Feeding Your Rosemary Plant
Rosemary isn’t a heavy feeder, especially when grown in good quality potting mix. Over-fertilizing can lead to weak, leggy growth and reduced flavor. Less is often more.
When and How to Fertilize
- Growing Season: Fertilize sparingly during the active growing season, which is typically spring and summer.
- Frequency: Once every 4-6 weeks is usually sufficient.
- Type of Fertilizer: Use a balanced, water-soluble fertilizer diluted to half strength. A fertilizer formulated for herbs or vegetables is a good choice. You can also use a liquid seaweed or fish emulsion.
- Dormant Season: Do not fertilize in fall or winter when the plant’s growth slows down.
- Application: Always water your rosemary thoroughly before fertilizing. This prevents the fertilizer salts from burning the roots.
Pruning and Harvesting: Keeping it Productive
Regular pruning not only encourages bushier growth but also provides you with delicious rosemary for your kitchen!
Pruning Techniques
- Encourage Bushiness: When your rosemary plant is young, pinch back the tips of the stems. This encourages side shoots and makes the plant fuller.
- Maintain Shape: As the plant matures, prune stems to maintain a desired shape. Cut back any leggy or overgrown stems by about one-third, always making cuts just above a set of leaves.
- Remove Dead Growth: Regularly inspect your plant and remove any dead, yellowing, or diseased stems. This helps maintain plant health and prevents the spread of potential problems.
- Timing: You can prune lightly throughout the year, but heavier pruning is best done in the spring when the plant is actively growing. Avoid pruning heavily in late fall or winter.
Table: When to Prune Your Rosemary Plant
| Season | Pruning Intensity | Purpose | Notes |
| :——– | :—————- | :—————————————————– | :————————————————————- |
| Spring | Light to Moderate | Encourage new growth, shape plant, harvest for use | Best time for overall pruning; plant is actively growing. |
| Summer | Light | Harvest for use; trim leggy stems | Continue harvesting; maintain shape. |
| Autumn | Very Light | Remove any diseased or dead growth; harvest minimal amounts | Focus on plant health, avoid stimulating new growth before winter. |
| Winter | Very Light | Remove any dead or damaged stems | Plant is dormant; minimal intervention needed. |
Harvesting Your Rosemary
- Best Time to Harvest: Harvest in the morning after the dew has dried but before the heat of the day. This is when the essential oils are most concentrated, giving the best flavor and aroma.
- How to Harvest: Use clean scissors or pruning shears to cut sprigs from the plant. Cut just above a leaf node. Harvest sprigs that are 4-6 inches long for convenient culinary use.
- Don’t Over-Harvest: Never remove more than one-third of the plant at any one time. This allows it to recover and continue growing.
- Using Fresh: Fresh rosemary can be stripped from the woody stem and used in countless dishes.
- Drying or Freezing: You can also dry harvested sprigs by bundling them and hanging them in a cool, dark, well-ventilated place, or freeze them in ice cube trays with water or oil.
Common Problems and Solutions for Indoor Rosemary
Even with the best care, your indoor rosemary plant might encounter a few issues. Understanding these common problems and their solutions will empower you to keep your plant healthy.
Pests
Indoor plants can sometimes attract common houseplant pests. Rosemary is generally quite resistant, but it’s good to be vigilant.
- Aphids: Small, green, or black insects that cluster on new growth. They suck sap from the plant, weakening it.
- Solution: Often, a strong blast of water from a hose or showerhead can dislodge them. For persistent infestations, use insecticidal soap or neem oil. Follow product instructions carefully.
- Spider Mites: Tiny pests that create fine webbing on leaves and stems. They thrive in dry conditions.
- Solution: Increase humidity around the plant. Wipe leaves with a damp cloth. If severe, use insecticidal soap or horticultural oil.
- Whiteflies: Small, white, moth-like insects that fly up when disturbed.
- Solution: Yellow sticky traps can help catch adults. Insecticidal soap or neem oil are effective for nymphs.
Table: Common Rosemary Pests and Solutions
| Pest | Appearance | Signs on Plant | Solution Steps |
| :———— | :———————————————- | :——————————————————- | :——————————————————————————– |
| Aphids | Small, pear-shaped insects (green, black, etc.) | Curled leaves, sticky honeydew, sooty mold | Blast with water; Apply insecticidal soap or neem oil. |
| Spider Mites| Tiny, often red or brown; produce fine webbing | Stippling on leaves, yellowing, fine webs | Increase humidity; Wipe leaves; Apply horticultural oil or insecticidal soap. |
| Whiteflies| Small, white, flying insects | Yellowing leaves, sticky residue, tiny white specks | Yellow sticky traps; Apply insecticidal soap or neem oil. |
Diseases
Most diseases affecting rosemary are related to overwatering and poor air circulation.
- Root Rot: Caused by consistently wet soil, leading to fungal infection of the roots.
- Symptoms: Yellowing leaves, wilting even when soil is moist, mushy stems near the soil line, foul odor from the soil.
- Solution: This is serious and difficult to fully recover from. If caught early, repot the plant in fresh, well-draining soil, trimming away any rotten roots. Ensure proper watering and drainage. In severe cases, the plant may not be savable. Prevention is key!
- Powdery Mildew: A white, powdery coating on leaves and stems.
- Symptoms: White, powdery patches on leaves and stems. Can cause leaves to yellow and drop.
- Solution: Improve air circulation. Remove affected leaves. Treat with a fungicide or a solution of baking soda and water (1 teaspoon baking soda, 1/2 teaspoon liquid soap, 1 gallon water). Ensure good light.
Other Common Issues
- Yellowing Leaves: This can be a sign of overwatering, underwatering, or insufficient light. Check your watering habits and light exposure first.
- Browning Leaf Tips: Often indicates low humidity, especially in winter when heating systems are on. It can also be due to being root-bound or inconsistent watering.
- Leggy Growth: Stems becoming long and sparse with few leaves. This is almost always a sign of insufficient light. Move your plant to a sunnier spot or invest in a grow light.
Step-by-Step Guide to Repotting Your Rosemary
Repotting is essential for giving your rosemary plant room to grow and replenish its soil. While not frequent, it’s an important part of good care for indoor rosemary plants.
When to Repot
- When roots are visibly growing out of the drainage holes.
- When the plant appears to be drying out much faster than usual, indicating the pot is too small for the root system.
- When water runs straight through the pot without moistening the soil, suggesting the root ball is too dense.
- Generally, every 2-3 years, typically in spring.
What You’ll Need
- A new pot, 1-2 inches larger in diameter than the old one (terracotta is ideal).
- Fresh, well-draining potting mix (e.g., standard potting soil amended with perlite).
- Gardening gloves.
- A trowel or small shovel.
- Pruning shears (optional, for trimming roots).
The Repotting Process
- Prepare the New Pot: If using a terracotta pot, soak it in water for about an hour beforehand to prevent it from leaching moisture from the new soil too quickly. Ensure it has drainage holes. Add a small amount of new potting mix to the bottom of the new pot.
- Water the Rosemary: Water your rosemary plant thoroughly about 24 hours before you plan to repot. This helps the soil hold together around the roots during the transplanting process.
- Remove from Old Pot: Gently turn the pot on its side and ease the plant out. You might need to tap the sides of the pot or run a knife around the edge if it’s stuck. Be gentle with the roots!
- Inspect and Trim Roots: If the roots are tightly circling the pot (root-bound), gently loosen them with your fingers or a trowel. You can trim away about one-quarter of the root mass if it’s extremely dense, using clean pruning shears.
- Place in New Pot: Position the rosemary plant in the center of the new pot so that the top of the root ball is about an inch below the rim.
- Add New Soil: Fill in the gaps around the root ball with your fresh potting mix. Gently firm the soil with your hands or the trowel to eliminate large air pockets, but don’t compact it too tightly.
- Water Thoroughly: Water the newly repotted plant well. This helps settle the soil around the roots.
- Post-Repotting Care: Place the plant in its usual sunny location but avoid direct, intense sunlight for a day or two as it recovers. Do not fertilize for at least a month after repotting.
Frequently Asked Questions About Indoor Rosemary Care
Here are some common questions new rosemary growers have:
Q1: Why is my indoor rosemary plant dropping leaves?
A: Leaf drop can be caused by several factors. The most common are overwatering (leading to root rot) or underwatering. Insufficient light is also a frequent culprit, causing the plant to shed what it can’t support. Check your watering schedule and make sure it