Grow your own fresh vegetables indoors with these essential tips! This beginner-friendly guide breaks down how to grow an indoor vegetable garden, covering everything from choosing the right plants and containers to providing light, water, and nutrients for thriving green goodness right in your home.
Dreaming of biting into your own homegrown tomatoes, crisp lettuce, or fragrant herbs, even when the weather outside isn’t cooperating? Many people think an indoor vegetable garden is too tricky or requires a huge amount of space. It’s a common frustration to want fresh produce year-round but feel like you lack the room or the green thumb. The good news? Growing vegetables indoors is totally achievable, even for absolute beginners!
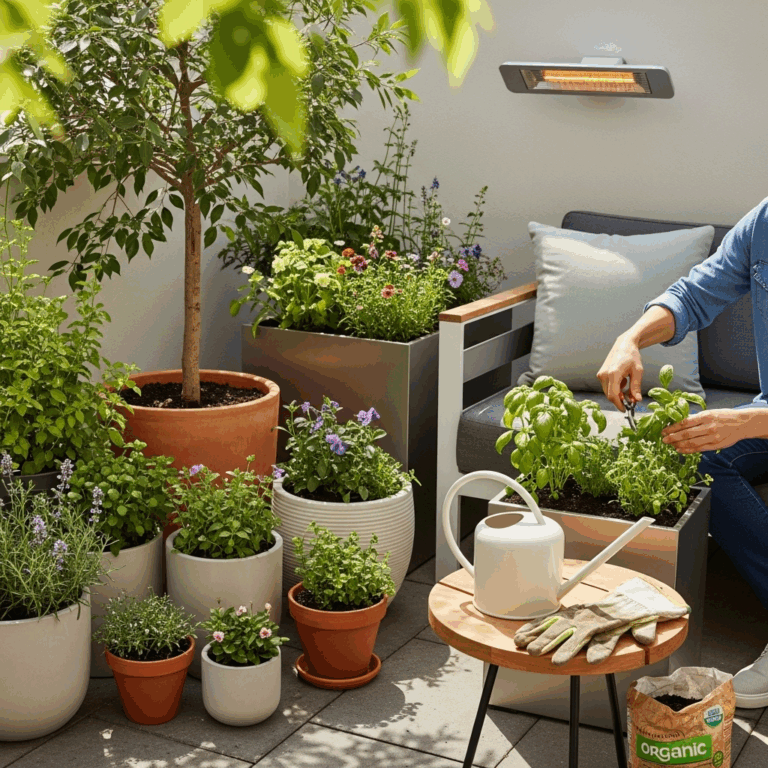
With a little planning and some simple techniques, you can transform a sunny windowsill or a small corner of your home into a productive little farm. We’ll walk you through everything you need to know, from picking the perfect spot to keeping your plants happy and healthy. Get ready to discover the joy of harvesting your own veggies steps from your kitchen!
Why Start an Indoor Vegetable Garden?
Bringing the garden inside offers a host of fantastic benefits, making it an attractive option for many of us. Imagine plucking fresh ingredients for your meals just moments before you cook them. This isn’t a far-fetched dream – it’s entirely possible with an indoor vegetable garden.
- Year-Round Freshness: The most obvious perk is access to fresh produce regardless of the season. No more waiting for spring or dealing with frost!
- Space Efficiency: You don’t need a sprawling backyard. A few pots on a windowsill or a vertical setup can yield a surprising amount of food.
- Control Over Growing Conditions: Inside, you can dictate the light, temperature, and watering, often leading to healthier plants and better harvests compared to unpredictable outdoor conditions.
- Reduced Pests and Diseases: Indoor environments generally have fewer pests and diseases, meaning less worry and fewer interventions needed.
- Educational and Rewarding: It’s a wonderful way to teach children about where food comes from and provides a deeply satisfying hobby for anyone.
- Eco-Conscious Living: Growing your own reduces food miles and packaging waste, contributing to a more sustainable lifestyle.
Choosing the Right Vegetables for Indoor Growing
Not all vegetables are created equal when it comes to indoor success. For beginners, it’s best to start with plants that are naturally compact, quick-growing, and don’t demand extreme conditions. Think of them as the easy wins in your indoor gardening adventure.
Top Beginner-Friendly Indoor Vegetables:
- Leafy Greens: Lettuce (loose-leaf varieties are best), spinach, arugula, kale, and Swiss chard all thrive indoors. They grow relatively quickly and don’t need a lot of deep soil.
- Herbs: Basil, mint, parsley, chives, cilantro, and oregano are superstars for indoor gardens. They are incredibly versatile in cooking and generally easy to care for.
- Radishes: These root vegetables mature very quickly—some varieties in as little as 3-4 weeks!
- Green Onions (Scallions): Easy to regrow from store-bought bunches or grow from seed.
- Bush Beans: Compact varieties of bush beans can produce a decent harvest in containers.
- Peppers (Smaller Varieties): Smaller chili peppers or sweet peppers can be grown indoors, though they might require more light and a longer growing season.
- Tomatoes (Dwarf or Determinate Varieties): Look for “micro” or “container” tomato varieties. They stay small and are bred for pots.
What to Avoid (Initially):
While seasoned indoor gardeners can grow a wider variety, it’s wise for beginners to steer clear of these initially:
- Large vining plants like cucumbers or large indeterminate tomatoes.
- Root vegetables that need a lot of depth, like carrots or potatoes (though small varieties of carrots can work).
- Plants that require extreme cold or heat, or very long growing seasons.
Setting Up Your Indoor Vegetable Garden: Essential Components
Creating the right environment is key to your indoor garden’s success. It’s like building a cozy home for your plants where they have everything they need to flourish.
1. The Right Location: Light is Life!
This is arguably the most crucial factor. Most vegetables need at least 6-8 hours of direct sunlight per day.
- Sunny Windowsills: South-facing windows are ideal in the Northern Hemisphere, as they receive the most direct sunlight throughout the day. East-facing windows get morning sun, and west-facing windows get afternoon sun, which can be hotter.
- Supplemental Lighting: If natural light is insufficient, you’ll need grow lights. LED grow lights are energy-efficient and come in various spectrums to support plant growth. Aim for full-spectrum lights that mimic natural sunlight. You can find great options for home use designed specifically for plant growth. For more on understanding light spectrums, the University of Wisconsin-Madison Extension offers excellent resources.
Tip: Rotate your plants regularly (e.g., a quarter turn every few days) so all sides get equal light exposure.
2. Choosing Containers: Happy Roots Need Space
The container you choose impacts drainage, soil aeration, and how much room your plant’s roots have to grow.
- Drainage Holes are Non-Negotiable: Ensure every pot has drainage holes at the bottom. This prevents waterlogging, which can lead to root rot – a fast killer of indoor plants.
- Material Matters: Terracotta pots breathe well but dry out faster. Plastic pots retain moisture longer. Fabric grow bags offer excellent aeration and drainage and are lightweight.
- Size Guide:
- Leafy Greens & Herbs: 4-6 inch pots or shallow trays (e.g., 12×8 inches for a mix of greens).
- Bush Beans, Small Peppers, Dwarf Tomatoes: 5-7 gallon containers (at least 10-12 inches in diameter and depth).
- Radishes, Green Onions: Similar to leafy greens, shallower containers are fine, as long as they are wide enough for multiple plants.
- Self-Watering Pots: These can be very helpful for busy gardeners or for maintaining consistent moisture levels.
3. The Perfect Potting Mix: Soil That Feeds
Don’t use garden soil! It compacts too easily in pots, hinders drainage, and may contain pathogens. Opt for a quality potting mix designed for containers.
- Key Ingredients: Look for mixes containing peat moss, coco coir, perlite, and vermiculite. These provide good drainage, aeration, and moisture retention.
- Enrichment: You can amend your potting mix with compost or worm castings for added nutrients, but start with a good base mix.
- DIY Mix (Optional): A common DIY blend is 1 part peat moss or coco coir, 1 part compost or worm castings, and 1 part perlite or vermiculite.
For commercially available mixes, brands like Espoma, FoxFarm, and Miracle-Gro offer good organic and conventional options. Always check the label to ensure it’s suitable for vegetables or containers.
Planting Your Indoor Garden: Seeds vs. Starts
You have two main ways to get your indoor garden growing: starting from seeds or buying young plants (starts).
Starting from Seeds:
This is often more economical and offers a wider variety of choices. It also provides the immense satisfaction of watching your plants grow from the very beginning.
Steps for Sowing Seeds Indoors:
- Fill Containers: Fill your chosen pots or seed trays with moist potting mix, leaving about an inch of space at the top.
- Sow Seeds: Read the seed packet carefully for planting depth and spacing instructions. As a general rule, sow seeds at a depth twice their diameter. For tiny seeds, you might just press them onto the surface of the soil.
- Water Gently: Mist the surface with water using a spray bottle to avoid dislodging the seeds.
- Provide Warmth: Most seeds germinate best in warm conditions. A heat mat can be beneficial, especially for slower-germinating varieties.
- Keep Moist: Cover the pots with a plastic dome or plastic wrap to retain humidity. Remove this once seedlings emerge.
- Provide Light: As soon as seeds sprout, they need light. Place them under grow lights or in your sunniest window.
Buying Young Plants (Starts):
This is a faster way to get your garden established, especially if you’re pressed for time or don’t have the ideal conditions for seed starting.
Tips for Choosing Healthy Starts:
- Look for plants with vibrant green leaves and no yellowing or spots.
- Avoid plants that are root-bound (roots circling tightly around the inside of the pot).
- Ensure the plants are not leggy or spindly – they should look sturdy.
- Check for any signs of pests.
Transplanting:
- Harden Off (if from a nursery with different conditions): If the plants have been in a greenhouse, gradually acclimate them to your home’s conditions over a week.
- Prepare the Pot: Fill your final container with potting mix.
- Remove Plant: Gently ease the plant from its nursery pot. If roots are tightly coiled, gently loosen the bottom ones.
- Plant: Place the plant in the new pot at the same depth it was in the original container.
- Water: Water thoroughly to help settle the soil and reduce transplant shock.
Caring for Your Indoor Vegetable Garden
Once your plants are in their new homes, consistent care will ensure they thrive and produce a bountiful harvest.
1. Watering: The Balancing Act
Overwatering and underwatering are common pitfalls. The goal is to keep the soil consistently moist but not waterlogged.
- Check the Soil: The best method is to stick your finger about an inch into the soil. If it feels dry, it’s time to water. If it feels moist, wait.
- Water Thoroughly: When you water, do so until water runs out of the drainage holes. This ensures the entire root ball gets hydrated.
- Empty Saucers: Don’t let pots sit in standing water, as this can lead to root rot. Empty the saucers about 15-30 minutes after watering.
- Water Quality: If your tap water is heavily chlorinated, let it sit out for 24 hours before using it, or use filtered water.
2. Light Requirements (Revisited):
As mentioned, light is critical. Most vegetables need 6-8 hours of direct light.
- Observe Your Plants: If leaves are yellowing or plants are stretching thinly towards the light (leggy), they need more light.
- Grow Light Details: For grow lights, follow the manufacturer’s recommendations for distance from plants. Typically, this is 6-12 inches, but it varies by light intensity and type. Set them on a timer for 12-16 hours a day to ensure consistent light exposure.
3. Feeding Your Plants: Nutrients for Growth
Potting mixes contain nutrients, but they get depleted over time, especially with frequent watering.
- Fertilizer Types:
- Liquid Fertilizers: These are easy to use and provide quick nutrient boosts. Look for balanced, water-soluble fertilizers for vegetables or herbs.
- Slow-Release Granules: These are mixed into the soil at planting or top-dressed, releasing nutrients gradually.
- Organic Options: Compost tea or diluted fish emulsion are excellent organic choices.
- Frequency: Generally, fertilize every 2-4 weeks during the growing season, following the product’s instructions. Over-fertilizing can harm plants, so it’s better to under-fertilize slightly than overdo it.
4. Air Circulation and Temperature:
Good airflow helps prevent fungal diseases and strengthens stems.
- Gentle Fan: A small, oscillating fan set on a low speed for a few hours a day can significantly improve air circulation. This is also great for building stronger stems.
- Temperature: Most vegetables prefer temperatures between 65-75°F (18-24°C). Avoid placing your garden near drafty windows, heating vents, or air conditioners that cause drastic temperature fluctuations.
Common Challenges and How to Overcome Them
Even with the best intentions, you might encounter a few hiccups. Don’t let them discourage you! Here are some common issues and how to solve them.
| Problem | Possible Cause | Solution |
|---|---|---|
| Yellowing Leaves | Overwatering, underwatering, nutrient deficiency, or insufficient light. | Check soil moisture. Adjust watering schedule. Fertilize if needed. Ensure adequate light. |
| Leggy Plants (Thin, Stretched Stems) | Insufficient light; plants are stretching to find more. | Move to a brighter location or increase grow light duration/intensity. Ensure lights are close enough. |
| Wilting Plant | Underwatering (most common), overwatering (roots are suffocating), sudden temperature change. | Check soil moisture. If dry, water thoroughly. If moist, check drainage and allow soil to dry slightly. |
| No Flowers or Fruit (on peppers/tomatoes) | Insufficient light, lack of pollination, or nutrient imbalance. | Increase light. “Pollinate” by gently shaking plants daily or using a soft brush to transfer pollen between flowers. Ensure plant is getting proper nutrients (balanced fertilizer, not too much nitrogen). |
| Pests (e.g., aphids, spider mites) | Introduction from other plants, inadequate air circulation. | Wipe or spray with soapy water. Use neem oil (organic pesticide). Improve air circulation. Isolate affected plants. |
Harvesting Your Indoor Bounty
This is the most rewarding part! Knowing when and how to harvest ensures you get the best flavor and encourages the plant to produce more.
When to Harvest:
- Leafy Greens: Harvest outer leaves as needed, or cut the entire plant 1-2 inches above the soil for a cut-and-come-again harvest. Your plants will regrow.
- Herbs: Snip stems as needed. Regular trimming encourages bushier growth.
- Radishes: Harvest when the tops of the roots are visible and about the size of a marble or slightly larger.
- Green Onions: Cut the green tops about an inch from the root. They will regrow.
- Fruiting Plants (Tomatoes, Peppers): Harvest when they reach mature size and color. Ripe tomatoes will yield slightly to gentle pressure. Peppers should be firm and well-colored.
How to Harvest:
- Use clean scissors or a sharp knife for a clean cut.
- For leafy greens, harvest the outermost leaves first.
- For herbs like basil, pinch or cut just above a leaf node to encourage branching.
Enjoying your homegrown produce is the ultimate prize! For more in-depth information on specific plant needs, the Royal Horticultural Society (RHS) offers a wealth of gardening knowledge.
Frequently Asked Questions (FAQs)
Q1: Can I really grow vegetables indoors without a lot of sun?
Yes! While many vegetables need a lot of light, you can succeed with indoor gardening by using artificial grow lights. LED grow lights are energy-efficient and effective for providing the spectrum of light plants need to grow, even in a windowless room.
Q2: What’s the easiest vegetable to grow indoors for a complete beginner?
Leafy greens like lettuce, spinach, and arugula, along with most herbs such as basil, mint, and parsley, are excellent choices for beginners. They grow relatively quickly, don’t require a lot of space, and are forgiving of minor care mistakes.
Q3: How often should I water my indoor vegetable plants?
There’s no set schedule, as it depends on your plant, container, and environment. The best method is to check the soil by sticking your finger about an inch deep. Water only when the top inch of soil feels dry. Always