Outdoor Command Strips for Vinyl Siding: A Proven Solution to Secure Holiday Lights and Decor Without Damage.
Tired of struggling with nails and screws that mar your beautiful vinyl siding? You’re not alone! Many of us want to deck out our homes for holidays or add charming decorative touches, but worry about damaging the exterior. The good news is there’s a simple, effective, and damage-free way: outdoor Command Strips specifically designed for vinyl siding. This guide will show you exactly how to use them like a pro.

Say Goodbye to Damaged Siding: The Magic of Outdoor Command Strips
As a fellow gardener and lover of a beautiful home, I understand how important it is to keep our exteriors looking their best. Those crisp autumn evenings and sparkling holiday lights are wonderful, but the thought of drilling holes into vinyl siding can be a real downer.
It’s not just about aesthetics; those holes can become weak points for water and pests. For years, people have debated the best ways to hang things outdoors. Some resort to unsightly wires, others risk paint chips with tape, and many give up altogether.

But what if I told you there’s a solution that’s incredibly strong, remarkably reliable, and leaves absolutely no trace behind? Outdoor Command Strips have revolutionized how we decorate and organize our exteriors. They’re designed to hold strong in the elements but remove cleanly, without residue or damage.
If you’re looking for a way to hang your holiday lights, garden art, or even a seasonal welcome sign, you’ve come to the right place. We’ll dive into how these little strips of adhesive magic can save your siding and make your decorating dreams a reality. Get ready to transform your home’s exterior, the easy and safe way!
Why Vinyl Siding Needs Special Care
Vinyl siding is a popular choice for homes because it’s durable, low-maintenance, and relatively affordable. However, its very structure means we need to be careful about how we attach things to it. Unlike wood, vinyl can be brittle in cold weather and can warp or melt in extreme heat. Drilling or prying nails into it can create cracks, allow moisture to seep behind the siding (leading to mold or rot), and can even cause the siding to lose its shape. This is why finding a robust, yet gentle, hanging solution is so crucial for maintaining your home’s aesthetic appeal and structural integrity.
Understanding Outdoor Command Strips for Vinyl Siding
So, what exactly are these miracle strips? Outdoor Command Strips are a type of adhesive product made by 3M. They work by using a strong, weather-resistant adhesive on one side that sticks to your surface, and a hook or clip on the other side to hold your item. The key is their unique “stretch-release” adhesive technology. This means when you want to remove them, you pull the tab straight down, stretching the adhesive. This stretching action breaks the bonds in the adhesive, allowing it to release cleanly without damaging the surface.

They are specifically formulated to withstand a range of outdoor conditions, including rain, snow, and temperature fluctuations. This makes them a far superior choice to indoor Command Strips or standard tapes when it comes to outdoor applications. For vinyl siding, they offer a proven solution that holds well and removes without a trace.
How They Work: The Science Behind the Stick
It might seem too good to be true that an adhesive can hold strong through storms but release without damage. The innovation lies in the foam adhesive designed to stretch. When you pull gently downward on the tab, the foam elongates, breaking the adhesive bond’s structure. This is different from traditional adhesives that rely on brute force removal, which tends to peel or gouge the surface they’re attached to. The elasticity of the foam is the secret ingredient that allows for a clean release.
Top 5 Benefits of Using Outdoor Command Strips on Vinyl Siding
Choosing outdoor Command Strips for your vinyl siding isn’t just a good idea; it’s a smart one. Here’s why they stand out:

Damage-Free Application: This is the number one benefit. No holes, no rust stains, no chipped paint or cracked vinyl. Your siding stays looking as good as new.
Weather Resistance: They are specifically designed to hold up against changing temperatures, humidity, and precipitation, ensuring your decorations stay put.
Easy to Use: The application and removal process is straightforward, requiring no special tools or skills.
Versatile: From holiday lights and wreaths to garden art and small signs, they can hold a surprising amount of weight and variety of items.
Clean Removal: When it’s time to take down your decorations, they peel away cleanly, leaving no sticky residue or marks.
Choosing the Right Outdoor Command Strip Product
Not all Command Strips are created equal, especially when it comes to outdoor use and specific surfaces like vinyl siding. It’s essential to select the right product for your needs.
Key Features to Look For:
“Outdoor” Label: Always ensure the packaging explicitly states “Outdoor.” These are formulated for different environmental factors than indoor strips.
Weight Capacity: Check the weight limit listed on the package. This will tell you what each strip can safely hold. For heavier items like larger wreaths or strings of lights, you might need multiple strips or a higher-capacity product.
UV Resistance: Look for strips that mention UV resistance. Prolonged exposure to sunlight can degrade adhesives.
Surface Compatibility: While Command Strips are generally good for smooth surfaces, some are better suited for vinyl. Always check the product details or manufacturer’s recommendations.
Popular Outdoor Command Strip Options:
Here are a few types you might encounter:
| Product Type | Ideal Use Cases | Weight Capacity (Typical) | Notes |
| :——————————- | :——————————————————— | :———————— | :—————————————————————————— |
| Outdoor Utility Hooks | Hanging lights, small signs, garden tools, wreaths | 1-5 lbs | Come in various sizes and hook styles. Most common for general decorating. |
| Outdoor Light Clips | Specifically designed for hanging string lights (like C7/C9) | Varies (designed for string lights) | Small, discreet clips that hold individual light sockets securely. Often clear. |
| Outdoor Strips (No Hook) | For attaching flat-backed items directly to surfaces | Up to 10 lbs per strip | Useful for flat signs or decorative panels. |
| Heavy-Duty Outdoor Strips/Hooks | Larger lights, heavier decor, bird feeders | 5-15 lbs+ | Offer higher weight support for more substantial items. |
Important Note: Always refer to the specific product packaging for exact weight limits and usage instructions, as these can vary.
Step-by-Step Guide: Applying Outdoor Command Strips to Vinyl Siding
Ready to get decorating? Follow these steps for a secure and damage-free application.

Preparation is Key: Getting Your Siding Ready
Before you stick anything, proper preparation is vital for a strong, lasting hold.
1. Clean the Surface: This is the most critical step. Vinyl siding can accumulate dirt, dust, pollen, cobwebs, and even a thin layer of mildew or algae. You need a clean surface for the adhesive to bond properly.
Recommended Cleaner: Use a mild detergent mixed with water, or a specialized vinyl siding cleaner. Tools like a soft-bristle brush or a sponge work well. For tougher spots, a solution of 1 part white vinegar to 3 parts water can be effective. Be sure to rinse thoroughly with plain water afterwards. A great resource for cleaning siding can be found on the Vinyl Siding Institute’s website.
Rinse and Dry: After cleaning, rinse the area extensively with clean water to remove all soap residue. Allow the siding to dry completely. You can speed this up with a clean, soft cloth or towels, or simply by letting it air dry on a sunny day. Moisture trapped under the strip will significantly weaken the bond.
2. Check the Temperature: Most outdoor Command Strips have an optimal application temperature. Generally, around 50-100°F (10-38°C) is ideal. Avoid applying them in freezing temperatures or extreme heat, as this can affect the adhesive’s performance. Check the product packaging for specific recommendations.
Application Steps for a Strong Hold
Once your siding is clean and dry, and the temperature is right, you’re ready to apply the strips.
1. Read the Packaging: Seriously, don’t skip this! Each product has unique instructions. Note the weight limit and any specific application tips.
2. Prepare the Strip: Open the Command Strip package carefully. Handle the adhesive surfaces with clean hands to avoid transferring oils.
3. Apply the Adhesive to the Hook/Item: If you’re using a hook, firmly press the adhesive strip onto the back of the hook. Most outdoor strips come pre-assembled with the hook, or a separate adhesive piece you attach.
4. Apply the Strip (with Hook) to the Siding:
Visor Tip: Many vinyl siding panels have a slightly curved or textured surface. Choose the smoothest area possible on the vinyl for best adhesion.
Pinch the sides of the adhesive strip (or the entire strip if there’s no protruding hook yet).
Press the adhesive firmly onto the cleaned and dried vinyl siding.
Hold it: Press and hold for at least 30 seconds. This is crucial to ensure the adhesive makes full contact with the siding. The longer you hold, the better the initial bond.
5. Wait Before Hanging: This is another critical step often overlooked, especially when you’re eager to get those lights up!
The Waiting Game: After applying the strip to the siding, you must wait at least one hour before hanging anything on the hook. This allows the adhesive to fully bond to the siding surface. Do not hang items sooner, or the weight could prematurely pull the strip off.
6. Hang Your Item: After the waiting period, gently hang your lights, wreath, or other decoration onto the hook. Distribute the weight evenly if using multiple strips.
Removing Outdoor Command Strips from Vinyl Siding
The best part about Command Strips is their clean removal, but it still requires a specific technique to avoid damage.

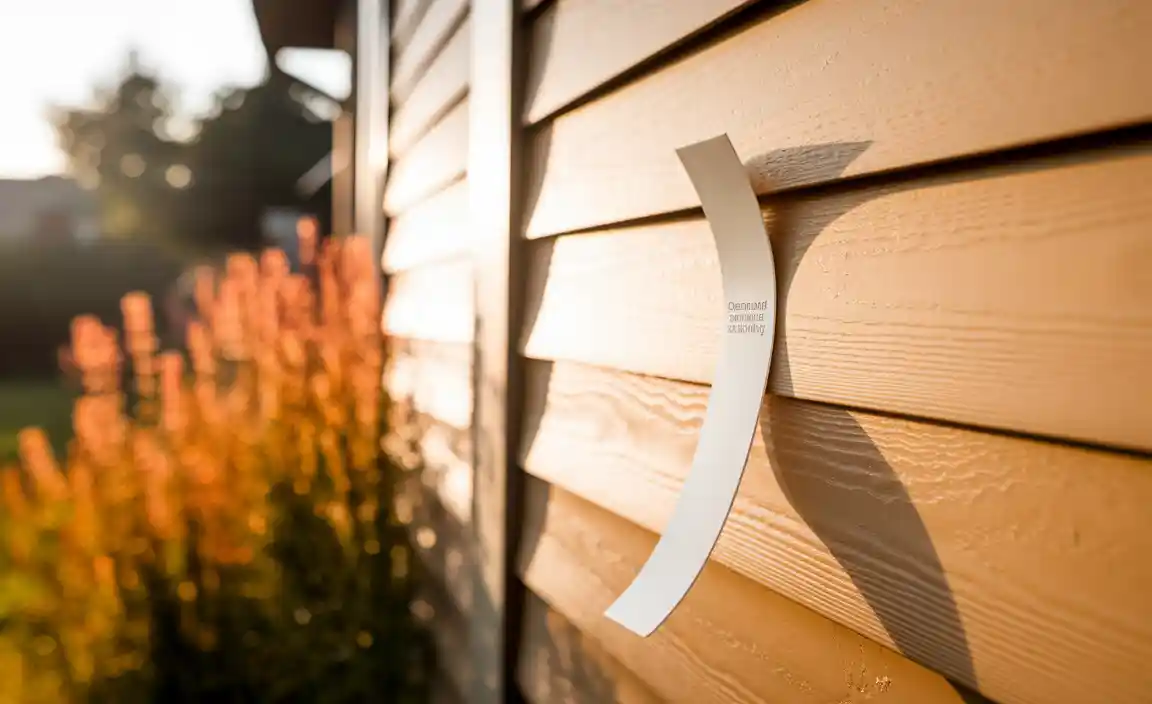
1. Gently Stretch: When you’re ready to remove the strip, grasp the tab at the bottom of the adhesive strip (the part that hangs down).
2. Pull Slowly and Steadily: Slowly and steadily pull the tab straight down, away from the siding. You should feel the strip stretching.
3. Keep Pulling: Continue pulling the tab down along the vinyl siding surface. Most of the time, the strip will elongate significantly, and the adhesive will release cleanly.
See How It’s Done! (This external link provides a visual demonstration of the proper removal technique.)
4. If Residue Remains: In rare cases, some slight residue might be left. You can typically remove this by stretching the adhesive tab further or by gently rubbing the residue with your finger. If that doesn’t work, a mild soap and water solution or an alcohol wipe can usually remove the last traces. Avoid abrasive cleaners or tools.
Troubleshooting Common Issues
Even with the best intentions, sometimes things don’t go perfectly. Here are some common issues and how to fix them.
Issue: Strip Fell Off Prematurely
Possible Causes:
Surface wasn’t clean enough.
Surface wasn’t completely dry.
Temperature was too cold or too hot during application.
Weight limit was exceeded.
The “waiting period” wasn’t observed.
The surface of the vinyl has a significant texture or coating that prevents good adhesion.
Solution: Clean the area thoroughly again, ensure it’s bone dry, and reapply a new strip, ensuring you follow all steps meticulously, especially the 30-second hold and the one-hour wait time. If you suspect the vinyl surface is problematic, consider using a Command outdoor strip rated for slightly rougher surfaces if available, or test in an inconspicuous spot first.
Issue: Residue Left Behind After Removal
Possible Causes:
The strip wasn’t stretched far enough during removal.
The adhesive may have been on the surface for an exceptionally long time.
Solution: Try to gently rub the residue with your finger. If that doesn’t work, use a cloth dampened with isopropyl alcohol (rubbing alcohol) or a mild soap and water solution. Gently wipe away the residue. Avoid harsh scrubbing.
Issue: Hooks Seem Flimsy for My Lights
Possible Causes:
Weight of lights exceeded hook capacity.
Product chosen was not robust enough.
* Solution: Double-check the weight capacity of the specific Command Strips you used. For heavier or bulkier light strings, opt for heavier-duty outdoor Command Hooks or multiple smaller clips distributed along the length of the lights.
Frequently Asked Questions (FAQs)
Q1: Can I reuse outdoor Command Strips?
A1: No, once an outdoor Command Strip has been used and removed, the adhesive loses its effectiveness and cannot be reused. Always use a new strip for reapplication.
Q2: How long do outdoor Command Strips typically last?
A2: When applied correctly to a suitable surface and not exceeding their weight limit, outdoor Command Strips are designed to hold for several months, often through an entire season of decoration. Their longevity depends on environmental conditions and the weight they support.
Q3: Will Command Strips damage my vinyl siding in extreme heat or cold?
A3: Outdoor Command Strips are formulated to withstand a range of temperatures. However, extreme, prolonged heat or consecutive freezing and thawing cycles can eventually affect the adhesive’s performance. It’s best to apply them during moderate temperatures and remove them promptly after the season ends.
Q4: Are there specific Command Strips for textured vinyl siding?
A4: While Command Strips work best on smooth surfaces, some outdoor variations may perform adequately on lightly textured vinyl. Always check the product packaging for surface recommendations. If your siding is heavily textured, consider applying the adhesive strip to a small, reusable plastic ornament hook first, and then attaching that hook to a slightly larger, smoother section of the siding if possible, or test in an inconspicuous area.
Q5: Can I use outdoor Command Strips on painted wood siding?
A5: Yes, outdoor Command Strips can be used on many painted surfaces, including wood, provided the paint is in good condition and adheres well to the surface. Clean and dry the area thoroughly. However, always test in an inconspicuous spot first, and be extra careful during removal, as some paints may be more prone to peeling than vinyl.
Q6: What is the best way to hang Christmas lights on vinyl siding without nails?
A6: The best way is to use outdoor Command Light Clips or outdoor Command Hooks. Clean the siding, apply the clips/hooks according to the instructions (holding for 30 seconds, waiting an hour), and then attach your light strings. This method is damage-free and secure for holiday lights.
—
Enhancing Your Home’s Curb Appeal Sustainably
Using outdoor Command Strips on your vinyl siding is more than just a convenient decorating trick; it’s a nod to mindful home maintenance. By choosing a solution that protects your home’s exterior, you’re caring for your property in a way that benefits its longevity and appearance. Whether you’re a seasoned decorator or just starting, these strips offer a foolproof way to add seasonal cheer, hang garden art, or even organize your patio tools without the worry of causing damage.
Think about the joy of easily transforming your home’s facade for holidays like Halloween, Christmas, or simply to welcome spring. Imagine hanging that lovely seasonal wreath or a small piece of garden art that catches your eye. With outdoor Command Strips, these simple pleasures are yours to enjoy without compromising the integrity of your vinyl siding. It’s a small change that makes a big difference.
So, the next time you’re envisioning a beautifully decorated exterior, remember the proven solution: outdoor Command Strips for vinyl siding. They offer the strength you need and the clean removal you desire, making your home more beautiful and your decorating life much simpler. Happy decorating and happy gardening!

