
Quick Summary
Decorating your windows with indoor wreaths adds charm and seasonal flair effortlessly. This guide shows beginners how to choose, hang, and care for stunning wreaths that brighten your home, making window decor simple, enjoyable, and beautiful year-round.
Hello, green thumbs and home decorators! Pearl Roach here, your friendly guide from EcoPatchy. Ever look at your bare windows and wish they had a little more sparkle? You’re not alone! Many of us love the idea of decorating, but sometimes it feels complicated or just… too much work. Especially when we want something beautiful and welcoming inside our homes. The good news is, bringing seasonal beauty to your windows doesn’t have to be a chore. Inside, we’ll explore how creating your own indoor wreaths for windows can be super simple and incredibly rewarding. Get ready to transform your windows into stunning focal points!
Why Wreaths for Windows Indoors? More Than Just Pretty
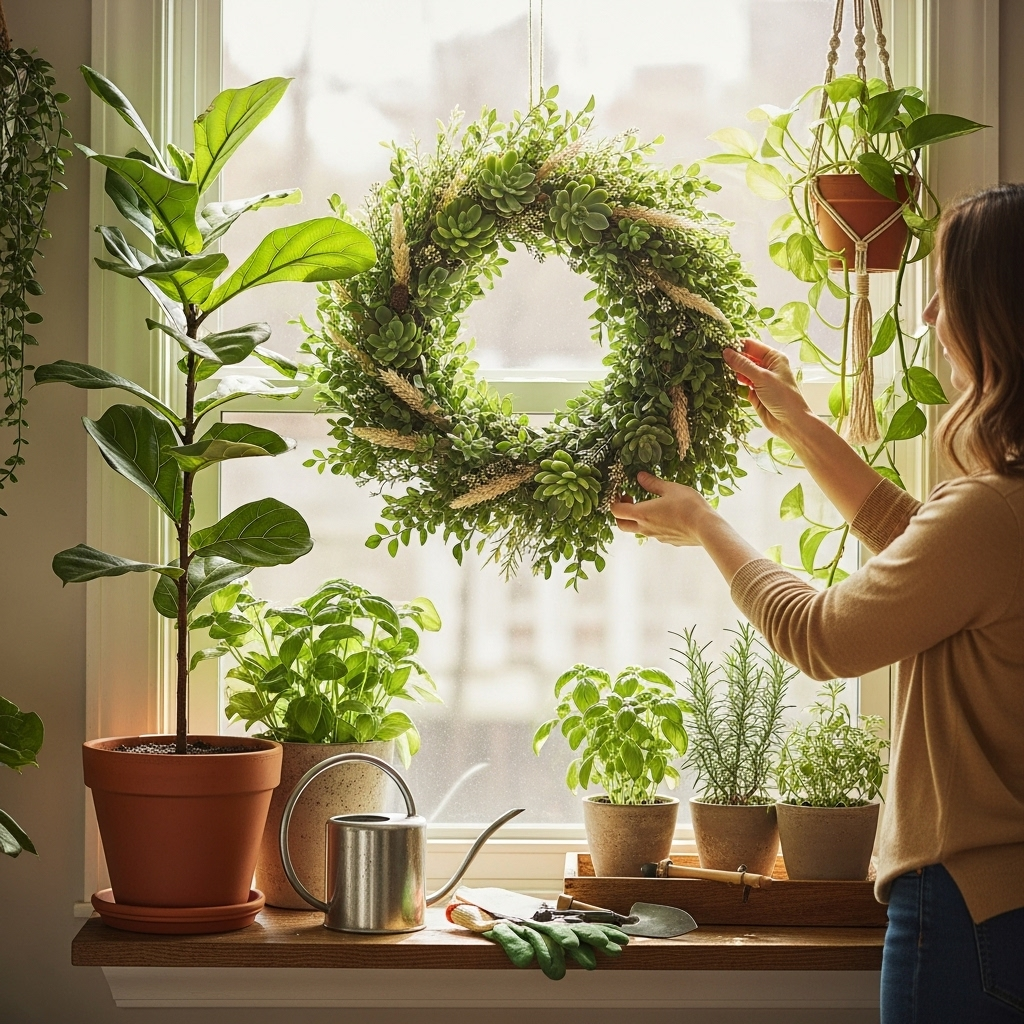
Wreaths for windows indoors are a delightful way to bring the beauty of the outdoors in, without the fuss of weather-dependent outdoor decor. They’re incredibly versatile, adapting to any season or style you can dream up. Think of them as a cheerful greeting to anyone who looks at your window – whether it’s you, your family, or a passerby. They add texture, color, and a touch of handmade charm that mass-produced decor often lacks. Plus, they can be a fantastic way to use natural, sustainable materials!
For beginners, window wreaths offer a low-stakes, high-impact decorating project. You don’t need a sprawling garden or advanced crafting skills. Simply choose a base, add some lovely embellishments, and find a secure way to hang it. It’s a rewarding DIY that can make your home feel instantly cozier and more festive. Let’s dive into how you can achieve this delightful decorating magic!
Choosing Your Perfect Indoor Wreath Base
The foundation of any beautiful wreath is its base. For indoor wreaths, you have a few excellent options that are easy to work with and readily available. The key is to select a base that suits the style you’re aiming for and is sturdy enough to hold your decorations.
Common Wreath Base Materials
- Grapevine Wreath: These are light, flexible, and have a lovely natural texture. They’re perfect for a rustic or bohemian look and are easy to attach embellishments to by poking stems or wire through the vines.
- Wire Frame Wreath: These are sturdy and come in various sizes. You can cover them with fabric, moss, or greenery, or use them as a structure to wire directly onto. Often used with floral foam for fresh greens.
- Embroidery Hoop Wreath: A fantastic, budget-friendly option for a modern or minimalist look. You can wrap them with yarn, ribbon, or greenery, and then attach lightweight decorations.
- Straw Wreath: A classic base, straw wreaths are dense and easy to work with using pins or floral wire. They’re excellent for attaching fabric, burlap, or heavier natural elements.
- Foam Wreath: Lightweight and easy to glue onto, foam wreaths are great for hot gluing lighter decorative items like pom-poms, small ornaments, or fabric flowers.
When selecting your base, consider the final size of your wreath. A good rule of thumb is that the wreath should be about two-thirds the size of the window pane it will adorn. For instance, a 10-12 inch wreath often works well for a standard-sized window. Measure your window before you buy your base to ensure a perfect fit!
Gathering Your Decorative Treasures: What to Add
This is where your creativity truly shines! For indoor wreaths, you can use a wide array of materials, from natural elements to craft store finds. The eco-conscious decorator will love incorporating natural, foraged, or repurposed items.
Nature’s Palette: Sustainable Decorating
- Dried Flowers and Herbs: Lavender, eucalyptus, hydrangeas, and grasses add beautiful scent and texture. You can dry your own from your garden or local farmer’s market.
- Pinecones and Acorns: Collect these from local parks during autumn. They bring a wonderful rustic feel. Make sure they are clean and dry before use.
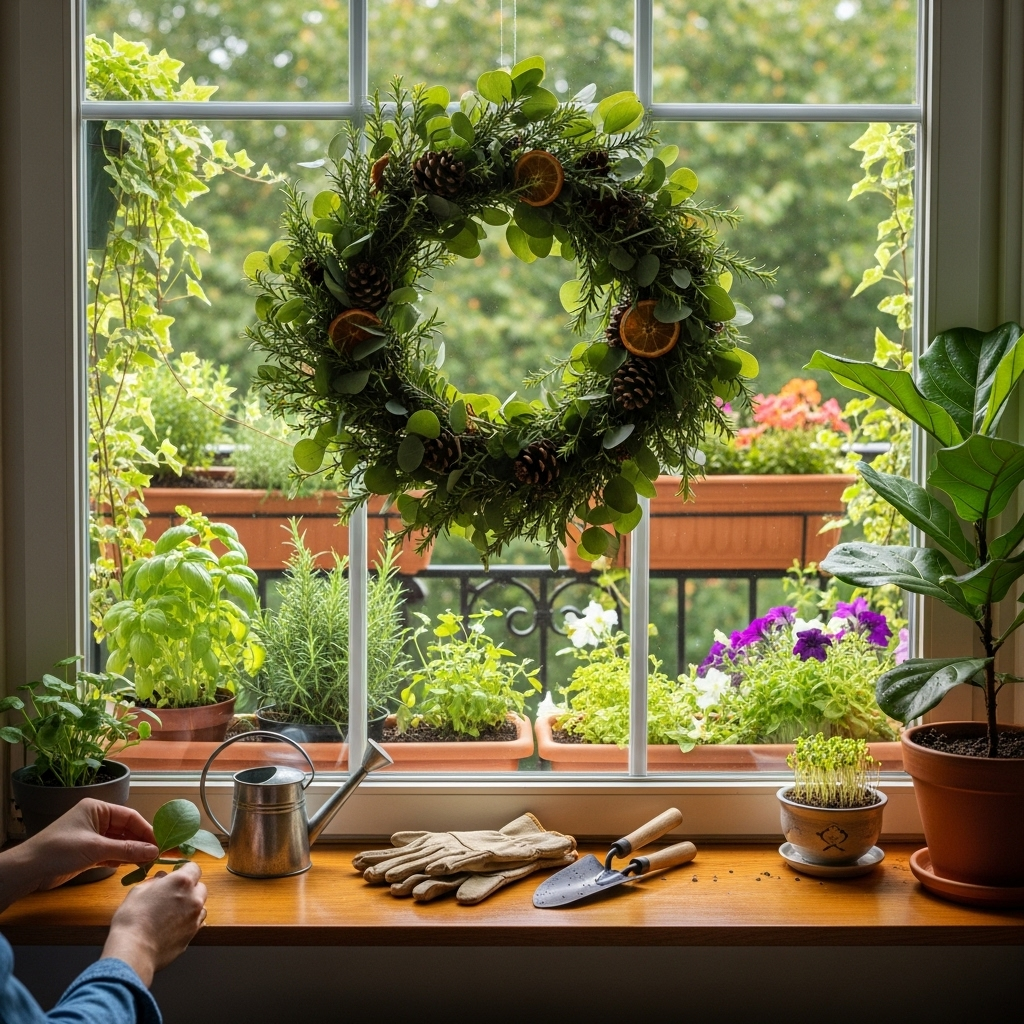
- Dried Citrus Slices: Orange, lemon, or grapefruit slices, dehydrated until crisp, add a pop of color and a lovely scent, especially for winter or fall wreaths.
- Sticks and Twigs: Small, interesting twigs can add unique shapes and textures.
- Foliage: Preserved or faux greenery like eucalyptus, pussy willow, or ferns can add lasting color and fullness.
Crafty Charms: Adding Personal Style
- Ribbons and Fabric Scraps: Burlap, velvet, satin, or cotton scraps can be tied into bows, used for wrapping the base, or cut into shapes.
- Small Ornaments: Miniature baubles, wooden shapes, or painted details can add a festive touch.
- Felt or Craft Foam Shapes: Easy to cut and glue, these are great for themed wreaths (e.g., hearts for Valentine’s Day, stars for holidays).
- Pom-poms: A playful and colorful addition, especially for spring or children’s rooms.
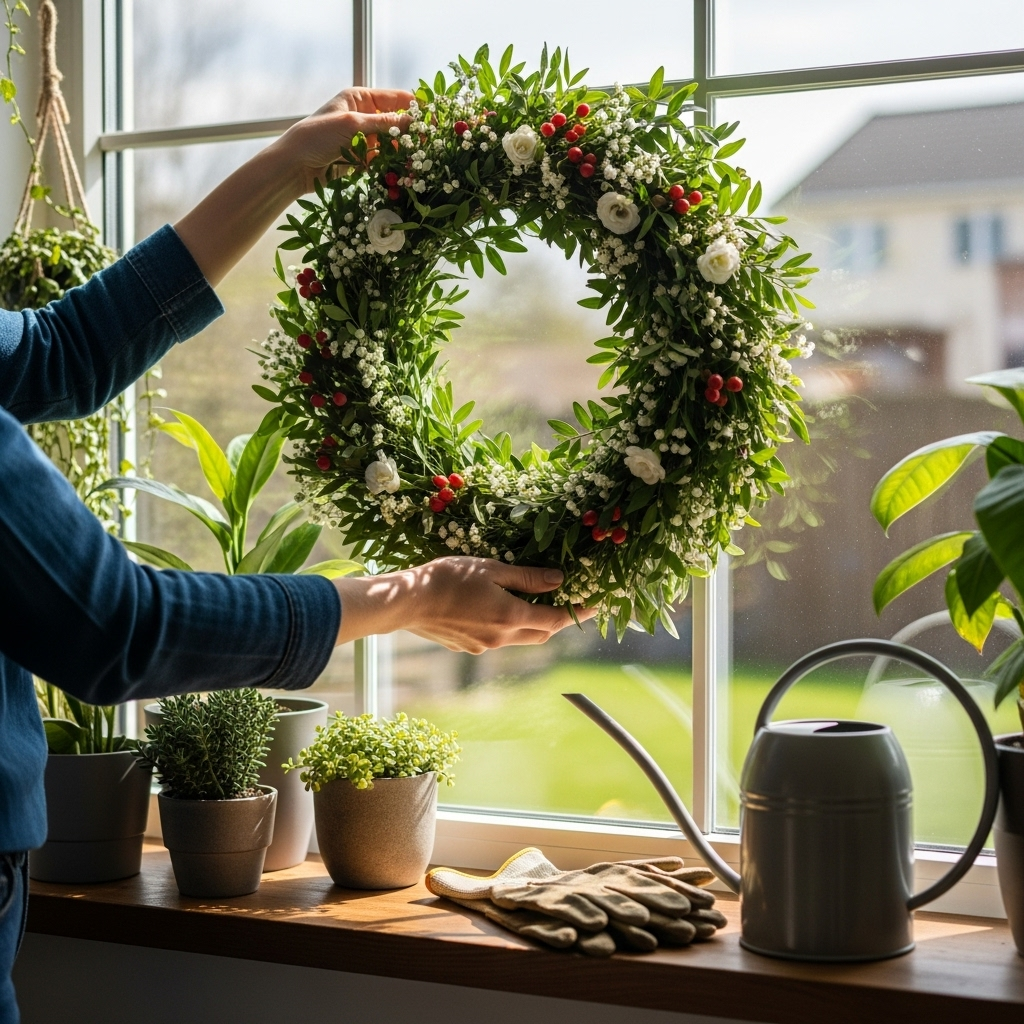
- Artificial Berries and Flowers: These provide consistent color and don’t wither.
When choosing your decorations, think about color palettes that complement your home decor or the season. A harmonious selection of a few key elements often looks more sophisticated than overstuffing the wreath. Less can certainly be more!
Step-by-Step: Creating Your Indoor Window Wreath
Let’s get crafting! This guide is designed for absolute beginners. We’ll walk through the process simply and clearly, so you can feel confident at every step.
Tools You’ll Need:
- Your chosen wreath base
- Decorative elements (flowers, ribbons, pinecones, etc.)
- Hot glue gun and glue sticks (craft store staple!)
- Floral wire or craft wire
- Wire cutters or strong scissors
- Optional: Ribbon or fabric for covering the base, embellishments pins, twine
The Building Process:
- Prepare Your Base: If you’re using a grapevine or straw base, you can often start attaching items directly. For wire frames or embroidery hoops, you might want to wrap them first with burlap, ribbon, or moss to create a softer background. Secure the end of your wrapping material with hot glue.
- Arrange Your Focal Points: Before gluing, lay out your larger pieces first. This could be a cluster of pinecones, a prominent dried flower, or a large bow. Position these strategically – often off-center for a modern look, or evenly spaced for a traditional feel.
- Attach Larger Elements: Use hot glue or floral wire to securely attach your focal pieces. For items like pinecones or bulky dried flowers, a generous dab of hot glue works well. For lighter items or those you want to position precisely, floral wire can be easier to manipulate. Wrap the wire around the item and then twist it around the wreath base.
- Fill in with Smaller Details: Now, add your smaller decorative elements. Think dried berries, individual leaves, small flowers, or acorns. Work your way around the wreath, filling in gaps. Again, hot glue is your friend here for most lightweight items. For a more substantial look, layer elements – for example, place dried eucalyptus stems around the base before adding flowers.
- Add a Ribbon or Bow: A beautiful ribbon or bow can tie the whole wreath together. You can attach a pre-made bow with wire or hot glue, or create your own by folding and cinching ribbon lengths. Place it where it balances your other decorations, perhaps integrated with your focal points or at the bottom of the wreath.
- Finishing Touches: Step back and look at your creation. Are there any bare spots? Does anything need adjusting? You can add a sprig of greenery here or there, or a small embellishment for a final flourish. Ensure all attachments are secure. A common mistake is not using enough glue or wire, so give everything a gentle tug.
Remember, there’s no right or wrong way when it comes to DIY crafting! The goal is to express your personal style and have fun with the process. If a dried orange slice falls off, just glue it back on. It’s all part of the charm!
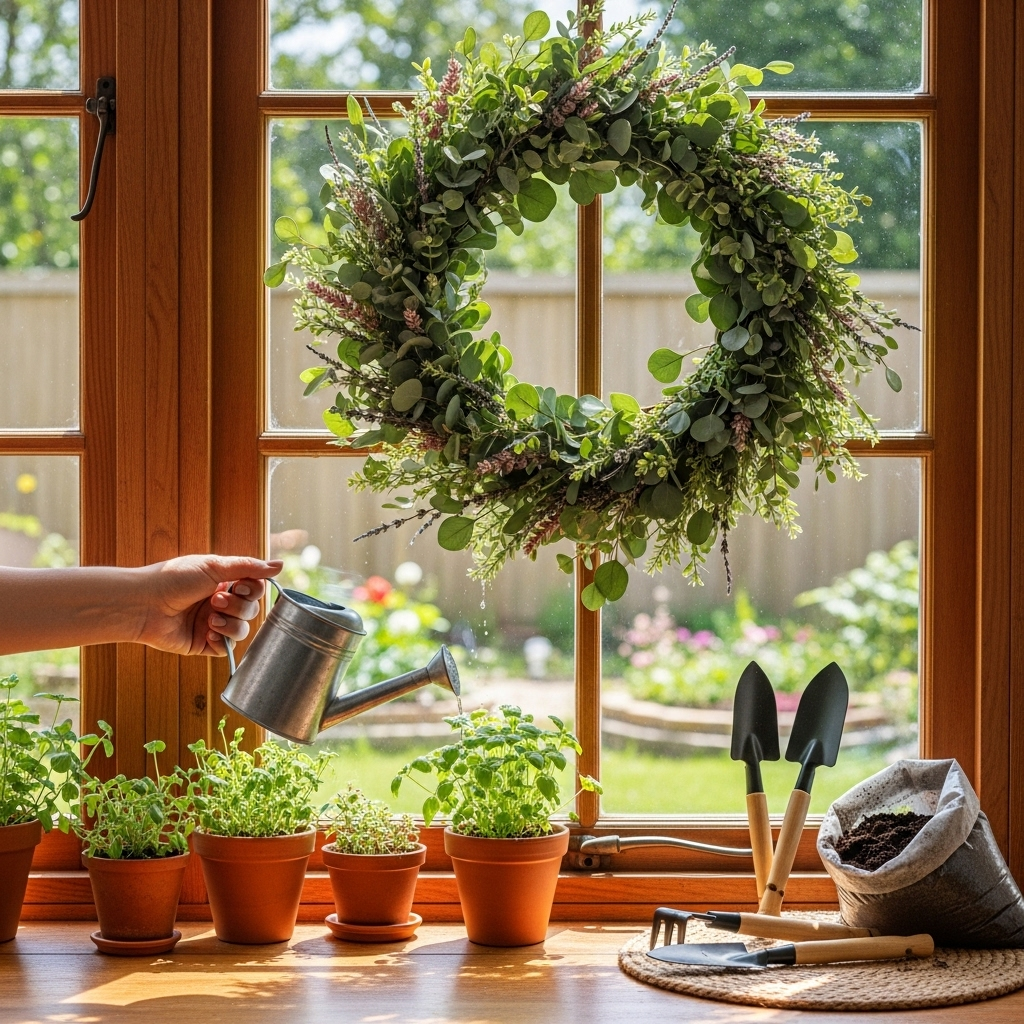
Hanging Your Wreaths for Windows Indoors: Secure & Stylish
Once your masterpiece is complete, the next crucial step is hanging it so it’s visible from inside and stays put. Getting this right is key to enjoying your creation without worry.
Methods for Hanging
- Suction Cup Hooks: These are incredibly popular for indoor window decorating. Look for heavy-duty, clear suction cups designed for crafts or holiday decor. They stick directly to the glass and are easy to remove without damaging surfaces. Ensure the window glass is clean and dry before applying. Many come with a small loop or hook to hang your wreath from.
- Command Hooks: These adhesive hooks from 3M offer a strong hold and can be removed cleanly. They come in clear varieties and various weight capacities. Apply them to the window frame (if it’s paintable and you don’t mind the adhesive) or directly onto the glass, following the product instructions carefully for best results and clean removal. This is a great option if you have a heavier wreath.
- Window Frame Hooks: There are specialized hooks that slide over the top of your window frame. These are excellent as they don’t require adhesive or suction and can be easily removed. Check that the hook fits your specific window frame type.
- Tension Rods: For a larger window or a more temporary display, a small tension rod placed inside the window frame (top or bottom) can be used. You can then hang your wreath from the rod using ribbon or twine. This is ideal for seasonal wreaths that you’ll swap out frequently.
- Hanging from Curtains or Blinds: If you have sturdy curtain rods and appropriate hardware, you can tie ribbon around the wreath and hang it from a point on the curtain rod, letting it dangle in front of the window. Ensure the rod and its supports are strong enough to handle the weight.
Tips for Secure Hanging
- Clean the Surface: Always ensure the area where you’re applying a hook (glass or frame) is clean and dry.
- Follow Weight Limits: Pay attention to the weight capacity of your chosen hanging method. A heavy wreath on a weak hook is an accident waiting to happen.
- Test Before Committing: If using adhesive or suction, give it a little tug after placement to ensure it feels secure before hanging your wreath.
- Consider Wind/Drafts: Even indoors, drafts from open doors or vents can cause movement. Ensure your wreath is hung in a way that minimizes excessive swaying.
- For Flat Surfaces: If hanging on a pane, think about what happens if it detaches. Hanging it higher up might be safer than at eye level.
For wreaths made with lighter materials like embroidery hoops or paper flowers, suction cups are usually perfect. For heavier natural wreaths, consider Command hooks or professional frame hooks for peace of mind. Reputable home improvement sites like Lowe’s often have guides on various hanging methods and hardware, useful for understanding your options.
Caring for Your Indoor Window Wreaths
To keep your beautiful window wreaths looking their best, a little care goes a long way. The type of care depends on what your wreath is made of.
Caring for Different Wreath Materials:
- Dried Natural Elements (Flowers, Citrus, Pinecones): Keep these away from direct sunlight to prevent fading. Avoid humid areas, as moisture can cause mold or deterioration. If they become dusty, a gentle puff of air from a hairdryer on a cool setting or a very soft brush can help.
- Artificial Greenery and Flowers: Dust these regularly with a soft cloth or feather duster. For more stubborn dust, a gentle wipe with a damp cloth can work, but avoid soaking.
- Fabric and Yarn Wreaths: Spot clean any marks with a mild soap and water solution. Test in an inconspicuous area first. Avoid excessive moisture.
- Painted or Embellished Wreaths: Handle with care to avoid chipping paint or dislodging glued items. Keep them out of reach of pets or children who might be tempted to touch or pull.
Most indoor wreaths, especially those with dried natural elements, have a limited lifespan. Embrace their beauty for the season you intended them for, and then consider repurposing parts or composting natural elements. For artificial wreaths, storing them carefully in a box away from light and moisture will help them last for many years.
Seasonal Inspiration: Wreaths for Every Occasion
Wreaths are wonderfully adaptable. Here are a few ideas to get you started for different times of the year:
Spring & Summer Vibes
- Floral Delight: Use pastel dried flowers like lavender, chamomile, and baby’s breath on a twig or embroidery hoop base. Add a pastel ribbon bow.
- Citrus Burst: A grapevine wreath adorned with clusters of artificial lemons or limes, interspersed with faux green leaves.
- Sunny Meadow: A mix of dried grasses, wheat stalks, and small, cheerful wildflowers on a straw base, tied with a natural linen ribbon.
Autumn & Harvest Hues
- Pumpkin Spice: Grapevine wreath with faux mini pumpkins, gourds, acorns, and fall foliage in red, orange, and brown tones.
- Rustic Charm: Natural elements like pinecones, dried maple leaves (pressed to preserve), and cinnamon sticks on a burlap-covered straw wreath.
- Earthy Neutrals: A base of dried eucalyptus and olive branches, with a few strategically placed dried seed pods or russet-colored berries.
Winter & Holiday Sparkle
- Classic Evergreen: Faux or preserved evergreen sprigs (like pine, fir, or cedar) on a wire frame, adorned with pinecones, red berries, and a plaid ribbon.
- Frosted Berries: White-tipped pinecones, artificial frosted berries, and silver or white ribbon on a white-painted base.
- Winter White: Grapevine wreath with cotton bolls, white-painted twigs, and subtle silver accents.
Don’t be afraid to mix and match or create your own unique themes! The key is to have fun and let your personality shine through.
Frequently Asked Questions about Wreaths for Windows Indoors
Here are some common questions budding crafters and decorators often have:
Q1: How large should an indoor window wreath be compared to my window?
A1: A good guideline is for the wreath to be about two-thirds the width of the window pane. This ensures it’s a noticeable focal point without overwhelming the space. Measure your window first!
Q2: Are wreaths for windows indoors safe for pets or children?
A2: It depends on the materials used. Wreaths with small, ingestible items (like beads or berries) high up on a secure hook are generally safe. However, always supervise children and pets around craft supplies and finished decor. If anything loose, it’s best to remove it or place it out of reach. For pets that are chewers, consider sturdier, less tempting materials or hang it higher.
Q3: Can I use fresh greenery for my indoor wreaths?
A3: You can, but fresh greenery will dry out relatively quickly indoors and can be messy. If you do use fresh greens, consider using them for a short-term wreath and misting them occasionally with water to keep them fresh as long as possible. For longevity, preserved or artificial greens are better choices.
Q4: My hot glue gun is a bit intimidating. Are there other ways to attach things?
A4: Yes! Strong craft glue (like Tacky Glue) works for lighter items. Floral wire is excellent for securing natural items and for attaching items to wire or grapevine bases. Pins can be used on straw or foam bases. For very lightweight items on embroidery hoops, a small dab of fabric glue can also work.
Q5: How do I get a wreath to hang straight?
A5: Ensure your hanging point (suction cup, hook, etc.) is centered above where you want the wreath to hang, or slightly off-center if you’re going for an asymmetrical look. If the wreath itself is unbalanced, try adjusting where you attach the hanging mechanism to the wreath itself. Some wreaths benefit from having two hanging points for stability.
Q6: Can I decorate the outside of my window with wreaths?
A6: While this guide focuses on indoor wreaths, decorating the outside is also an option with the right materials and secure hanging. However, be mindful of weather exposure, which can damage decorations quickly. For sheer decorative appeal, indoor wreaths are easier to manage and maintain in pristine condition.
Conclusion: Your Windows are Waiting!
There you have it! Creating stunning wreaths for your windows indoors is an accessible, enjoyable,