
Quick Summary
The Zevo Flying Insect Trap for indoors uses a UV light to attract and a sticky trap to catch flying insects, offering a simple, chemical-free solution for homes. This guide explains how to set it up, where to place it for best results, and how to maintain it for effective, year-round pest control.
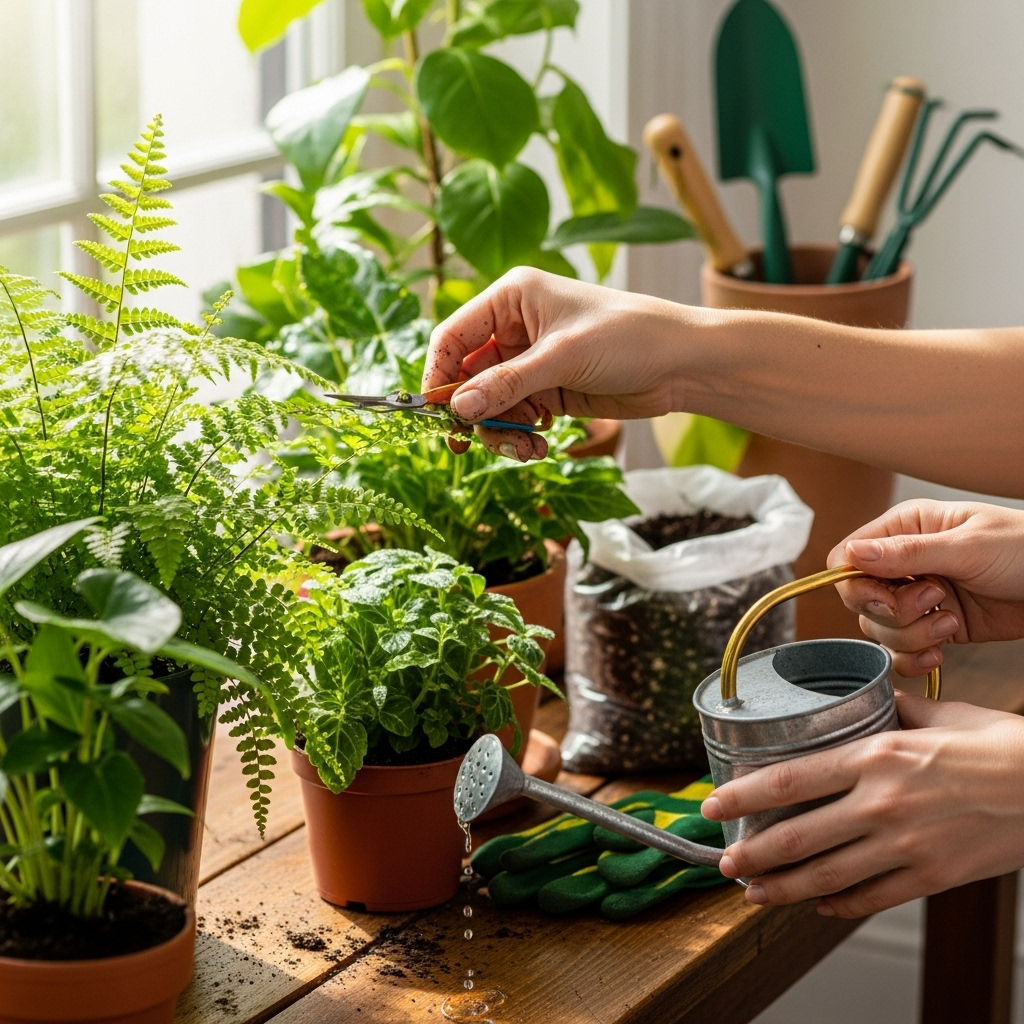
Hello gardeners and fellow eco-lovers! Pearl Roach here from EcoPatchy. Do those pesky flying insects seem to have invited themselves into your home, even when you’ve tried everything? It can be really frustrating to see fruit flies buzzing around your kitchen or those little gnats making your plants their party spot. But don’t you worry! There’s a straightforward way to gently encourage them to leave. We’re going to dive into the Zevo Flying Insect Trap for indoors, and I’ll show you exactly how to use it to create a more peaceful, pest-free sanctuary in your home. Get ready to say goodbye to those unwanted aerial guests!
Understanding Zevo Flying Insect Traps for Indoors
When you think about keeping your home free from flying insects, you might imagine harsh sprays or complicated contraptions. But what if there was a simpler, more harmonious way? That’s where the Zevo Flying Insect Trap comes in. It’s designed to be a gentle yet effective way to deal with common indoor pests like fruit flies, gnats, and mosquitoes without using strong chemicals.
These traps work on a pretty neat principle. They combine something that attracts insects—a special UV light—with something that catches them—an adhesive sheet. Imagine it like a gentle beacon calling them closer, and then a sticky, welcoming mat for them to land on. It’s a passive approach, meaning it doesn’t require much from you once it’s set up, making it a great choice for busy households or those who prefer a less invasive pest control method.
Unlike some other pest control methods, Zevo traps are designed to be unobtrusive. They are small and can blend into your home decor without being an eyesore. Plus, they’re pretty straightforward to use, which is perfect for anyone just starting to tackle indoor pest problems. We’ll break down exactly how they work and how you can make them your new best friend in maintaining a serene indoor environment.
How the Zevo Flying Insect Trap Works

The Zevo Flying Insect Trap for indoors operates on a two-part system designed to lure and trap common flying pests. It’s a clever combination of light and adhesive, working together to solve your tiny intruder problem.
The Attractant: UV-A Light
Moths, gnats, fruit flies, and even mosquitoes are often drawn to specific wavelengths of light. The Zevo trap emits a specialized UV-A light. This light is specifically chosen because it mimics natural light sources that attract these types of insects. When it’s dark, the soft glow of the UV light becomes a beacon, drawing the flying insects from around your home towards the trap. It’s like a gentle invitation they can’t resist.
The Capture: Adhesive Strips
Once the insects are drawn in by the UV light, they encounter the sticky, double-sided adhesive strip located inside the trap. This strip is designed to be highly effective at capturing the insects without being messy or unsightly. When an insect lands on or brushes against the strip, it gets stuck, effectively removing it from your living space. There are no sprays, no loud noises, and no chemicals released into the air, making it a safe option for homes with children and pets.
Key Components of the Zevo Trap:
- UV-A Bulb: Emits a specific light spectrum that attracts flying insects.
- Adhesive Strips: Double-sided, sticky surfaces that capture trapped insects.
- Protective Casing: Houses the bulb and adhesive, ensuring safety and discretion.
The effectiveness comes from consistently drawing insects away from areas where they might be a nuisance, like kitchens or relaxation spaces, and containing them in one easily managed place. It’s a simple yet ingenious design that tackles the problem at its source, or rather, at its attraction point.
Setting Up Your Zevo Flying Insect Trap: A Step-by-Step Guide
Getting your Zevo Flying Insect Trap ready to do its job is refreshingly simple. You don’t need any special tools or advanced skills. Think of it as more like setting out a welcoming mat for unwanted guests, only one that safely removes them!
Here’s how to get your Zevo trap up and running in no time:
-
Unpack Your Trap: Carefully remove the Zevo trap and its components from the packaging. You should have the trap base (which contains the plug and the light), the UV-A bulb, and one or more adhesive strips. It’s a good idea to keep the original packaging nearby in case you need to store the trap or refer to instructions later.
-
Install the Bulb: Most Zevo traps have a socket where the UV-A bulb easily screws in or fits. Gently twist or push the bulb until it’s securely in place. Be careful not to force it, as bulbs can be delicate. Consult your Zevo’s specific instructions if you’re unsure about the fit.
-
Prepare the Adhesive Strip: The adhesive strips usually come with a protective film or backing. Peel this off carefully to expose the sticky surface. Some traps will have a specific way that the strip attaches to the inside. Make sure it’s applied smoothly and securely to the designated area. This sticky side will be what catches the insects.
-
Assemble the Trap: If there are any outer casings or parts, assemble them according to the instructions. The goal is to enclose the bulb and the adhesive strip securely while still allowing the light to shine out and insects to enter.
-
Plug It In: Find a suitable electrical outlet for your Zevo trap. Choose a location where you’ve noticed flying insects are most active or where you want to prevent them. Plug the trap in. The UV light should illuminate, and the trap will begin its work.
-
Position Your Trap: This is a crucial step for effectiveness, which we’ll cover in more detail next. For now, place it in the chosen spot. Ensure it’s stable and won’t be easily knocked over, especially if you have pets or small children.
That’s it! Your Zevo Flying Insect Trap is now active and ready to help keep your indoor spaces more pleasant. It’s a fuss-free process that anyone can manage.
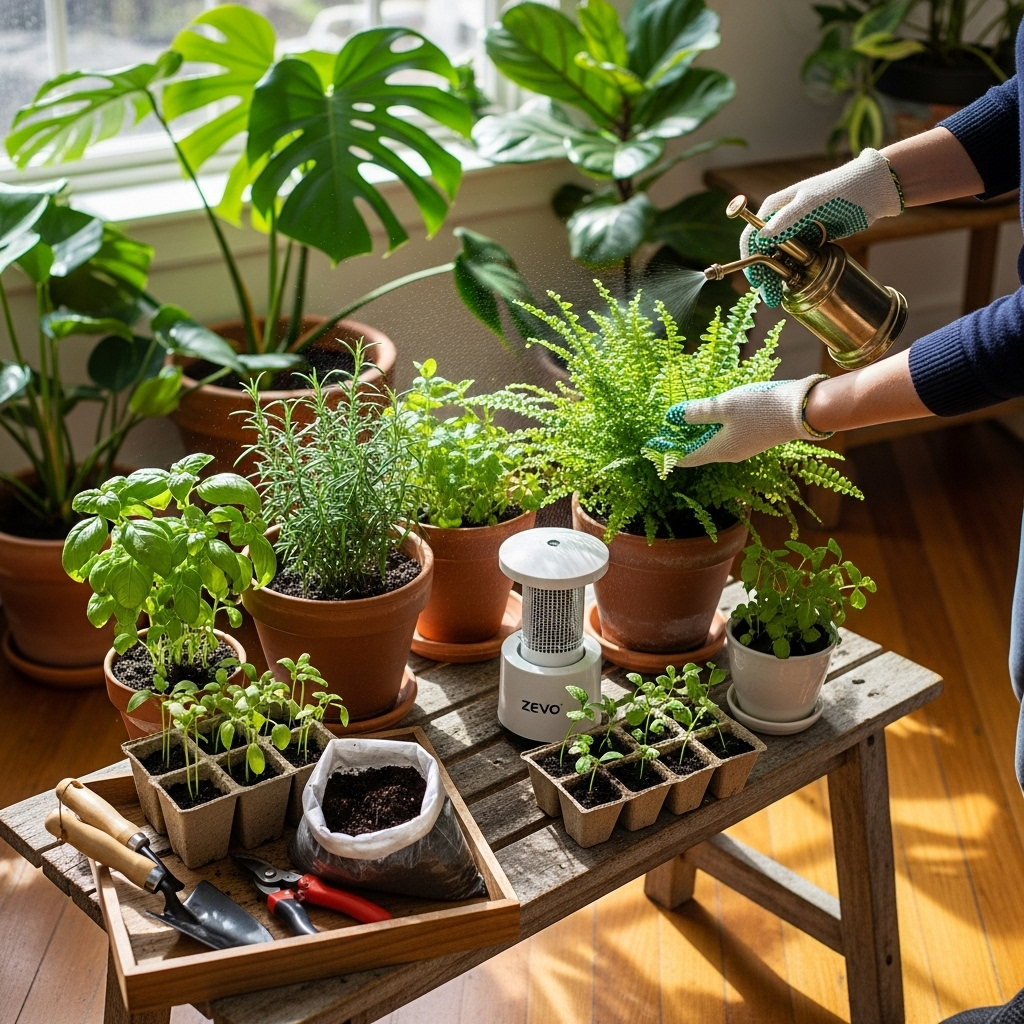
Optimizing Placement: Where to Put Your Zevo Trap for Maximum Effectiveness

Placing your Zevo Flying Insect Trap strategically is key to its success. While it’s designed to catch insects, putting it in the right spot ensures it catches more insects and works more efficiently to keep your home pest-free. Think of it as giving the trap the best chance to do its job!
Here are some top tips for deciding where to place your Zevo trap:
Areas Where Flying Insects Are Often Found:
-
Kitchens: This is often ground zero for fruit flies, gnats, and even the occasional stray mosquito. Place the trap near trash cans, fruit bowls, or sink areas where these pests tend to gather. Keeping it away from direct food preparation surfaces adds an extra layer of comfort.
-
Near Produce: If you keep fruits or vegetables on the counter, these areas can be a magnet for fruit flies. Position a trap nearby so it can intercept them before they spread further into your home.
-
Living Areas: If mosquitoes or other general flying insects are a problem in your living room or dining area, placing a Zevo trap in a corner or near a window can help reduce their presence.
-
Entryways: Sometimes, insects can sneak in through doors or windows. Placing a trap near an entryway can catch them before they venture too deep into your home.
Things to Consider for Optimal Placement:
-
Height: Most flying insects fly at different heights, but positioning the trap at a medium height (around waist to chest level for an adult indoors) often works best as it’s within the typical flight path of many common pests. Avoid placing it directly on the floor unless specifically recommended for certain insect types.
-
Visibility: The UV light needs to be visible to attract insects. Avoid hiding the trap behind large furniture or in deep, dark cabinets where the light won’t be seen. It should have a clear line of sight.
-
Near the Problem, Not the Solution: It sounds counterintuitive, but don’t place the trap directly next to the source of the attraction if it’s something you want to keep. For example, don’t place it right next to your fruit bowl if you’re trying to keep fruit flies away from the fruit. Instead, place it nearby to intercept them as they leave or arrive.
-
Avoid Competing Lights: The UV light is designed to be alluring. If there are other bright lights nearby, especially during the night, they might compete with the trap’s attraction. Try to place it where its glow is noticeable.
-
Safety First for Pets and Children: Always ensure the placement is safe. The trap should be out of reach of curious little hands or paws. While Zevo traps are designed with safety in mind, it’s always best to err on the side of caution. Check the EPA’s guidelines for safe pest control in homes for general advice on keeping your living spaces safe.
Experimenting slightly with placement can also be beneficial. Observe where you see the most insect activity and adjust the trap’s position accordingly. Your goal is to make the Zevo trap a convenient and irresistible destination for those unwanted flying guests.
Maintaining Your Zevo Flying Insect Trap for Continued Success
Just like tending to your garden, your Zevo Flying Insect Trap needs a little bit of care to keep performing at its best. Regular maintenance ensures that the UV light stays effective and the sticky traps are ready to do their job. It’s a simple process that makes a big difference in keeping those pesky bugs away.
What You’ll Need:
- Replacement UV-A bulbs (check Zevo’s recommendations)
- Replacement adhesive strips (often included with the trap or sold separately)
- A soft cloth or brush for cleaning
- Disposal bag for used strips and bulbs
The Maintenance Routine:
1. Monitoring the Adhesive Strip:
The most frequent task is checking the adhesive strip. Over time, it will fill up with captured insects. It’s not the prettiest sight, but it shows the trap is working! Most users find they need to replace the strip when it looks visibly full, usually every 30-60 days, depending on the insect activity in your home. Some traps might have an indicator, or you’ll just know when it’s time.
2. Replacing the Adhesive Strip:
When it’s time for a change:
- Unplug the Zevo trap first to ensure it’s safe.
- Carefully remove the old, used adhesive strip. Fold it over on itself to contain the captured insects and discard it in a sealed bag.
- Peel the backing off a new adhesive strip and press it firmly into place inside the trap, following the manufacturer’s instructions.
- Plug the trap back in.
3. Replacing the UV-A Bulb:
UV-A bulbs have a lifespan, typically measured in hours of use. Zevo bulbs usually last for several months to over a year. You’ll know it’s time to replace the bulb when it’s no longer emitting a noticeable glow or if you find the trap is catching significantly fewer insects over time. Check the Zevo product information for the recommended bulb life.
4. Replacing the Bulb:
- Again, start by unplugging the trap.
- Gently unscrew or remove the old bulb.
- Screw in or insert the new UV-A bulb securely.
- Dispose of the old bulb according to local waste disposal guidelines, especially considering it contains electronic components.
- Plug the trap back in.
5. Cleaning the Trap Casing:
Occasionally, you might want to wipe down the exterior and interior casing of the trap with a slightly damp cloth. This helps keep it looking neat and ensures the light isn’t obstructed by dust. Make sure the trap is unplugged before cleaning and that no moisture gets into the electrical components.
By following these simple maintenance steps, you ensure your Zevo Flying Insect Trap continues to be an effective, silent guardian against flying pests, helping you maintain a more peaceful and pleasant home environment all year round.
Zevo Flying Insect Trap vs. Other Indoor Pest Control Methods
When you’re dealing with flying insects indoors, you have a few options. The Zevo Flying Insect Trap stands out in several ways, especially for those looking for a convenient, chemical-free solution. Let’s see how it stacks up against other common methods.
Chemical Sprays
Pros: Can be very effective and fast-acting for immediate knockdown of pests.
Cons: Can contain strong chemicals that may be harmful to humans, pets, and beneficial insects. They can leave behind a residue or odor. Not ideal for continuous, passive control.
Zevo vs. Sprays: Zevo is chemical-free and safe for continuous use around people and pets, making it a gentler, more sustainable option for everyday pest management.
Bug Zappers
Pros: Can be effective for larger outdoor areas and some indoor spaces. They lure insects and electrocute them.
Cons: Can be noisy. Some models can aerosolize insect parts, potentially spreading bacteria. They can also kill beneficial insects indiscriminately. Often bulky and less aesthetically pleasing for indoor decor.
Zevo vs. Bug Zappers: Zevo is silent, discreet, and uses an adhesive method that contains insects without aerosolization, making it a cleaner and more suitable choice for indoor living spaces.
Sticky Fly Ribbons/Papers
Pros: Simple, inexpensive, and uses no chemicals.
Cons: Can be unsightly and messy. Insects can get tangled and die slowly. They are highly visible and can get stuck to things other than insects (including hair or clothing!).
Zevo vs. Sticky Ribbons: Zevo is a more contained and aesthetically pleasing solution. The adhesive is inside a housing, and the UV light is specifically designed to attract, making it more targeted than a passive sticky surface.
Natural Repellents (e.g., Essential Oils, Vinegar Traps)
Pros: Often perceived as more natural and eco-friendly. Vinegar traps can be effective for fruit flies in kitchens.
Cons: Effectiveness can vary greatly; some are better at repelling than trapping. Essential oils can be overpowering for some people and pets. Vinegar traps require frequent refreshing and can sometimes attract more insects if not managed properly.
Zevo vs. Natural Repellents: Zevo offers a consistent, passive trapping mechanism that doesn’t rely on intermittent application or strong scents. It’s a set-it-and-forget-it approach for a set period.
DIY Traps (e.g., water and dish soap)
Pros: Very low cost, can be made with household items.
Cons: Effectiveness is often limited to specific insects (like fruit flies) and can be hit or miss. Not a comprehensive solution for all flying pests.
Zevo vs. DIY Traps: Zevo is designed to attract a broader range of flying insects using UV light, offering a more reliable and targeted solution than many DIY methods.
Summary Table: Zevo Trap vs. Alternatives
Related Posts

| Feature | Zevo Flying Insect Trap | Chemical Sprays | Bug Zappers | Sticky Ribbons | DIY Traps |
|---|---|---|---|---|---|
| Chemicals | No | Yes | No (uses electricity) | No | No |
| Effectiveness (Broad Range) | Good (fruit flies, gnats, mosquitoes, etc.) | High (intended target) | Moderate to High | Varies widely | Limited (often specific to fruit flies) |
| Ease of Use | Very High | High |