Growing dill is not only easy, but it’s also a great way to add flavor to your recipes and beautify your garden. This herb is versatile and fragrant and can be handy in many different ways.
If you’re considering growing dill in your garden but don’t know where to start, you’ve come to the right place. We will go over everything you need to know about how to grow and care for dill plants.
We’ll cover the types of dill varieties available, the steps for planting and caring for them, common problems that may arise when growing dill, and how to harvest and preserve your crop. Whether you’re an experienced gardener or just starting out, this guide will help ensure that your dill plants thrive so that you can enjoy fresh herbs all year round.
Types Of Dill Varieties
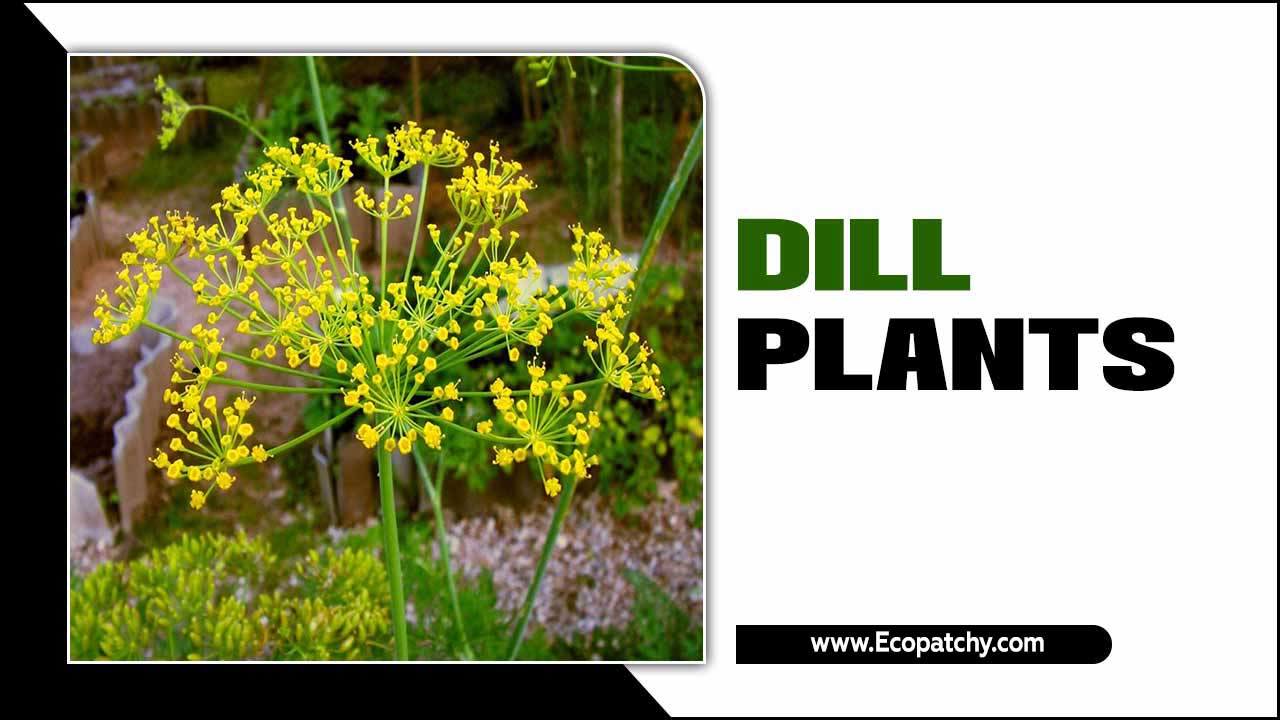
There are several different types of dill varieties, each with their own unique characteristics and flavors. No matter which variety you choose, dill plants are relatively easy to grow and can add a fresh burst of flavor to your culinary creations. Some popular varieties include:
- Bouquet Dill: This Is The Most Common Type Of Dill And Is Often Handy In Pickling. It Has A Strong Flavor And Produces Large, Feathery Leaves.
- Fernleaf Dill: As The Name Suggests, This Variety Has Delicate, Fern-Like Foliage. It Is Compact In Size And Is Perfect For Growing In Containers Or Small Spaces.
- Mammoth Dill: This Variety Grows Taller Than Other Types Of Dill And Produces Larger Leaves And Flowers. It Has A Milder Flavor Compared To Bouquet Dill.
- Dukat Dill: Known For Its Sweet Flavor, Dukat Dill Is Often Handy In Culinary Dishes. It Has A More Delicate Taste Compared To Other Varieties.
- Hera Dill: This Variety Is Prized For Its High Oil Content, Which Gives It A Strong Flavor And Aroma. It Is Commonly Handy In Greek And Mediterranean Cuisine.
How To Grow And Care For Dill Plants In Your Garden? – 10 Steps
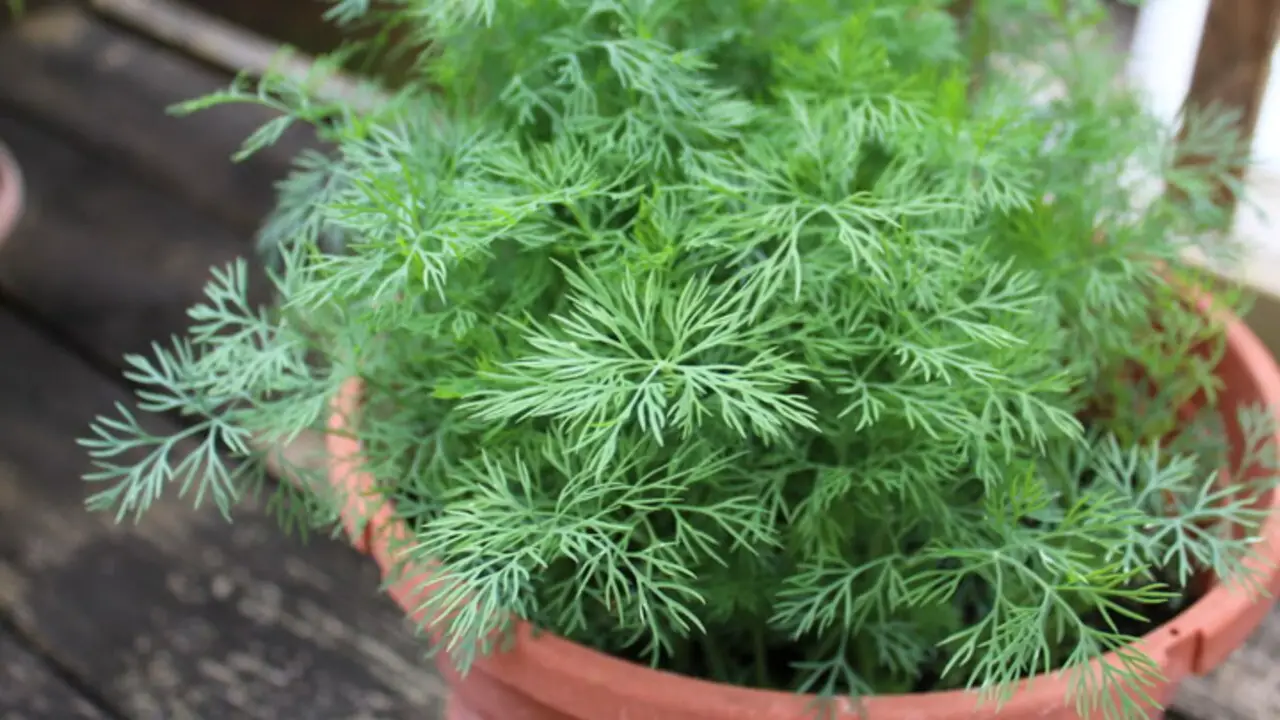
Growing and caring for dill plants in your garden is a rewarding experience that can provide you with a fresh supply of this versatile herb. By following these simple steps, you can enjoy a bountiful harvest of fresh dill from your own garden throughout the growing season. Here are 10 steps to help you successfully grow and care for dill plants:
1.Choose A Sunny Spot
To ensure optimal growth and development of your dill plants, it is essential to choose a sunny spot in your garden. Look for a location that receives ample sunlight throughout the day, ideally at least 6 hours of direct sunlight.
Opt for a well-lit area with good drainage and protection from high winds. Dill plants thrive in warm weather, so finding a sunny spot will provide the necessary conditions for their growth. Exposing your dill plants to plenty of sunlight will help them develop healthy foliage and flavorful seed heads.
2.Prepare The Soil
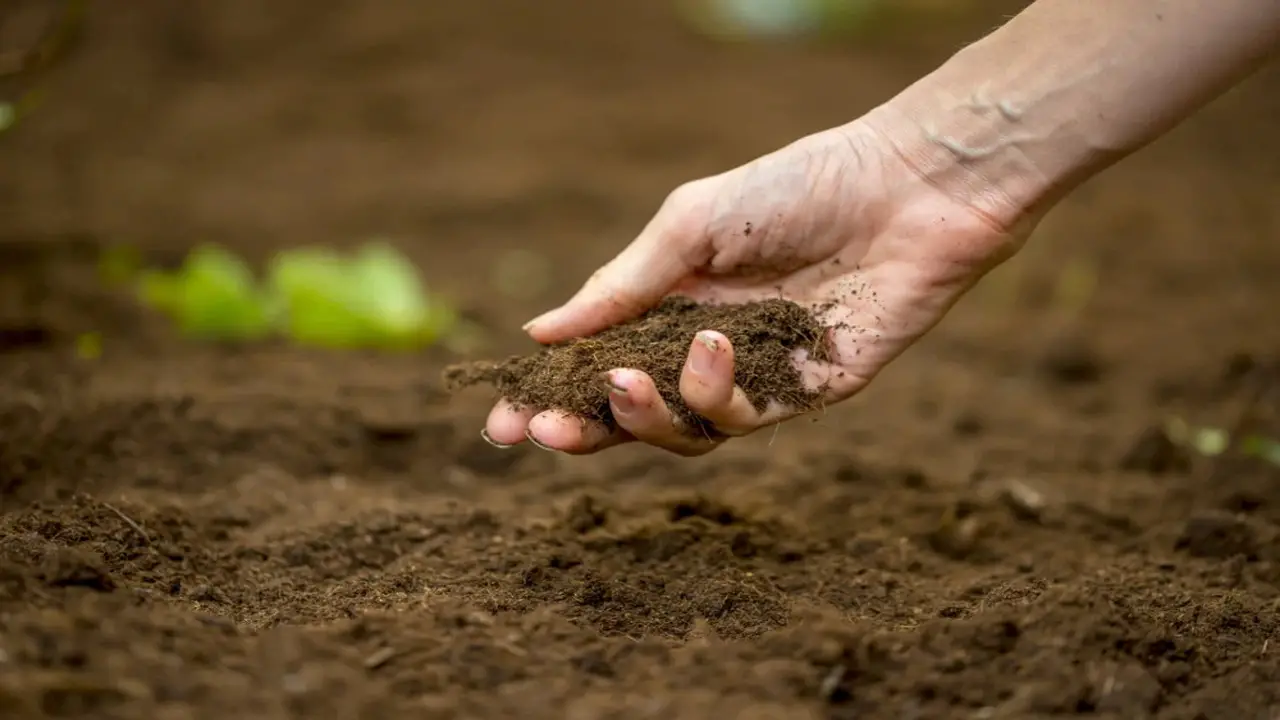
Ensure the soil is free from weeds and debris in the designated planting area. To boost soil quality, incorporate organic matter prior to sowing dill seeds. This will create a nutrient-rich bed that encourages robust growth. Adequate drainage is vital to prevent waterlogging, so be mindful of soil structure.
Loosening the soil promotes healthy root development and enhances nutrient absorption for your dill plants. By following these steps, you’ll provide an optimal environment for anethum graveolens to flourish in your garden. Remember, good soil preparation sets the stage for successful dill cultivation.
3.Plant The Seeds
To begin growing dill plants, sow the dill seeds directly into the prepared soil bed in your garden, ensuring they are planted at a depth of ¼ inch. Space the dill seeds 18 inches apart to provide ample room for growth. Cover the seeds with a thin layer of soil, gently patting it down. After planting, water the soil lightly to aid in proper germination. This will kickstart the growth process and set the foundation for healthy dill plants in your garden.
4.Water Regularly
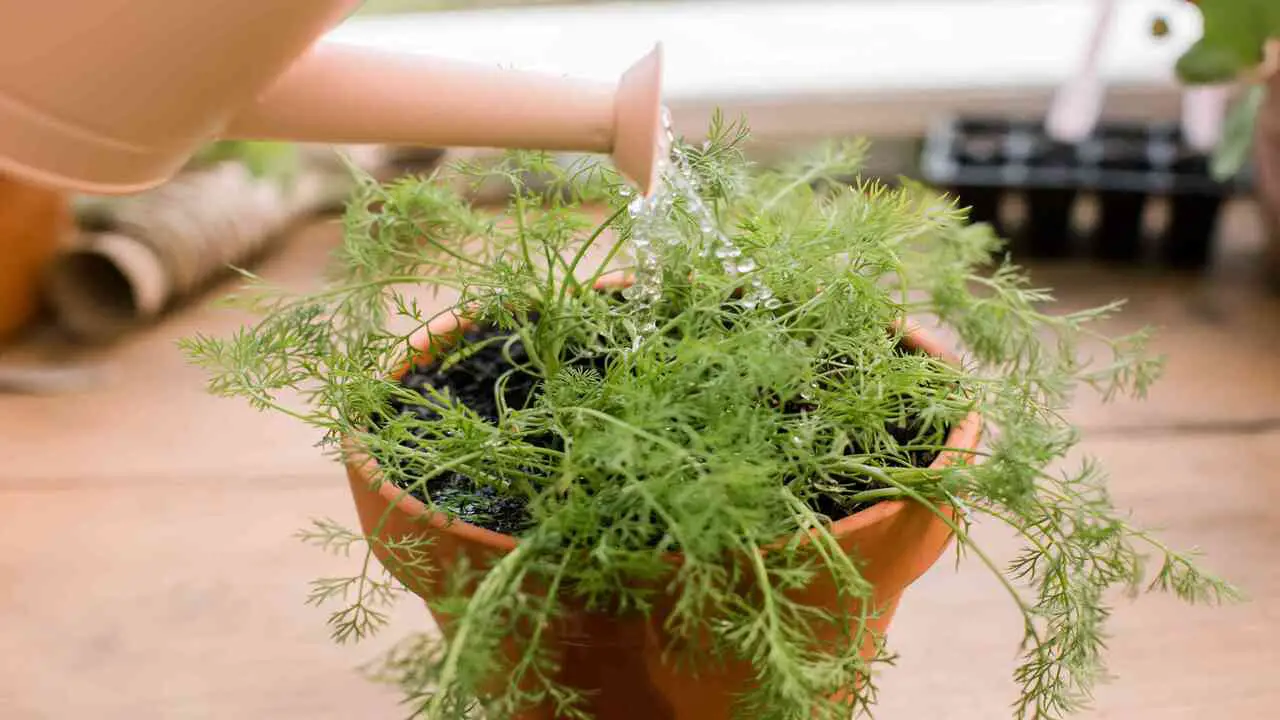
To ensure the healthy growth of your dill plants, it is important to provide them with regular water. Keeping the soil moist is key to preventing the drying out of the plants. However, be cautious not to overwater, as this can lead to root rot. Monitor the moisture level of the soil and water accordingly, especially during dry spells or hot weather. By maintaining adequate hydration, you’ll help your dill plants thrive in your garden.
5.Thin Out The Plants
To promote healthy growth, it is important to thin out the overcrowded dill plants in your garden. Remove excess dill seedlings to create space for proper development. This allows sufficient spacing between the plants and prevents competition for nutrients and sunlight.
It is also essential to thin out weak or stunted dill plants to ensure the vitality of the remaining ones. By maintaining an optimum number of dill plants, you can facilitate better overall growth. Remember to use this opportunity to incorporate some of the NLP terms, such as dill weed, feathery foliage, and compact variety, to enhance the content.
6.Fertilize As Needed
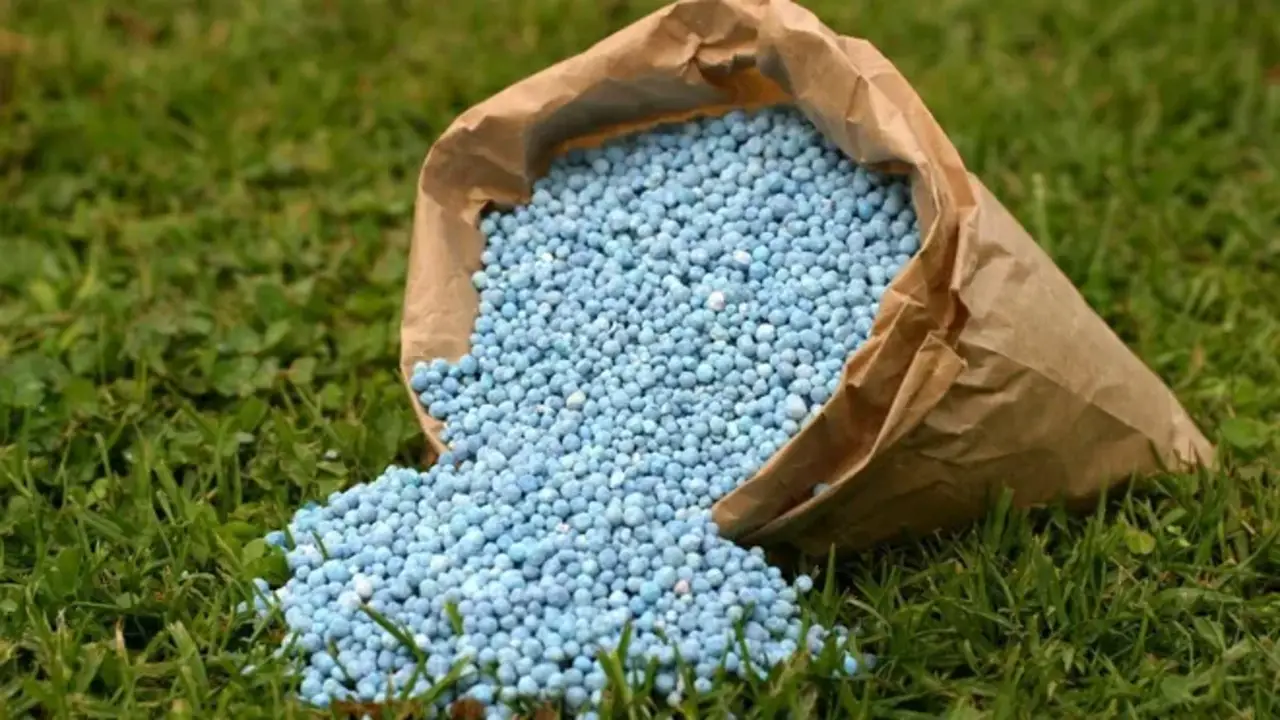
To nourish your dill plants, use an organic fertilizer as required. Supplement their nutrient requirements by applying a balanced fertilizer. Avoid excessive use of fertilizers, as it can harm the plants. Follow recommended guidelines for fertilizing to achieve optimal results.
As the dill plants grow, monitor their health and growth to determine if additional fertilizer is needed. By providing the right nutrients at the right time, you can ensure healthy and thriving dill plants in your garden.
7.Watch For Pests
While growing and caring for dill plants, it’s important to watch out for pests that can potentially harm them. Common pests that may affect dill plants include aphids, caterpillars, and mites. Regularly monitor your plants for any signs of pest infestation and take preventive measures to protect them.
Using natural pest control methods is recommended to safeguard the health of your dill plants. Be sure to inspect your plants regularly for any signs of pest damage, such as wilting leaves or discoloration. By staying vigilant and taking proactive measures, you can ensure the well-being of your dill plants.
8.Harvest Your Dill
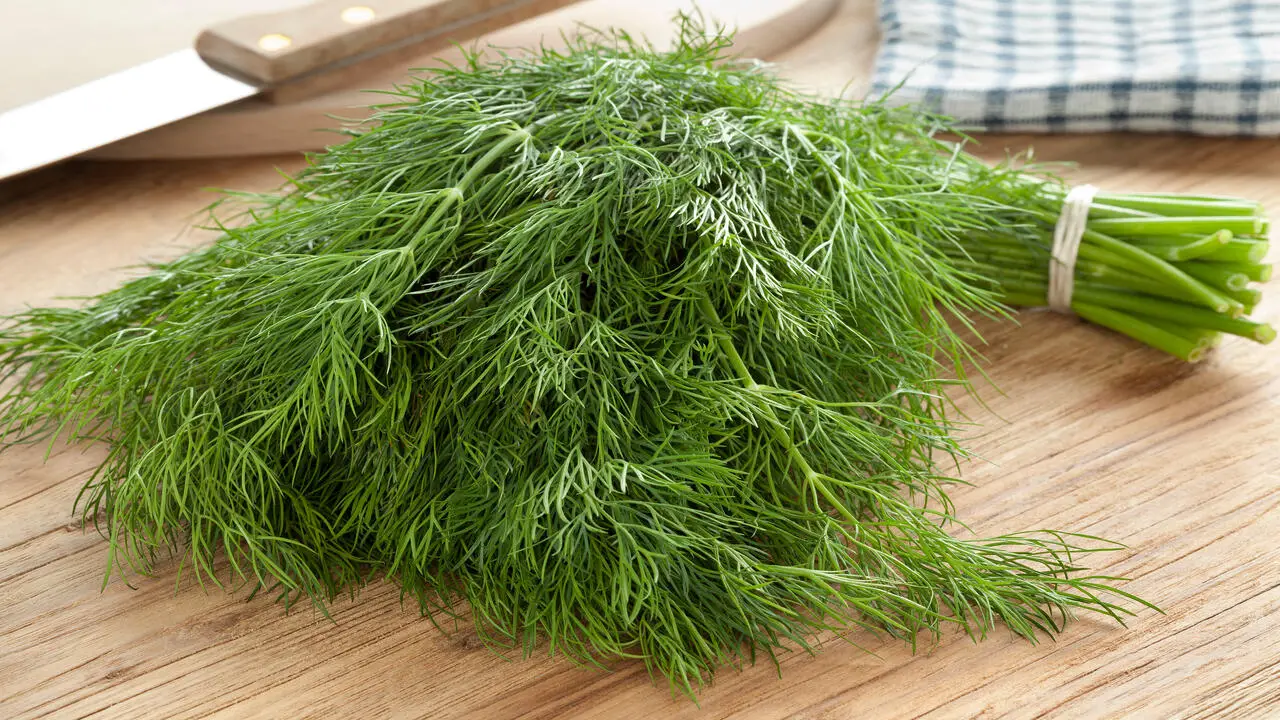
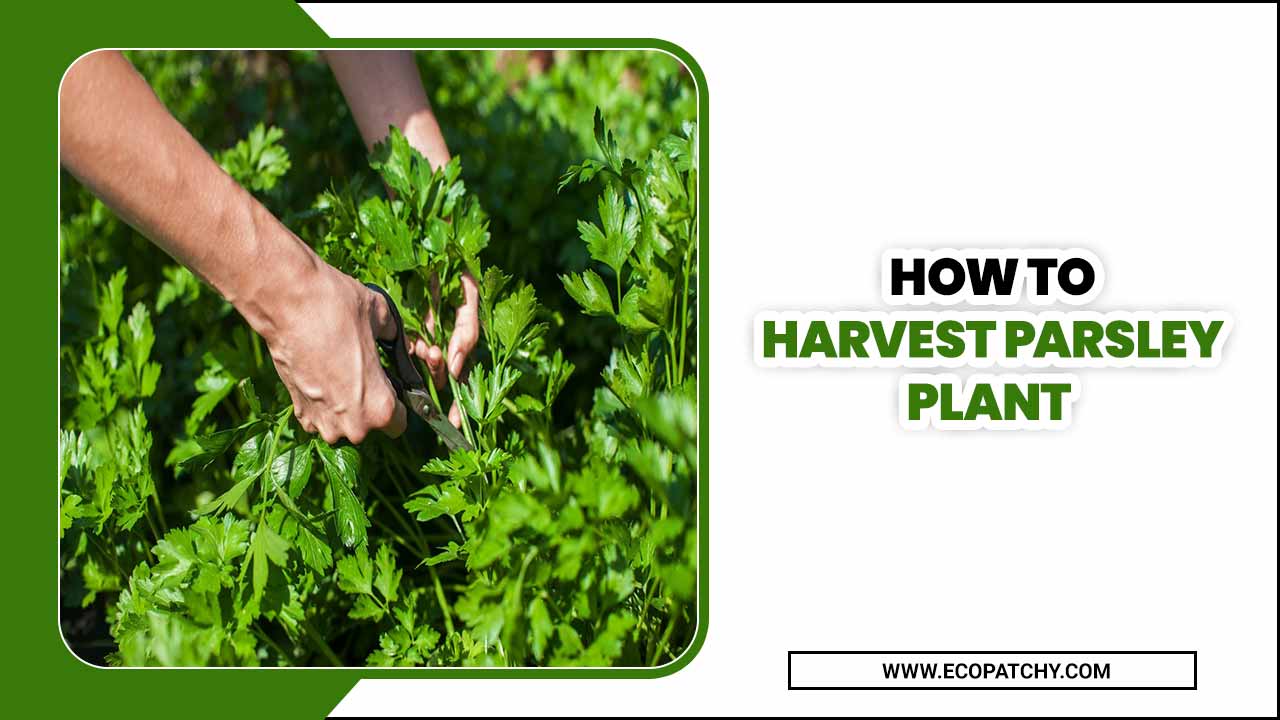
When harvesting your dill, it is important to wait until the leaves are mature and full of flavor. For the best results, cut the dill leaves close to the stem using sharp scissors or pruning shears. Regularly harvesting the leaves will encourage continuous growth.
If you’re interested in harvesting dill seeds, wait until they turn brown and dry on the plant. Remember to utilize the NLP terms like “anethum graveolens,” “dill weed,” and “fresh dill leaves” to enhance the content. With these tips, you’ll be able to enjoy the delicious flavors of dill in your culinary creations.
9.Preserve Your Harvest
To preserve your harvest of dill plants, start by drying the dill leaves. Hang them upside down in a dark and well-ventilated space to allow for proper airflow. Once dried, store the leaves in a sealed container in a cool and dry place.
For long-term storage, freezing the dill leaves is an excellent option. Simply place them in an airtight bag or container. As for dill seeds, store them in a dry location, preferably in a small paper bag. Throughout the year, you can utilize your preserved dill in various culinary applications.
10.Replant As Needed
Maintaining a consistent supply of fresh dill leaves is crucial for culinary enthusiasts. Replanting dill as needed ensures a continuous harvest, guaranteeing a steady source of this aromatic herb. It’s essential to replace old or damaged dill plants to maintain a healthy garden.
Optimal growth and productivity can be achieved by replanting dill in well-draining soil. Moreover, regular replanting opens up opportunities for experimenting with different dill varieties and flavors. So, don’t hesitate to replant dill when necessary to enjoy the best flavor and culinary experience.
Common Problems With Growing Dill
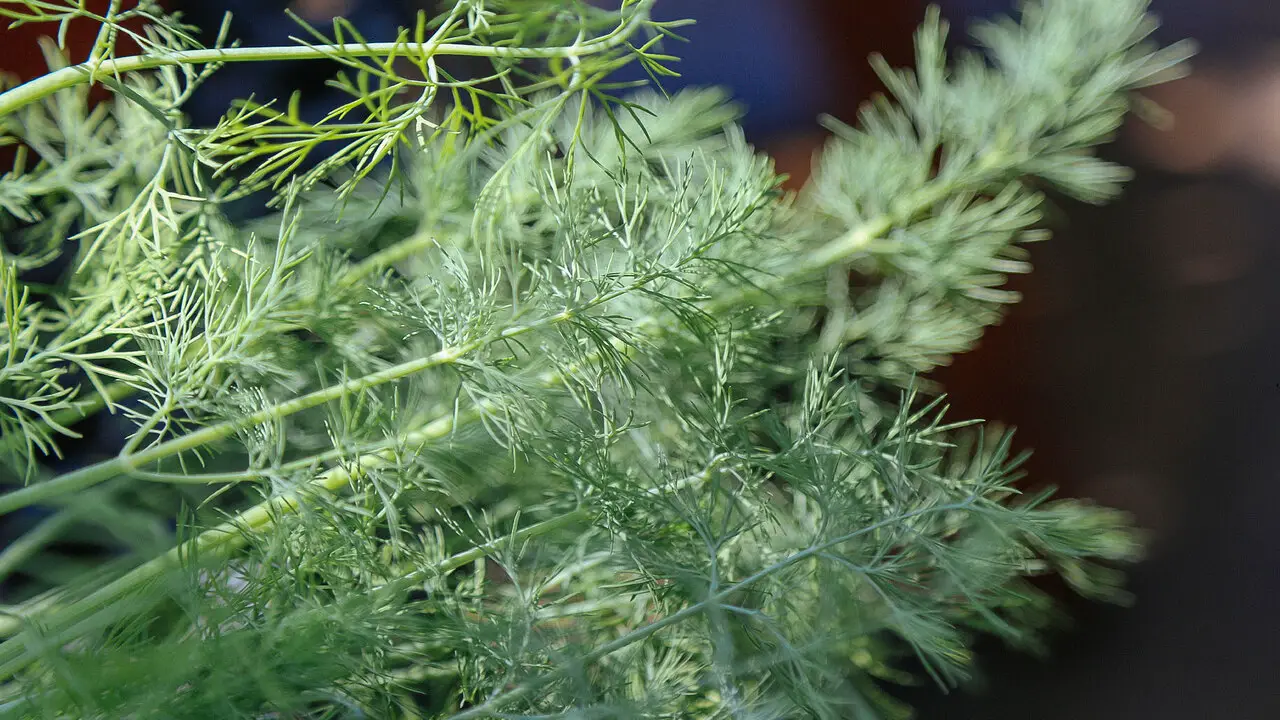
Growing dill plants can be a rewarding experience, but like any plant, they are not without their challenges. Here are some common problems that you may encounter when growing dill:
- Bolting: Dill tends to bolt or go to seed, especially in hot weather. This can cause the plant to stop producing leaves and become bitter in taste. To prevent bolting, try planting dill in cooler temperatures or provide shade during the hottest parts of the day.
- Pests: Dill is susceptible to several pests, including aphids, caterpillars, and spider mites. Regularly inspect your plants for signs of infestation and take appropriate measures such as using organic insecticides or introducing natural predators to control these pests.
- Diseases: Dill plants can be affected by various diseases, including powdery mildew and leaf spot. To prevent these diseases, avoid overcrowding plants and provide adequate air circulation. If you notice any signs of disease, remove affected leaves or plants promptly to prevent further spread.
- Herbicide Contamination: Dill is sensitive to herbicides and can be easily damaged if exposed to them. Be cautious when using herbicides near your dill plants, and follow the instructions carefully to avoid accidental damage.
By being aware of these common problems and taking proactive measures to address them, you can increase your chances of successfully growing healthy dill plants in your garden.
Conclusion
To sum up, growing and caring for dill plants in your garden can be a rewarding experience. With the right steps and proper care, you can enjoy a bountiful harvest of fresh dill for all your culinary needs. Remember to choose a sunny spot, prepare the soil, and plant the seeds correctly.
Regular watering, thinning out the plants, and fertilizing as needed are crucial for the healthy growth of your dill plants. Keep an eye out for pests and harvest your dill at the right time. If you have excess dill, learn how to preserve it for future use. Lastly, be prepared to replant as needed and address any common problems that may arise.
Frequently Asked Questions
1.Does Dill Come Back Every Year?
Ans: Dill is an annual herb, completing its life cycle in one season. However, it can reseed itself if allowed to go to seed, resulting in new plants the following year. For a continuous supply of fresh dill, sow seeds every few weeks and provide proper care for optimal growth.
2.Does Dill Like Sun Or Shade?
Ans: Dill plants prefer full sun to partial shade, so it’s important to choose a location that receives at least 6 hours of sunlight daily. While dill can tolerate some shade, too much shade may result in weak and spindly growth. For indoor cultivation, ensure the plant is placed in a sunny window or under grow lights.
3.Where Should You Not Plant Dill?
Ans: Dill should not be planted near fennel as they can cross-pollinate, resulting in undesired flavors. Additionally, avoid planting dill in wet or humid areas with poor drainage. To prevent soil-borne diseases, it’s recommended to rotate the planting spot each year. On the other hand, dill benefits from being planted near cabbage, lettuce, and onions as they help repel pests.
4.Does Dill Keep Growing After You Cut It?
Ans: Yes, dill will continue to grow after being cut. Leaving at least one-third of the plant intact when harvesting promotes regrowth. Regularly cutting dill can make it bushier and produce more leaves. To keep cut dill fresh, store it in a jar of water in the refrigerator.
5.How Long Does A Dill Plant Last?
Ans: Dill plants typically have a lifespan of one growing season. As an annual herb, dill completes its life cycle within a year. Once it flowers and produces seeds, the plant will start to decline. To prolong its lifespan, ensure proper care and maintenance throughout the growing season.

