Quick Summary:
Planting an annual flower garden is simple with these genius tips! Choose the right spot, pick vibrant annuals that suit your climate, plan your layout for continuous blooms, and plant at the correct depth. With a little care, your garden will burst with color all season long.
Welcome, fellow garden dreamers! Ever looked at a stunning flower garden bursting with color and thought, “I wish I could do that? You absolutely can! Creating a beautiful annual flower garden doesn’t have to be complicated. Many beginners feel overwhelmed by where to start, worrying about picking the right plants or getting them to thrive. But don’t worry, it’s easier than you think! We’re going to walk through simple, genius planting tips that will help you create a garden you’ll fall in love with, one easy step at a time. Get ready to transform your garden space into a vibrant oasis!
Why Annual Flowers Are Garden Wonders
Annual flowers are the rockstars of the garden world for a reason! They live their entire life cycle in one growing season – from seed to bloom to seed again. This means they put all their energy into producing spectacular flowers for you to enjoy, usually from spring or summer right up until the first frost. Unlike perennials, which might give you a show for a few weeks, annuals offer weeks and weeks, sometimes months, of continuous color! This makes them incredibly versatile and perfect for beginners who want immediate, impactful results without a long-term commitment.
Choosing the Perfect Spot: Sunshine is Key!
The first genius tip for your annual flower garden is all about location, location, location! Most annuals are sun-worshippers. They need at least 6 to 8 hours of direct sunlight each day to produce their best blooms. Think of it like this: the more sun, the more energy they have to make beautiful flowers.
- Observe Your Yard: Spend a day watching your garden areas. Where does the sun hit the hardest throughout the day? Make a note of that sunny spot.
- Consider Drainage: While sunny spots are great, soggy soil is not. Most annuals don’t like having their roots sit in water. Look for a spot that drains well. If your chosen spot tends to hold water after rain, you might need to amend the soil or consider raised beds.
- Protection Matters: While you want sun, strong, wind-whipped locations can damage delicate stems and flowers. A spot with some protection from harsh winds is ideal.
If you only have shady spots available, don’t despair! There are beautiful shade-loving annuals like impatiens, begonias, and coleus that will thrive in less sun. Just be sure to select plants that are suited for the light conditions you have.
Selecting Your Star Annuals: A Colorful Palette
Now for the fun part – picking your flowers! This is where you get to play artist.
Understanding Your Growing Zone
Before you grab every colorful plant you see, it’s important to know your USDA Plant Hardiness Zone. This tells you which plants are likely to survive and thrive in your climate. You can easily find your zone by entering your zip code on the USDA Plant Hardiness Zone Map website. Knowing your zone helps you select annuals that will perform well throughout your local growing season.
Matching Plants to Your Climate and Sunlight
Once you know your zone, you can start looking at plant tags or descriptions. Pay attention to:
- Sunlight Needs: Does it say “full sun” (6+ hours), “part sun/part shade” (4-6 hours), or “shade” (less than 4 hours)? Match this to your chosen spot.
- Bloom Time: Many annuals are bred to bloom all season, but some have specific peak times. A mix can provide a succession of blooms.
- Mature Size: Check how tall and wide the plant will get. This helps you plan spacing so plants don’t overcrowd each other.
- Water Needs: Some annuals are drought-tolerant once established; others need consistent moisture. Group plants with similar water needs together.
Popular Annuals for a Beginner’s Garden
Here are some tried-and-true annuals that are generally easy to grow and provide fantastic color:
| Flower Name | Sunlight Needs | Bloom Season | Height | Notes |
|---|---|---|---|---|
| Marigolds | Full Sun | Summer – Fall | 6-24 inches | Great pest deterrents; come in yellow, orange, red. |
| Petunias | Full Sun | Late Spring – Fall | 6-18 inches | Abundant blooms, many colors and varieties; trailing types are great for edges. |
| Zinnias | Full Sun | Summer – Fall | 1-4 feet | Attract butterflies; come in almost every color imaginable. |
| Impatiens | Shade to Part Shade | Late Spring – Fall | 6-18 inches | Perfect for shady spots; vibrant colors. |
| Cosmos | Full Sun | Summer – Fall | 1-4 feet | Delicate daisy-like flowers, airy foliage; great for cutting. |
| Begonias (Wax) | Part Shade to Shade | Late Spring – Fall | 6-12 inches | Reliable bloomers in shade, attractive foliage too. |
Planning Your Layout: Design for Continuous Color
A truly genius annual garden isn’t just about pretty flowers; it’s about having color throughout the season. Planning your layout carefully ensures you get the biggest visual impact with the least amount of fuss.
The Thriller, Filler, and Spiller Technique
This is a popular and effective way to create beautiful container gardens and flower beds. For each planting area, think about three types of plants:
- Thriller: The thriller is your eye-catching, tall plant that draws attention. It’s the star of the show. Think of a tall ornamental grass, a striking dahlia, or a vibrant salvia.
- Filler: Fillers are mounding or bushy plants that fill in the space around the thriller. They add bulk and color. Petunias, marigolds, or geraniums work well here.
- Spiller: Spillers are trailing plants that cascade over the edge of containers or hang down from the front of garden beds. Sweet potato vine, lobelia, or trailing petunias are excellent choices.
By combining these three elements, you create a dynamic, multi-dimensional planting that looks professionally designed.
Spacing and Height Considerations
Don’t just cram plants together! Each plant needs space to grow to its mature size. Overcrowding leads to poor air circulation, which can encourage disease, and plants will compete for light, water, and nutrients.
- Read the Plant Tag: It will tell you the recommended spacing. For example, if a tag says “12 inches apart,” plant them 12 inches center-to-center.
- Consider Mature Size: Think about how big the plant will get in both height and width. Back of the border for tall plants, front for short ones, and mid-height in between.
- Allow for Airflow: Good air circulation helps keep plants healthy.
Companion Planting for Health and Beauty
Companion planting involves placing plants near each other that benefit one another. For annuals, this can mean deterring pests or attracting beneficial insects.
- Pest Deterrents: Strong-smelling herbs like basil, rosemary, and mint can help repel certain pests from your flowers. Planting marigolds throughout your garden is also a classic pest deterrent.
- Attracting Pollinators: Many annuals like sunflowers, zinnias, and cosmos are magnets for bees and butterflies. Planting a variety of these will help pollinate your garden and provide beautiful movement.
- Color Companions: Think about color harmonies and contrasts. For example, a bright orange marigold looks stunning next to a deep purple petunia, or soft pink cosmos can complement sunny yellow sunflowers.
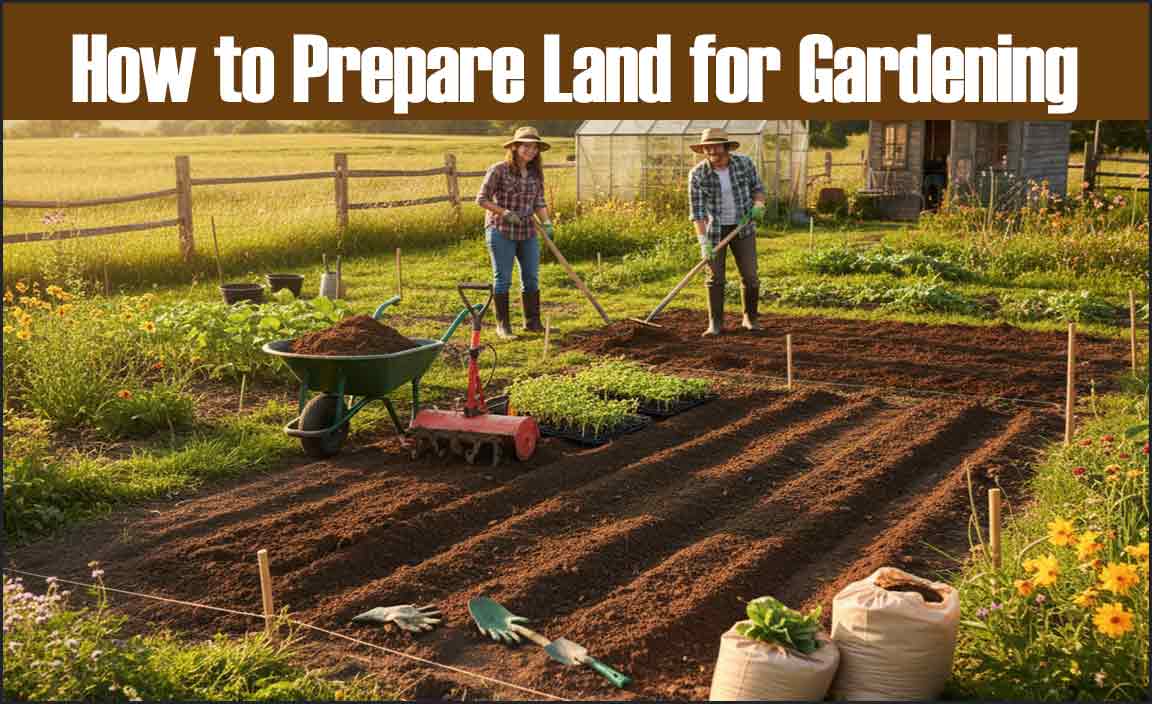
Prepping Your Garden Bed: Setting the Stage for Success
A little prep work goes a long way in ensuring your annuals thrive. Healthy soil is the foundation of a healthy garden.
Soil Preparation is Crucial
Most annuals perform best in well-draining soil that’s rich in organic matter.
- Weed Thoroughly: Remove all existing weeds from your planting area.
- Loosen the Soil: Dig down at least 8-12 inches using a shovel or garden fork. This loosens compacted soil, making it easier for plant roots to grow.
- Add Organic Matter: Mix in a generous layer of compost or well-rotted manure. Organic matter improves soil structure, aeration, and drainage, and it provides essential nutrients. Aim for a 2-4 inch layer mixed into the top 6-8 inches of soil.
For areas with heavy clay soil, adding perlite or coarse sand can help improve drainage. For sandy soils, adding peat moss or coconut coir will help it retain moisture and nutrients better. A soil test from your local extension office can give you specific recommendations for your soil type.
Container Gardening Prep
If you’re planting in pots, containers, or window boxes, the principle of good drainage is even more critical.
- Drainage Holes: Ensure every container has drainage holes at the bottom. This is non-negotiable!
- Potting Mix: Do NOT use garden soil in containers; it compacts too easily. Use a high-quality potting mix specifically designed for containers. You can also add some compost for extra nutrients.
- Pot Size: Choose pots that are large enough for the mature size of your plants.
Planting Your Annuals: Gentle Hands for Great Growth
You’ve planned, you’ve prepped, now it’s time for the main event: planting!
Timing is Everything: When to Plant
The biggest mistake beginners make is planting too early. Annuals are sensitive to frost.
- Know Your Last Frost Date: Research your area’s average last frost date. Most annuals should not be planted outdoors until all danger of frost has passed.
- Check the Weather: Even after the last frost date, keep an eye on the forecast for any late cold snaps.
- Acclimate Plants (Hardening Off): If you started seeds indoors or bought plants that have been in a greenhouse, they need to be gradually introduced to outdoor conditions. About a week before planting, place them outside in a sheltered spot for a few hours each day, gradually increasing the time and exposure to sun and wind. Bring them in at night.
Planting Directly from Nursery Pots
This is the most common way beginners plant annuals.
- Dig a Hole: Dig a hole that is slightly wider and just as deep as the plant’s nursery pot.
- Gently Remove Plant: Tip the pot on its side and gently slide the plant out. If it’s stuck, you can tap or gently squeeze the bottom of the pot. Avoid pulling the plant by the stem.
- Check the Roots: If the roots are tightly circled around the bottom (root-bound), gently loosen them with your fingers or make a few shallow vertical slices on the root ball. This encourages roots to grow outward into the soil.
- Place in Hole: Set the plant in the hole so that the top of the root ball is level with the surrounding soil. Planting too deep can suffocate the plant.
- Backfill and Firm: Gently fill the hole with soil, pressing lightly around the base of the plant to remove large air pockets.
- Water Thoroughly: Water each plant well immediately after planting. This helps settle the soil around the roots and reduces transplant shock.
Planting from Seed
Some annuals are incredibly easy to grow from seed directly sown into the garden. Zinnias, cosmos, sunflowers, and marigolds are great candidates.
- Prepare Seedbed: Ensure the soil is well-raked and free of debris.
- Check Seed Packet: Follow the instructions on the seed packet for planting depth and spacing. Generally, sow seeds at a depth about two to three times their diameter.
- Sow Seeds: Scatter seeds evenly or plant in rows, depending on your preference.
- Cover and Water: Lightly cover with soil and gently water to moisten the area. Keep the soil consistently moist until germination.
- Thin Seedlings: Once seedlings have a few sets of true leaves, thin them to the recommended spacing, as indicated on the seed packet. This allows the remaining plants to grow strong.
Watering Wisdom: Hydration for Happy Blooms
Water is essential, but how much and how often is key for annuals.
- Deep and Infrequent: It’s better to water deeply and less often than to give shallow, frequent sprinklings. Deep watering encourages roots to grow further down into the soil, making plants more drought-tolerant.
- Water the Soil, Not the Leaves: Water directly at the base of the plants. Wet foliage can encourage fungal diseases.
- Check Soil Moisture: The best way to know if your plants need water is to stick your finger about an inch or two into the soil. If it feels dry, it’s time to water.
- Container Plants Dry Out Faster: Plants in pots, especially terracotta, dry out much faster than those in the ground, particularly in hot, windy weather. They may need watering daily or even twice daily in extreme heat.
- Water in the Morning: Watering in the morning allows any splashed foliage to dry before evening, reducing disease risk.
A good rule of thumb is to provide about 1 inch of water per week, either from rain or irrigation, but adjust based on weather and plant needs. For more on watering, the Utah State University Extension offers some excellent resources.
Feeding Your Flowers: A Little Boost Goes a Long Way
Annuals are heavy feeders because they are bred for continuous, prolific blooming.
- Start with Good Soil: Well-amended soil with compost provides a good nutritional base.
- Fertilizing Regularly: Most annuals benefit from a regular feeding schedule. You can use a balanced, water-soluble fertilizer (like 10-10-10) every 2-4 weeks. Follow the product instructions carefully; over-fertilizing can harm plants.
- Slow-Release Options: Alternatively, you can mix a slow-release granular fertilizer into the soil at planting time according to package directions. This provides nutrients gradually over the season.
- For Containers: Container plants especially need regular feeding as nutrients leach out with frequent watering.
Remember, healthy plants are your best defense against pests and diseases, and good nutrition plays a huge part in that!
Maintenance: Keeping Your Garden Looking Its Best
A little ongoing care will keep your annual garden looking fabulous all season.
- Deadheading: This is one of the most important tasks! Deadheading is simply removing spent or dead flowers. Pinch or snip off faded blooms. This prevents the plant from putting energy into producing seeds and encourages it to produce more flowers.
- Weeding: Keep those weeds under control. They compete with your flowers for water, nutrients, and light. Regular light weeding is much easier than tackling a jungle.
- Pest & Disease Watch: Inspect your plants regularly for any signs of trouble. Early detection makes problems much easier to manage. Many minor issues can be solved by hand-picking pests or improving air circulation.
- Support Tall Plants: Some taller annuals might need staking to prevent them from flopping over, especially after rain or wind.
By performing these simple maintenance tasks, you’ll ensure your annual flower garden is a vibrant spectacle from planting until frost.
Troubleshooting Common Annual Garden Issues
Even with the best intentions, sometimes things don’t go perfectly. Here are a few common issues and how to tackle them.
Yellowing Leaves
This can be due to overwatering, underwatering, or nutrient deficiency. Check your watering habits first. If the soil is consistently too wet or too dry, adjust. If watering seems fine, try a balanced liquid fertilizer. For established plants