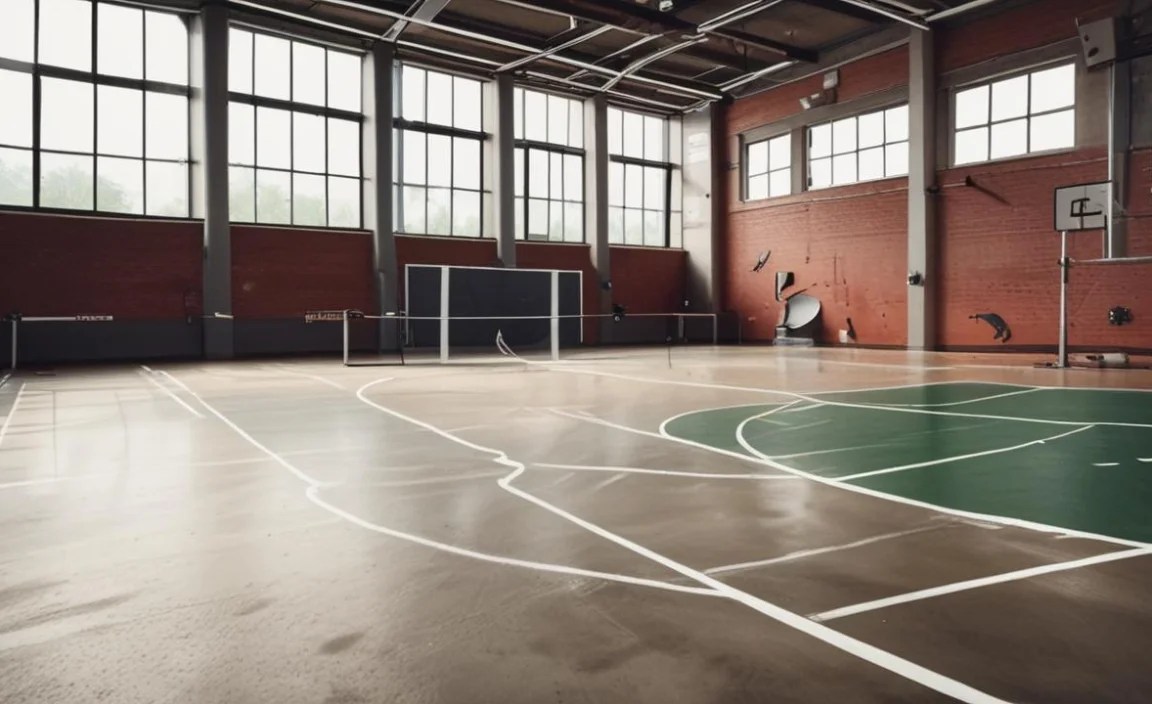
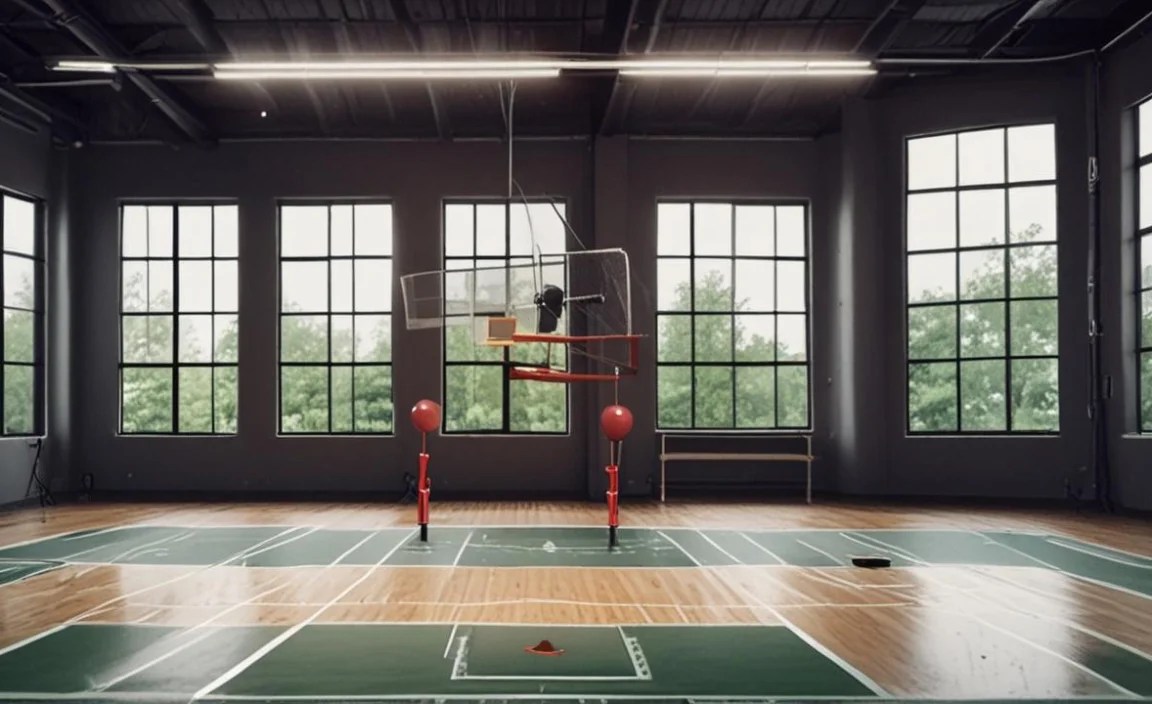
Have you ever tried taking pictures at a basketball game? The players move so fast! The gym lights might be dim. Getting a clear photo can be tricky. That’s where understanding camera settings indoor sports comes in. It helps you capture those amazing action shots.
Do you know what settings to use? Many people just point and shoot. But with a few tips, your photos will look much better. Let’s learn how to take great pictures of indoor sports!
Key Takeaways
- Proper camera settings indoor sports are key for sharp, bright photos.
- Use a fast shutter speed to freeze the action and prevent blur.
- Increase the ISO to make your camera more sensitive to light indoors.
- A wide aperture lets in more light, helping in dimly lit gyms.
- Practice and adjust settings as needed to get the best shots.
Understanding Camera Settings Indoor Sports

Taking photos of indoor sports can be challenging. The light is often not very good. The athletes are moving quickly. This means you need to adjust your camera settings. You want to capture clear, sharp images. What settings work best? Shutter speed is very important. It controls how long the camera’s sensor is exposed to light. For fast-moving subjects, you need a fast shutter speed. This will freeze the action. Aperture controls how much light enters the camera. A wider aperture (lower f-number) lets in more light. ISO is how sensitive your camera is to light. A higher ISO is useful in low-light situations. But it can also add noise to your photos. Finding the right balance is key to getting great shots of indoor sports.
- Use a fast shutter speed.
- Set a wide aperture.
- Increase the ISO.
- Use continuous shooting mode.
- Focus carefully on your subject.
To get great indoor sports photos, you need to practice. Every gym has different lighting. Every sport has different speeds. Try different settings and see what works best. Take lots of photos. Review them and learn from your mistakes. Don’t be afraid to experiment. Adjust your settings as the game goes on. The lighting might change, or the action might get faster. The more you practice, the better you’ll get at capturing those amazing moments. Soon you will master the art of photographing sports. You will be able to capture those fleeting moments with ease. So grab your camera, head to the gym, and start shooting. You’ll be amazed at the results you can achieve.
Fun Fact or Stat: The fastest shutter speed on most DSLR cameras is 1/4000th of a second!
Why Shutter Speed Matters
Have you ever taken a photo of a running dog and it looked blurry? That’s because the shutter speed was too slow. Shutter speed is how long the camera’s sensor sees light. A fast shutter speed is like a quick blink. It freezes motion. For indoor sports, athletes move fast. You need a fast shutter speed to capture them clearly. A good starting point is 1/250th of a second. For even faster action, try 1/500th or 1/1000th. The faster the shutter speed, the less light enters the camera. So you might need to adjust other settings. Open your aperture wider or increase the ISO. Practice to find the best settings. Remember, every gym is different. Every sport has different speeds. Experiment to find what works best for you.
Aperture for Indoor Sports
Imagine a window. A wide window lets in lots of light. A small window lets in very little light. Aperture is like the window of your camera. It controls how much light enters. It is measured in f-numbers. A lower f-number (like f/2.8) means a wider aperture. It lets in more light. This is great for indoor sports. Gyms are often dimly lit. A wide aperture can help you get brighter photos. It also creates a shallow depth of field. This means the background is blurry. Your subject will stand out more. But be careful. With a shallow depth of field, it’s harder to keep everything in focus. Practice focusing carefully. Make sure your subject is sharp.
ISO and Image Noise
What happens when you turn up the volume on your music too high? It starts to sound staticky, right? ISO is similar to the volume control on your camera. It makes the camera more sensitive to light. In dark gyms, you might need to increase the ISO. This will brighten your photos. But be careful. A high ISO can add noise to your photos. Noise looks like tiny dots or grain. It can make your photos look blurry or unclear. Try to keep your ISO as low as possible. Use a wide aperture and fast shutter speed first. Then, if you still need more light, increase the ISO. Experiment to find the highest ISO you can use without too much noise. Modern cameras handle high ISOs much better than older cameras.
Choosing the Right Camera Gear

Having the right gear can make a big difference. It is important for capturing great camera settings indoor sports photos. A good camera body is essential. Look for one that performs well in low light. A fast lens is also important. This means a lens with a wide aperture. A zoom lens can be helpful. It allows you to get closer to the action. Without physically moving. A monopod can provide stability. It helps you keep your camera steady. Especially when using a long lens. Don’t forget extra batteries and memory cards. You don’t want to run out of power or space during an important game. With the right gear, you’ll be well-equipped to capture those amazing moments.
- Choose a camera with good low-light performance.
- Use a fast lens with a wide aperture.
- Consider a zoom lens for versatility.
- Use a monopod for stability.
- Bring extra batteries and memory cards.
Investing in good camera gear can be expensive. But it’s worth it if you’re serious about indoor sports photography. Start with a good camera body and a fast lens. You can always add more gear later. Renting equipment is also a good option. This allows you to try out different lenses and cameras. Before you buy them. Talk to other photographers. Get their advice on what gear they recommend. Read reviews online to learn about the pros and cons of different products. Remember, the best gear is the gear that works best for you. Find what fits your budget and your style of shooting. Most importantly, practice with your gear. The more you use it, the better you’ll become at capturing those perfect shots.
Fun Fact or Stat: Some professional sports photographers use lenses that cost over $10,000!
Camera Body Considerations
Imagine you are a race car driver. You need a car that can handle sharp turns and high speeds. Your camera body is like that race car. It needs to be able to handle low light and fast action. Look for a camera with a good sensor. A bigger sensor generally performs better in low light. Also, check the ISO performance. How high can you push the ISO before the image gets too noisy? A fast frame rate is also important. This is how many photos the camera can take per second. A higher frame rate increases your chances of capturing the perfect moment. Finally, consider the ergonomics of the camera. Does it feel comfortable in your hands? Can you easily reach the controls?
Lens Choices for Indoor Sports
The lens is the eye of your camera. It is what focuses the light onto the sensor. For indoor sports, you need a lens that can let in a lot of light. This means a lens with a wide aperture. Look for lenses with an aperture of f/2.8 or wider. A zoom lens can also be helpful. This allows you to change your focal length. Without changing lenses. Popular zoom ranges for sports include 70-200mm and 100-400mm. Prime lenses (lenses with a fixed focal length) often have wider apertures. They can be a good choice if you don’t need the flexibility of a zoom lens. Consider the image stabilization of the lens. This can help reduce blur. Especially when shooting at slower shutter speeds.
Accessories That Help
Think of accessories as tools in a toolbox. They can help you get the job done better. A monopod can provide extra stability. This is useful when using a long lens. Or when shooting in low light. Extra batteries are essential. You don’t want to run out of power during a game. Extra memory cards are also important. You don’t want to run out of space. A camera bag can protect your gear. It also makes it easier to carry everything around. A lens cleaning kit can keep your lenses clean. This will ensure sharp, clear images. A gray card can help you set the white balance. This will ensure accurate colors in your photos. These accessories can make a big difference in your results.
Mastering Focus Techniques
Sharp focus is crucial for great sports photos. A blurry photo is no good. Even if the action is amazing. Mastering focus techniques is very important. Use autofocus to track your subject. Continuous autofocus mode is best for moving subjects. It keeps the subject in focus as it moves. Choose the right focus points. Focus on the subject’s eyes or face. This will ensure that the most important part of the image is sharp. Back-button focus can be helpful. This separates the focus from the shutter button. You can focus on the subject. Then recompose the shot without losing focus. Practice focusing techniques. The more you practice, the better you’ll get. You will be able to capture those crisp, clear action shots.
- Use continuous autofocus mode.
- Select the right focus points.
- Try back-button focus.
- Anticipate the action.
- Practice, practice, practice!
Focusing can be tricky in indoor sports. Athletes move quickly and unpredictably. The lighting might be poor. This can make it hard for the camera to focus. Don’t get discouraged if you miss some shots. Keep practicing. Learn from your mistakes. Try different focus settings. See what works best for you and your camera. Read your camera’s manual. Learn about all the different focus options. Watch videos online. Learn from other photographers. The more you know about focusing, the better your photos will be. Soon, you’ll be able to nail the focus. Even in the most challenging situations. You will be able to capture those amazing moments in sharp, clear detail.
Fun Fact or Stat: Professional sports photographers often use autofocus systems with hundreds of focus points!
Autofocus Modes Explained
Imagine you are trying to catch a ball. You need to adjust your hand as the ball moves. Autofocus modes help your camera do the same thing. Single autofocus is for subjects that are not moving. Continuous autofocus is for subjects that are moving. The camera will keep adjusting the focus as the subject moves. Auto autofocus lets the camera decide which mode to use. It can be useful in some situations. But it’s often better to choose the mode yourself. Continuous autofocus is generally the best choice for indoor sports. It will help you keep the athletes in focus. As they run, jump, and move around the court.
Choosing the Right Focus Points
Think of focus points as targets. They tell your camera where to focus. Most cameras have multiple focus points. You can choose which ones to use. Single-point focus uses just one focus point. This is good for precise focusing. Zone focus uses a group of focus points. This is good for subjects that are moving somewhat predictably. Wide-area focus uses all the focus points. This lets the camera choose where to focus. For indoor sports, zone focus is often a good choice. It allows you to track the athlete. While still giving you some control over the focus. Experiment with different focus point settings. See what works best for you.
Manual Focus Techniques
Sometimes, autofocus just doesn’t work. The lighting might be too poor. The subject might be moving too erratically. In these situations, manual focus can be helpful. It takes practice to master manual focus. But it can give you more control over the image. Use the focus ring on your lens to adjust the focus. Look through the viewfinder or on the LCD screen. Adjust the focus until the subject is sharp. Zoom in on the image to check the focus. Use focus peaking if your camera has it. This highlights the areas that are in focus. With practice, you can learn to focus manually. Even in challenging situations.
Using Burst Mode Effectively
Burst mode is like taking a machine gun to a knife fight. It allows you to take a rapid series of photos. By holding down the shutter button. This increases your chances of capturing the perfect moment. Especially in fast-paced indoor sports. Set your camera to continuous shooting mode. This is also known as burst mode. Check your camera’s specifications. Find out how many frames per second it can shoot. The higher the frame rate, the better. Use a fast memory card. This will allow the camera to write the images quickly. Without slowing down the burst mode. Be careful not to fill up your memory card too quickly. Burst mode can generate a lot of images. Review your photos after the game. Delete the ones you don’t need.
- Set your camera to continuous shooting mode.
- Use a fast memory card.
- Anticipate the action.
- Keep your finger on the shutter button.
- Review and delete unnecessary photos.
Burst mode can be a lifesaver in indoor sports. But it’s not a magic bullet. You still need to focus carefully. You still need to choose the right settings. Don’t just hold down the shutter button and hope for the best. Anticipate the action. Try to predict where the athlete will be. Press the shutter button just before the peak of the action. This will increase your chances of capturing the perfect moment. Remember to review your photos afterwards. Delete the ones that are blurry or poorly composed. Keep the ones that are sharp and well-composed. With practice, you can learn to use burst mode effectively. You will be able to capture those amazing action shots.
Fun Fact or Stat: Some professional cameras can shoot up to 30 frames per second in burst mode!
When to Use Burst Mode
Imagine you are watching a basketball player go up for a dunk. This is a perfect time to use burst mode. Any time there is fast, unpredictable action, burst mode can be helpful. Use it when athletes are jumping, running, or throwing. Use it when there is a lot of movement. But don’t use it all the time. Burst mode can fill up your memory card quickly. It can also make it harder to find the best photos. Use it selectively. Only when you really need it. Anticipate the action. Press the shutter button just before the peak of the moment. This will increase your chances of capturing the perfect shot.
Maximizing Frames Per Second
Frames per second (FPS) is how many photos your camera can take per second. A higher FPS is better for capturing fast action. Check your camera’s specifications to find out its maximum FPS. Use a fast memory card. This will allow the camera to write the images quickly. Without slowing down the FPS. Shoot in JPEG format instead of RAW format. JPEG files are smaller. So they write to the memory card faster. Turn off any unnecessary features. Such as image stabilization or noise reduction. These features can slow down the FPS. With these tips, you can maximize your camera’s FPS. You will be able to capture those crucial moments.
Managing Large Image Files
Burst mode can generate a lot of images. These images can take up a lot of space on your memory card. They can also take a long time to transfer to your computer. Use a large memory card. This will give you more room to store the images. Use a fast memory card reader. This will allow you to transfer the images quickly. Organize your images into folders. This will make it easier to find the ones you need. Delete the images you don’t need. This will free up space on your memory card. It will also make it easier to manage your image files. With these tips, you can manage the large image files. Generated by burst mode.
Adjusting White Balance for Accurate Colors

Have you ever taken a photo that looked too blue or too yellow? That’s because the white balance was off. White balance tells your camera what “white” looks like. Different light sources have different colors. Incandescent lights are warm and yellow. Fluorescent lights are cool and blue. Adjusting the white balance ensures accurate colors in your photos. Use the automatic white balance setting. This works well in many situations. But it’s not always perfect. Try the preset white balance settings. Such as “incandescent” or “fluorescent.” These can be more accurate. Custom white balance allows you to set the white balance manually. This is the most accurate method. But it requires a gray card or white object. With accurate white balance, your photos will look more natural.
- Use automatic white balance.
- Try preset white balance settings.
- Use custom white balance.
- Adjust white balance in post-processing.
- Understand different light sources.
White balance can be tricky in indoor sports. The lighting is often mixed. There might be a combination of incandescent and fluorescent lights. This can make it hard for the camera to determine the correct white balance. Experiment with different white balance settings. See what works best for you. Take some test shots before the game starts. Check the colors on your camera’s LCD screen. Adjust the white balance until the colors look accurate. You can also adjust the white balance in post-processing. Using software like Adobe Photoshop or Lightroom. But it’s always better to get it right in camera. With practice, you can learn to adjust the white balance. You will be able to capture those accurate colors.
Fun Fact or Stat: The color temperature of daylight is around 5500 Kelvin!
Understanding Color Temperature
Imagine you are looking at a flame. The hottest part of the flame is blue. The cooler part of the flame is red. Color temperature is similar. It measures the color of light in Kelvin. Lower color temperatures (around 2000-3000K) are warm and yellow. Higher color temperatures (around 6000-8000K) are cool and blue. Different light sources have different color temperatures. Incandescent lights have a low color temperature. Fluorescent lights have a high color temperature. Understanding color temperature can help you. Choose the right white balance setting. You will be able to capture those accurate colors.
Using Preset White Balance Modes
Most cameras have preset white balance modes. These modes are designed for different lighting conditions. The “daylight” mode is for shooting outdoors in sunlight. The “cloudy” mode is for shooting outdoors on cloudy days. The “shade” mode is for shooting in the shade. The “incandescent” mode is for shooting under incandescent lights. The “fluorescent” mode is for shooting under fluorescent lights. These preset modes can be a good starting point. But they’re not always perfect. Experiment with different modes. See what works best for you. You will be able to capture those accurate colors.
Custom White Balance Techniques
Custom white balance allows you to set the white balance manually. This is the most accurate method. But it requires a gray card or white object. Place the gray card or white object in the scene. Make sure it’s lit by the same light source. As your subject will be. Then, use your camera’s custom white balance setting. To take a reading of the gray card or white object. Your camera will then use this reading. To set the white balance. This will ensure accurate colors in your photos. Custom white balance can be tricky to use. But it’s worth the effort. You will be able to capture those accurate colors.
Post-Processing Tips for Indoor Sports Photos
Post-processing is like the final coat of paint on a masterpiece. It can enhance your photos. It can fix minor problems. But it can’t turn a bad photo into a good one. Start with a good photo. Then use post-processing to make it even better. Adjust the exposure and contrast. This can brighten the photo. It can also add more detail. Adjust the white balance. This can fix any color problems. Sharpen the image. This can make it look more crisp and clear. Reduce noise. This can clean up the image. Crop the image. This can improve the composition. With careful post-processing, you can make your indoor sports photos shine.
| Setting | Description | Typical Adjustment |
|---|---|---|
| Exposure | Overall brightness of the image | +/- 0.5 to 1 stop |
| Contrast | Difference between light and dark areas | +5 to +15 |
| White Balance | Adjusts color temperature | Fine-tune as needed |
| Sharpening | Increases detail and clarity | 25-50% |
| Noise Reduction | Reduces graininess in the image | 10-30% |
There are many different post-processing programs available. Adobe Photoshop and Lightroom are two popular choices. These programs offer a wide range of features. They can be used to make very complex adjustments. There are also simpler programs available. These programs are easier to use. They offer fewer features. But they can still be used to make basic adjustments. Experiment with different programs. Find the one that works best for you. Remember, post-processing is a matter of personal preference. There is no right or wrong way to do it. The goal is to make your photos look their best. With careful post-processing, you can take your indoor sports photos to the next level.
Fun Fact or Stat: The first digital image was scanned in 1957 and took 20 minutes to process!
Basic Adjustments in Post-Processing
Imagine you are painting a picture. You might need to add more light. Or more shadow. Basic adjustments in post-processing are similar. Adjusting the exposure can brighten or darken the image. Adjusting the contrast can increase the difference between light and dark areas. Adjusting the highlights can brighten the brightest parts of the image. Adjusting the shadows can darken the darkest parts of the image. Adjusting the whites can set the white point. Adjusting the blacks can set the black point. These basic adjustments can make a big difference. In the overall look of your photo.
Advanced Techniques for Sports Photos
Once you master the basic adjustments, you can move on to more advanced techniques. Using curves can give you more control over the contrast. Using selective color can adjust the colors in specific areas. Using layers can allow you to make complex adjustments. Without affecting the entire image. Using masks can protect certain areas from adjustments. Using healing tools can remove blemishes or distractions. These advanced techniques can take your photos to the next level. But they require more practice and skill. Learn them gradually. Don’t try to learn everything at once.
Software Options for Post-Processing
There are many different software options available for post-processing. Adobe Photoshop is the industry standard. It offers a wide range of features. But it can be expensive. Adobe Lightroom is a more affordable option. It’s designed specifically for photographers. It offers many of the same features as Photoshop. But it’s easier to use. GIMP is a free and open-source alternative to Photoshop. It offers many of the same features. But it’s not as user-friendly. Capture One is another popular option. It’s known for its excellent color rendering. Experiment with different software options. Find the one that works best for you.
Summary
Capturing great camera settings indoor sports photos takes practice. You need to understand your camera settings. Shutter speed, aperture, and ISO are very important. You also need to master focusing techniques. Burst mode can help you capture the perfect moment. White balance ensures accurate colors. Post-processing can enhance your photos. With the right gear and the right techniques, you can capture amazing action shots. Remember to experiment and have fun. The more you practice, the better you’ll get. Don’t be afraid to try new things. The best way to learn is by doing. So grab your camera, head to the gym, and start shooting.
Conclusion
Photographing indoor sports can be challenging. But it’s also very rewarding. You can capture those amazing moments. Those moments of athleticism and emotion. Understanding camera settings indoor sports is key. With the right settings and techniques, you can take your photos to the next level. So keep practicing. Keep learning. And keep capturing those unforgettable moments. You will be able to produce stunning sports photography.
Frequently Asked Questions
Question No 1: What is the best shutter speed for indoor sports photography?
Answer: The best shutter speed depends on how fast the athletes are moving. A good starting point is 1/250th of a second. For faster action, try 1/500th or 1/1000th of a second. The faster the shutter speed, the less light enters the camera. So you might need to adjust other settings. Open your aperture wider or increase the ISO. Practice to find the best settings for camera settings indoor sports. Remember, every gym is different, and every sport has different speeds. Experiment to find what works best for you and the available lighting conditions.
Question No 2: What is the best aperture for indoor sports photography?
Answer: The best aperture is usually the widest aperture your lens allows. This lets in the most light. Which is important in dimly lit gyms. Look for lenses with an aperture of f/2.8 or wider. A wide aperture also creates a shallow depth of field. This means the background is blurry. Your subject will stand out more. But be careful. With a shallow depth of field, it’s harder to keep everything in focus. Practice focusing carefully. Make sure your subject is sharp and clear in your sports photography.
Question No 3: What ISO should I use for indoor sports?
Answer: The ISO depends on the lighting conditions. Try to keep the ISO as low as possible. To minimize noise. Start with ISO 800 or 1600. Increase it if you need more light. But be careful. A high ISO can add noise to your photos. Experiment to find the highest ISO you can use. Without too much noise. Modern cameras handle high ISOs much better than older cameras. For camera settings indoor sports, you might have to compromise and accept some noise for a brighter image. Always check your results and adjust as needed.
Question No 4: What is the best focus mode for indoor sports photography?
Answer: Continuous autofocus mode is generally the best choice. This mode keeps the subject in focus as it moves. Select the right focus points. Focus on the subject’s eyes or face. This will ensure that the most important part of the image is sharp. Back-button focus can be helpful. This separates the focus from the shutter button. You can focus on the subject. Then recompose the shot without losing focus. These techniques are helpful for camera settings indoor sports.
Question No 5: How can I reduce noise in my indoor sports photos?
Answer: To reduce noise, keep the ISO as low as possible. Use a wide aperture to let in more light. Use a fast shutter speed to freeze the action. Reduce noise in post-processing. Using software like Adobe Photoshop or Lightroom. There are also plugins available. That are specifically designed to reduce noise. Experiment with different techniques. Find what works best for you. Good camera settings indoor sports will minimize noise from the start.
Question No 6: What other tips can improve my indoor sports photography?
Answer: Anticipate the action. Try to predict where the athlete will be. Use burst mode to capture a series of photos. This increases your chances of capturing the perfect moment. Adjust the white balance for accurate colors. Crop your photos to improve the composition. Practice, practice, practice! The more you shoot, the better you’ll get. Review your photos and learn from your mistakes. Don’t be afraid to experiment. With the right camera settings indoor sports, you can drastically improve your shots. Have fun and enjoy the process!
