Do you love Halloween? It is a fun time to dress up. You can also decorate your house. Have you thought about witch decorations? Making your own is super cool. Let’s explore diy halloween witch decorations outdoors. Get ready to have the best Halloween ever!
Key Takeaways
- Creating DIY Halloween witch decorations outdoors adds spooky fun to your yard.
- Repurpose old clothes and materials to make unique witch figures.
- Light up your witch decorations with colorful, eerie lights.
- Simple supplies like broomsticks and hats complete the witchy look.
- Involving kids in crafting makes decorating even more exciting.
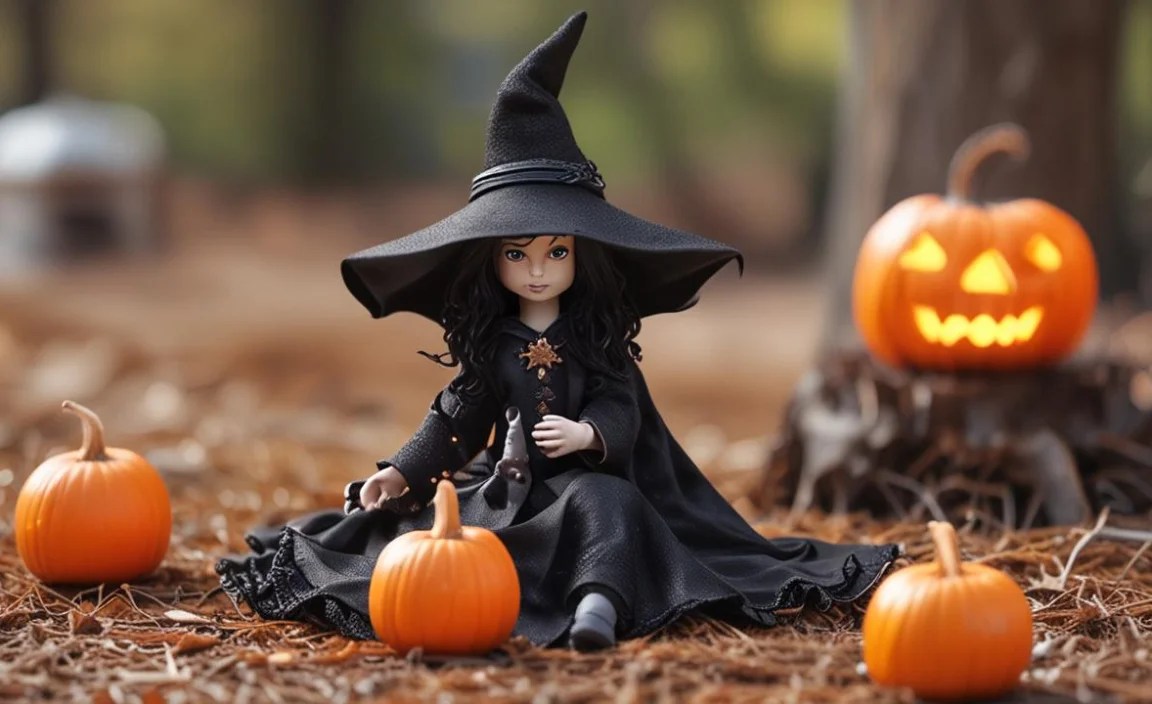
Crafting Simple Witch Silhouettes
Making witch silhouettes is an easy project. You can use cardboard or plywood. First, draw a witch shape. A classic witch on a broom is perfect. Cut out the shape carefully. Paint it black for a spooky look. Attach it to a stake. Now, you can stick it in your yard. These silhouettes look great against a fence. You can also put them near trees. They add a simple, spooky touch. You could even add glowing eyes. Use battery-operated lights for this. This makes your witch silhouette stand out at night. It’s a fun and easy way to decorate.
- Draw a witch shape on cardboard.
- Cut out the witch silhouette.
- Paint it black.
- Attach it to a wooden stake.
- Place it in your yard for a spooky look.
Imagine kids walking by your house. They see a black witch silhouette. It’s lit up with glowing eyes. They might giggle or gasp. That’s the fun of Halloween! Making these decorations yourself is rewarding. You get to be creative. You also save money. Store-bought decorations can be expensive. Plus, handmade decorations are unique. No one else will have the same witch as you. Get your family involved. Make it a fun Halloween project. Enjoy the spooky season with your own witchy creations. These silhouettes are sure to impress.
Fun Fact or Stat: Did you know that black cats were often associated with witches in folklore? This is why black is a popular color for Halloween decorations!
What materials do I need?
What if you don’t have cardboard? Don’t worry. You can use other materials. Plywood works well for a sturdier silhouette. You can also use foam board. This is lightweight and easy to cut. For paint, use outdoor paint. This will protect your silhouette from the weather. Acrylic paint is a good choice. It dries quickly and is water-resistant. For the stake, use a wooden dowel. You can find these at any hardware store. Make sure it’s long enough to hold the silhouette. You will also need a saw or knife. Be careful when cutting. Always ask an adult for help. These simple materials will help you create a great witch silhouette.
How do I make it glow?
Making your witch silhouette glow is easy. Use battery-operated LED lights. These are safe and energy-efficient. You can find them at most stores. Stick them to the back of the silhouette. Use tape or glue. Make sure the lights are facing outwards. This will make the eyes glow. You can also use glow-in-the-dark paint. Paint the eyes with this paint. During the day, it will charge in the sunlight. At night, it will glow. This is a simple and fun way to add a spooky effect. Experiment with different colors. Red or green eyes can be very scary. Have fun making your witch glow!
Where should I place it?
The best place to put your witch silhouette is in your front yard. Place it near a tree or bush. This will make it look like she is hiding. You can also put it near your front door. This will greet trick-or-treaters. Make sure it is visible from the street. You want everyone to see your creation. If you have a fence, place it there. The fence will provide support. Make sure it is secure. You don’t want it to fall over. Consider the lighting. If you have a spotlight, use it to highlight the silhouette. This will make it even more spooky. Choose a spot that is both visible and safe.
Creating a Witch’s Leg Display
A witch’s leg display is a fun and quirky decoration. Use striped stockings. Stuff them with newspaper or plastic bags. Attach them to old shoes or boots. Now, stick them in the ground. Make it look like the witch crashed. You can place them under a bush or a cauldron. Add a broom nearby. This completes the scene. This decoration is sure to get laughs. It’s unexpected and silly. Kids will love it. It’s also easy to make. Use materials you already have. Get creative with the stockings and shoes. Make it as colorful or spooky as you like. A witch’s leg display is a fun addition to your outdoor Halloween decorations.
- Stuff striped stockings with filling.
- Attach old shoes or boots to the stockings.
- Stick the legs in the ground.
- Place a broom nearby for effect.
- Make it look like the witch crashed.
- Use bright colors for a fun look.
Have you ever seen a cartoon witch crashing? This decoration brings that to life! It’s a playful take on Halloween. Instead of scary, it’s funny. This can be a great option if you have younger kids. They might be scared by traditional decorations. A witch’s leg display is lighthearted. It adds a touch of whimsy to your yard. You can even add props. A sign that says “Witch Parking Only” would be cute. Or maybe a small, overturned cauldron. Get creative and have fun with it. This decoration is sure to be a hit with everyone who sees it. It shows off your fun and creative side.
Fun Fact or Stat: Striped stockings are a classic witch costume element, popularized by the Wicked Witch of the West in “The Wizard of Oz.”
What kind of shoes should I use?
Choosing the right shoes is important. Old boots work great. They add to the witchy look. You can also use old sneakers. Paint them black or purple. This will make them look more like witch shoes. Avoid using brand-new shoes. You don’t want to ruin them. Look for shoes at a thrift store. You can find cheap options there. Make sure the shoes are sturdy. They need to hold up the stockings. Consider the size of the shoes. They should be big enough to be noticeable. Small shoes might get lost in the grass. Have fun finding the perfect witch shoes. It’s all part of the creative process.
How do I make the legs stay up?
Keeping the legs upright can be tricky. Use sturdy stakes. Insert them into the ground. Attach the stockings to the stakes. You can use zip ties or strong tape. Make sure the stakes are hidden. You don’t want them to be too visible. Another option is to use PVC pipes. Insert the pipes into the stockings. Then, stick the pipes into the ground. This will provide extra support. You can also use a heavy base. Fill a bucket with sand or rocks. Insert the stockings into the bucket. This will keep them from falling over. Experiment with different methods. Find what works best for your yard. A little extra support will keep your witch legs standing tall.
Can I add other props?
Adding props can enhance your display. A broom is a must-have. Lean it against the legs. This makes it look like she dropped it. You can also add a cauldron. Place it nearby. Fill it with fake potion ingredients. Use plastic eyeballs or gummy worms. A sign that says “Crash Landing” would be funny. You can also add a witch hat. Place it on the ground near the legs. Get creative with your props. Use items you already have. This will save you money. Don’t be afraid to experiment. The more props you add, the more fun your display will be. Make it a unique and memorable Halloween decoration.
Building a Spooky Witch’s Cauldron

A witch’s cauldron is a classic Halloween decoration. Find a large pot or container. Paint it black. Add some spooky details. You can use fake spiderwebs. Or add some plastic spiders. Fill the cauldron with dry ice. This will create a fog effect. Add some potion ingredients. Use plastic eyeballs or gummy worms. You can also use colored water. Green or purple water looks very spooky. Place the cauldron in your yard. Make sure it is visible. You can put it near your front door. Or place it in a corner of your yard. A witch’s cauldron is a great addition to your outdoor decorations. It adds a spooky and magical touch.
- Find a large pot or container for the cauldron.
- Paint the cauldron black for a classic look.
- Add fake spiderwebs and plastic spiders.
- Use dry ice to create a spooky fog effect.
- Fill with potion ingredients like eyeballs.
- Use green or purple colored water for an eerie look.
Have you ever wondered what witches brew in their cauldrons? This decoration lets you imagine. It’s a fun way to add mystery to your yard. The fog effect is especially cool. It makes the cauldron look like it’s bubbling. Kids will love watching the fog roll out. Be careful when using dry ice. It can be dangerous if not handled properly. Always wear gloves. Never touch it with your bare hands. You can find dry ice at most grocery stores. It’s a simple way to add a dramatic effect. A witch’s cauldron is a must-have for any Halloween display. It brings a touch of magic and mystery to your yard.
Fun Fact or Stat: Cauldrons have been associated with witches since the Middle Ages, often depicted as the vessel for brewing magical potions.
How do I make the fog effect?
The fog effect is easy to create. You need dry ice and water. Place the dry ice in the cauldron. Pour warm water over it. The dry ice will start to bubble. This creates a thick fog. The warmer the water, the more fog you get. Be careful not to use boiling water. This can cause the dry ice to melt too quickly. Add more dry ice as needed. The fog effect will last for several minutes. It depends on the amount of dry ice you use. Make sure the cauldron is in a well-ventilated area. The fog is harmless, but it can be irritating if inhaled in large quantities. Enjoy the spooky fog effect!
What other ingredients can I add?
Get creative with your potion ingredients. Plastic eyeballs are a classic choice. You can find them at most party stores. Gummy worms are another fun option. They look like creepy crawlies. Use colored water to add to the effect. Green or purple is a good choice. You can use food coloring to tint the water. Add some fake bones or skulls. This will make the cauldron even spookier. Use your imagination. Think about what a witch might use in her potions. Feathers, leaves, and twigs can also add a natural touch. The more ingredients you add, the more interesting your cauldron will be.
Where should I place the cauldron?
The location of your cauldron is important. Place it in a visible spot. Near your front door is a good choice. This will greet trick-or-treaters. You can also put it in a corner of your yard. Make sure it is on a flat surface. You don’t want it to tip over. Consider the lighting. A spotlight can highlight the cauldron. This will make it stand out at night. You can also use colored lights. Green or purple lights will add to the spooky effect. Make sure it is away from walkways. You don’t want anyone to trip over it. Choose a spot that is both visible and safe.
| Decoration | Materials | Difficulty | Spookiness |
|---|---|---|---|
| Witch Silhouette | Cardboard, paint, stake | Easy | Medium |
| Witch Legs | Stockings, shoes, stuffing | Easy | Low |
| Witch Cauldron | Pot, dry ice, props | Medium | High |
| Hanging Witch Hats | Hats, string, lights | Easy | Medium |
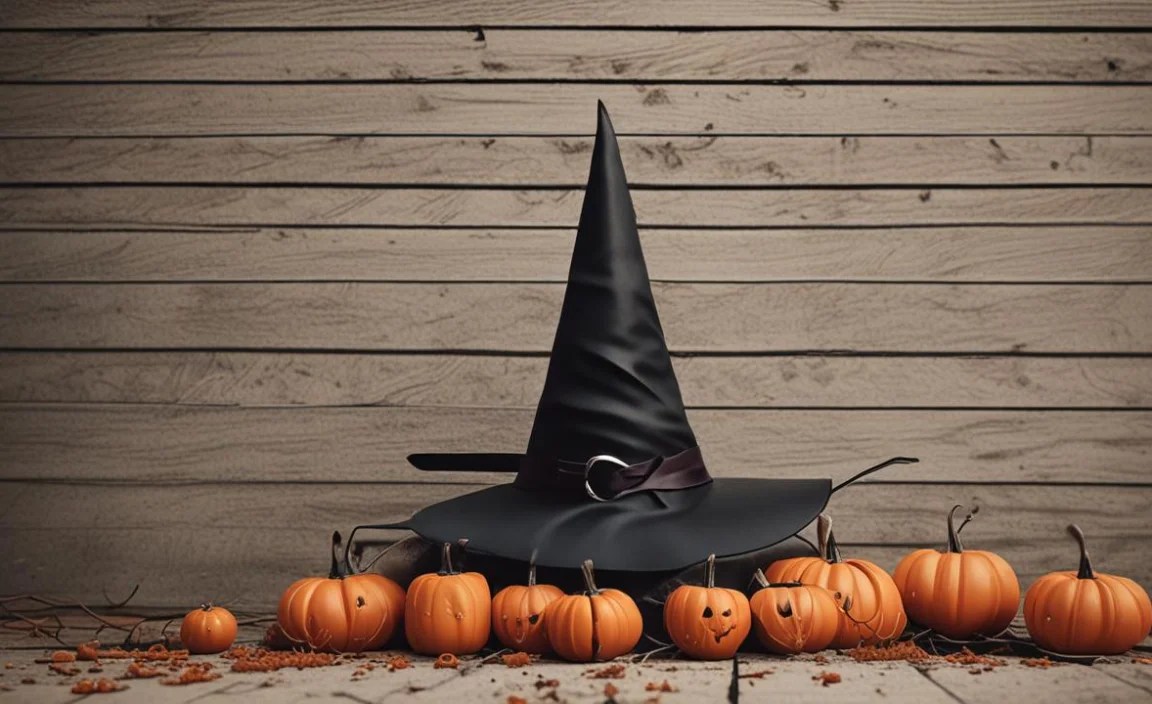
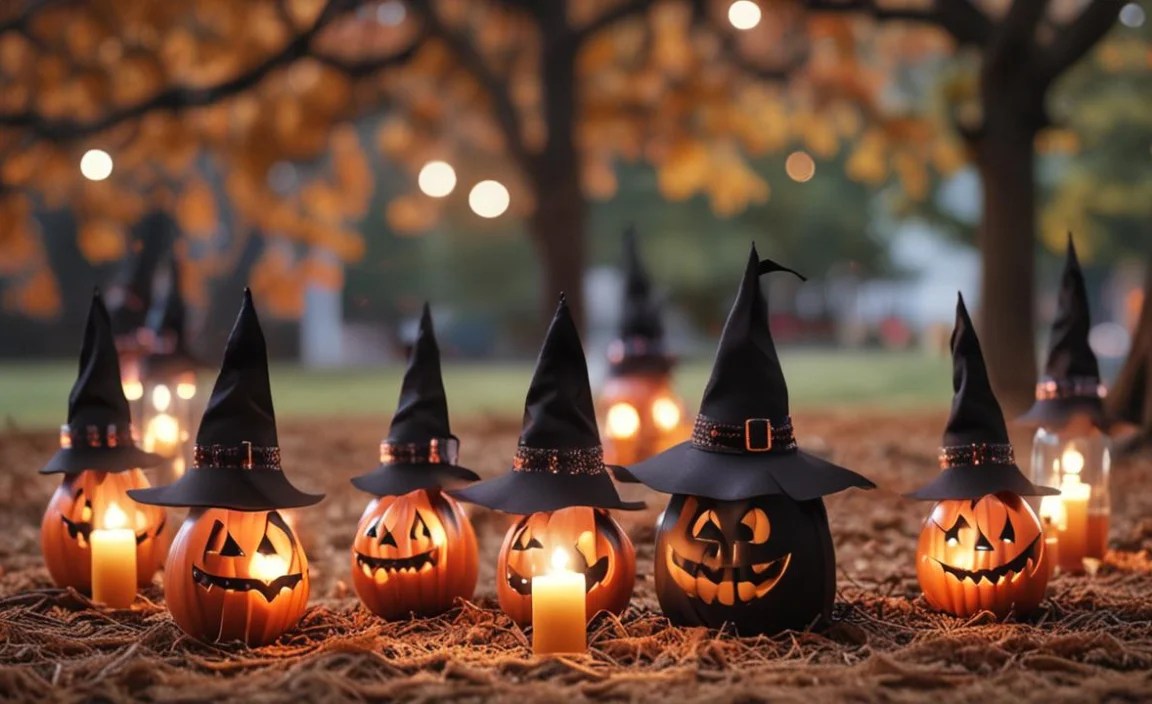
Creating Hanging Witch Hat Decor
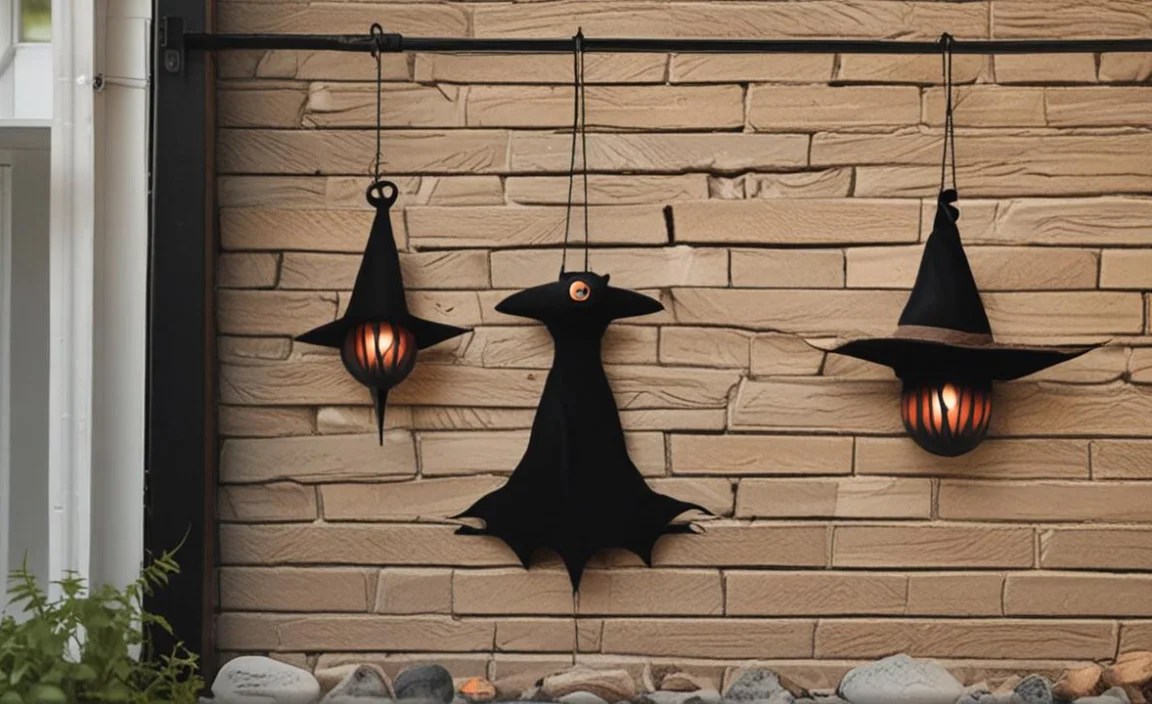
Hanging witch hats are a simple yet effective decoration. Buy some inexpensive witch hats. You can find them at any party store. Use fishing line to hang them from trees. Or hang them from your porch. Vary the height of the hats. This will create a more dynamic look. Add some string lights. Wrap them around the hats. This will make them glow at night. You can also add some spooky props. Hang some plastic spiders or bats from the hats. This will add to the witchy effect. Hanging witch hats are a fun and easy way to decorate your yard. They add a touch of whimsy and spookiness.
- Buy inexpensive witch hats.
- Use fishing line to hang them.
- Vary the height of the hats.
- Add string lights for a glowing effect.
- Hang plastic spiders or bats from the hats.
Imagine walking into a forest of floating witch hats. That’s the feeling this decoration creates. It’s magical and spooky at the same time. The string lights add a warm glow. This makes it inviting and eerie. This decoration is perfect for a Halloween party. It creates a fun and festive atmosphere. You can also use different colored hats. Black, purple, and green hats will add variety. Get creative with the props. Add some feathers or ribbons to the hats. This will make them even more unique. Hanging witch hats are a simple way to transform your yard into a witchy wonderland.
Fun Fact or Stat: Witch hats have become synonymous with Halloween, evolving from historical headwear into a symbol of magic and mystery.
How do I hang the hats securely?
Hanging the hats securely is important. You don’t want them to fall down. Use strong fishing line. This is invisible and durable. Tie the fishing line to the top of the hat. Make sure the knot is secure. Hang the hats from sturdy branches. Or use hooks on your porch. Test the line before hanging the hat. Make sure it can support the weight. If the hats are heavy, use thicker string. You can also use zip ties. These are very strong and reliable. Check the hats regularly. Make sure they are still hanging securely. A little extra effort will keep your hats in place all season long.
What kind of lights should I use?
Choosing the right lights is key. Use LED string lights. These are energy-efficient and long-lasting. They also don’t get too hot. This is important for safety. Choose lights with a warm white glow. This will create a cozy atmosphere. You can also use colored lights. Purple or orange lights will add to the Halloween effect. Battery-operated lights are a good option. You don’t need to worry about finding an outlet. Make sure the lights are waterproof. This will protect them from the weather. Wrap the lights around the hats carefully. Don’t cover the entire hat. Leave some of the hat visible. This will create a nice balance of light and shadow.
Can I add other decorations?
Adding other decorations can enhance the effect. Hang plastic spiders from the hats. This will add a spooky touch. You can also hang bats. These are another classic Halloween decoration. Add some feathers or ribbons to the hats. This will make them more unique. Use different colored hats. Black, purple, and green hats will add variety. Hang some small lanterns near the hats. This will create a warm glow. Get creative with your decorations. Use items you already have. This will save you money. Don’t be afraid to experiment. The more decorations you add, the more festive your yard will be.
Making Witch Broomstick Props
Witch broomsticks are essential for witch decorations. Gather some sticks from your yard. You can also buy them at a craft store. Bundle the sticks together. Use twine or rope to tie them tightly. Attach the bundle to a wooden handle. You can use a broom handle or a dowel rod. Make sure it is secure. You can add some embellishments. Tie some ribbons or fabric scraps to the broom. This will give it a more rustic look. Lean the broomsticks against your porch. Or place them near your cauldron. Witch broomsticks are a simple and effective way to add to your Halloween décor.
- Gather sticks from your yard or a craft store.
- Bundle the sticks together tightly.
- Attach the bundle to a wooden handle.
- Add ribbons or fabric scraps for decoration.
- Lean the broomsticks against your porch.
Have you ever dreamed of flying on a broomstick? These decorations let you imagine. They add a touch of magic to your yard. You can make different sizes of broomsticks. Small ones for little witches. Big ones for the main display. These are also great for photo opportunities. Kids can pose with the broomsticks. This will create fun memories. You can even add a sign that says “Broom Parking Only.” This will add a touch of humor. Get creative with the embellishments. Use different colors and textures. The more unique your broomsticks are, the more they will stand out. This DIY project is a great way to add a personal touch to your Halloween decorations.
Fun Fact or Stat: The image of witches flying on broomsticks dates back to the 15th century, symbolizing their supposed ability to travel long distances.
How do I make the broom look old?
Making the broom look old is easy. Use rough, uneven sticks. This will give it a rustic look. Apply a stain to the wooden handle. This will make it look aged. You can use coffee or tea to stain the wood. Sand the handle lightly. This will remove some of the stain. This will create a worn look. Add some cobwebs to the broom. This will make it look like it’s been sitting for years. You can use fake cobwebs from a party store. Or you can make your own using cotton balls. Break some of the sticks. This will make it look like the broom has been used a lot. A few simple touches can transform a new broom into an old, witchy prop.
What kind of handle should I use?
The handle is an important part of the broom. A wooden broom handle is a good choice. You can find these at most hardware stores. A dowel rod is another option. These are cheaper and easier to find. Make sure the handle is sturdy. It needs to support the weight of the sticks. Consider the length of the handle. A longer handle will be easier to hold. A shorter handle will be easier to display. You can also use a branch from a tree. This will give the broom a more natural look. Sand the handle to remove any splinters. This will make it safer to handle. Choose a handle that is both functional and aesthetically pleasing.
Where should I place the broomsticks?
The placement of the broomsticks is important. Lean them against your porch. This is a classic and simple option. Place them near your cauldron. This will create a witchy scene. You can also place them near your front door. This will greet trick-or-treaters. Group the broomsticks together. This will create a more dramatic effect. You can also scatter them around your yard. This will make it look like witches have been flying around. Consider the lighting. A spotlight can highlight the broomsticks. This will make them stand out at night. Choose a spot that is both visible and safe.
DIY Witch Signage for Outdoors
Creating witch signage adds a personal touch. Use old wood planks. Paint them with spooky messages. “Witch Parking Only” is a fun idea. Or “Beware of Witch.” Use stencils for neat letters. Distress the wood for an aged look. Sand the edges and apply dark stain. Attach the signs to stakes. Place them around your yard. These signs add character and humor. They guide visitors through your spooky scene. You can also add witch silhouettes. This enhances the theme. DIY signs are a creative addition to your outdoor display.
- Use old wood planks for a rustic look.
- Paint spooky messages like “Witch Parking.”
- Use stencils for neat and readable letters.
- Distress the wood for an aged appearance.
- Attach the signs to stakes for easy placement.
- Add witch silhouettes for extra effect.
Have you ever seen a funny Halloween sign? They can really make you smile. These signs add humor to your yard. They break up the scariness. Kids will love reading them. It adds an interactive element. You can change the signs every year. This keeps your decorations fresh. They are also a great conversation starter. People will comment on your creativity. These signs show off your personality. They make your decorations unique. They are a fun and easy way to add to your outdoor display. Get creative and see what you can come up with.
Fun Fact or Stat: Halloween signs originated from ancient practices of warding off evil spirits with symbols and messages.
How do I distress the wood?
Distressing wood gives it an aged look. Sand the edges of the wood. This will soften the corners. Use sandpaper with a rough grit. Apply a dark stain to the wood. Wipe off the excess stain. This will highlight the grain. Use a hammer to create dents and dings. This will make it look like it has been used. Scratch the surface with a screwdriver. This will add more character. Apply a coat of clear sealant. This will protect the wood. Distressing wood is a fun way to add character. It makes your signs look old and spooky. It’s a simple process that can make a big difference.
What messages should I use?
Choosing the right messages is important. “Witch Parking Only” is a fun option. “Beware of Witch” is a classic choice. “Enter at Your Own Risk” is a spooky message. “Witches Welcome” is a friendly message. “Cauldron Bubbling” is a creative idea. “Broomstick Crossing” is a playful message. Use messages that fit your theme. Consider your audience. Younger kids might prefer less scary messages. Older kids might enjoy more spooky ones. Get creative with your messages. Use humor and wit. The more unique your messages are, the more they will stand out.
Where should I place the signs?
The placement of your signs is important. Place them near your front door. This will greet trick-or-treaters. Place them along your walkway. This will guide visitors through your yard. Place them near your witch decorations. This will enhance the theme. Make sure the signs are visible. You don’t want people to miss them. Consider the lighting. A spotlight can highlight the signs. This will make them stand out at night. Make sure the signs are secure. You don’t want them to fall over. A little extra effort will ensure that your signs are seen and enjoyed.
Summary
Creating DIY Halloween witch decorations outdoors can transform your yard. Simple projects like witch silhouettes and leg displays are easy. Cauldron and hanging hat decorations add spooky fun. Broomstick props and witch signs complete the scene. These decorations bring your Halloween vision to life. They are fun for all ages. You can use items you already have. Get your family involved. Make it a fun and creative project. These decorations will impress your neighbors. They will also delight trick-or-treaters. Enjoy the spooky season with your handmade creations.
Conclusion
Making your own DIY Halloween witch decorations outdoors is a great idea. It saves you money and lets you be creative. Use simple materials and easy techniques. Your yard will look amazing and spooky. Get your family involved for even more fun. Enjoy the process and the final result. Have a very happy and witchy Halloween!
Frequently Asked Questions
Question No 1: What are some easy DIY witch decoration ideas for outdoors?
Answer: There are many easy ideas for DIY witch decorations outdoors. You can create witch silhouettes from cardboard. Paint them black and place them in your yard. Another idea is to make a witch’s leg display. Use striped stockings and old shoes. A witch’s cauldron is also a great option. Use a large pot and dry ice for a spooky effect. These decorations are simple and fun to make. They will add a spooky touch to your yard.
Question No 2: How can I make my witch decorations more durable for outdoor use?
Answer: To make your witch decorations more durable, use weather-resistant materials. For example, use plywood instead of cardboard for silhouettes. Use outdoor paint to protect them from the rain. For the witch’s leg display, use sturdy shoes and strong stakes. When using dry ice in the cauldron, make sure the pot is stable. This will prevent it from tipping over. Securing the decorations properly will help them withstand the elements. Then everyone can enjoy your witch decorations all season long.
Question No 3: What materials do I need to make a witch’s cauldron?
Answer: To make a witch’s cauldron, you need a large pot or container. Paint it black for a classic look. You will also need dry ice to create a fog effect. Use gloves when handling dry ice. Add some potion ingredients like plastic eyeballs or gummy worms. You can also use colored water for an eerie look. These materials are easy to find. They will help you create a spooky and magical cauldron.
Question No 4: How do I create a fog effect for my witch’s cauldron?
Answer: Creating a fog effect for your witch’s cauldron is simple. You need dry ice and warm water. Place the dry ice in the cauldron. Pour warm water over it. The dry ice will start to bubble and create a thick fog. The warmer the water, the more fog you will get. Be careful not to use boiling water. This can cause the dry ice to melt too quickly. Always handle dry ice with gloves. This will protect your skin from burns.
Question No 5: What are some creative ideas for decorating witch hats?
Answer: There are many creative ways to decorate witch hats. You can add ribbons, feathers, or lace. Use different colors and textures. You can also add plastic spiders or bats. These will make the hats look spookier. Hang the hats from trees or your porch. Use fishing line to make them look like they are floating. Add string lights for a glowing effect. These decorations will add a touch of whimsy and spookiness to your yard. Consider these ideas when planning your diy halloween witch decorations outdoors.
Question No 6: How can I involve my kids in making DIY witch decorations for Halloween?
Answer: Involving your kids is a great way to make Halloween more fun. Let them help with simple tasks. They can paint the witch silhouettes. They can stuff the stockings for the witch’s leg display. They can also help decorate the witch hats. Supervise them when using sharp tools or dry ice. Make it a family project. Enjoy the creative process together. This will create lasting memories and make your DIY Halloween witch decorations outdoors even more special.
