Are you a fan of fresh herbs and looking for a way to grow them at home? Mint is an easy-to-grow herb that can be used in everything from drinks to desserts.
Here, we will take you through step-by-step instructions on how to grow mint from cuttings or seeds. We’ll start by exploring the different varieties of mint and selecting the right location for planting. Then, we’ll dive into the two methods: growing mint from cuttings and growing mint from seeds.
You’ll learn how to gather and prepare cuttings, plant them in soil, and care for them until they are ready to transplant. We’ll also cover selecting high-quality seeds, preparing the soil for planting, sowing the seeds, watering and caring for seedlings, transplanting seedlings, pruning mint plants, common mistakes to avoid, and troubleshooting common issues. So let’s get started with your home-grown mint garden.
Understanding Mint Varieties
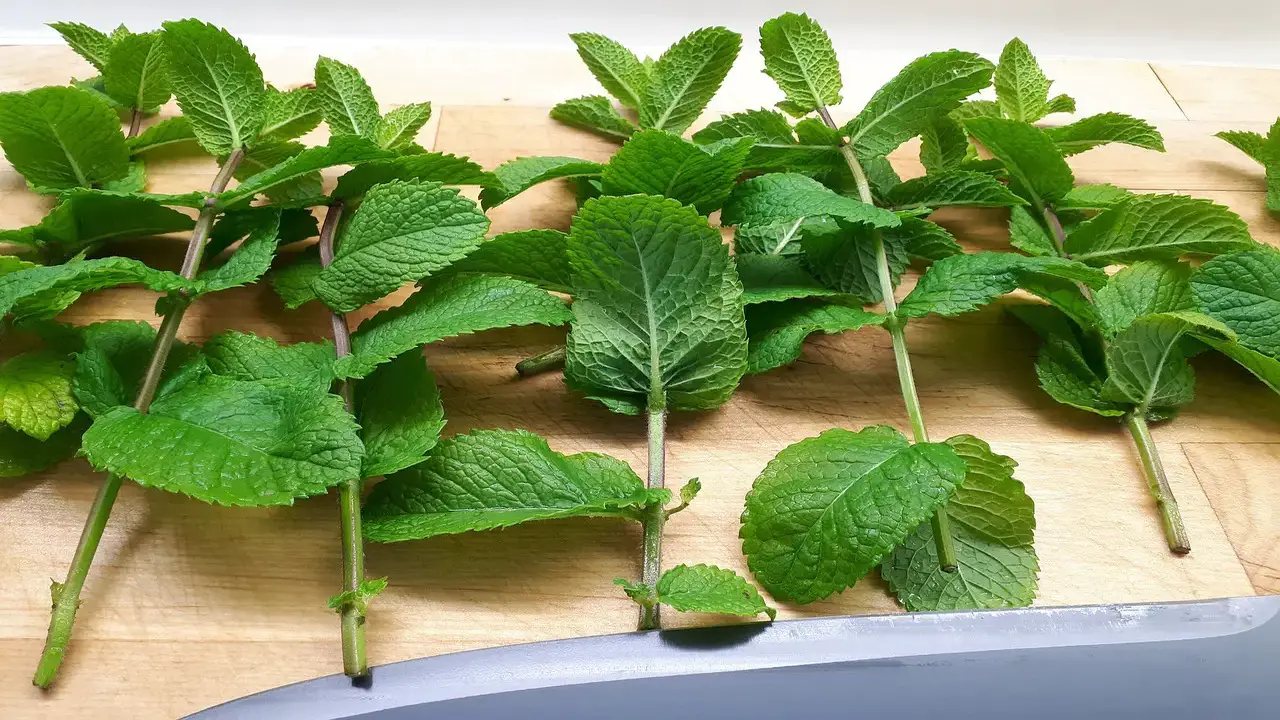
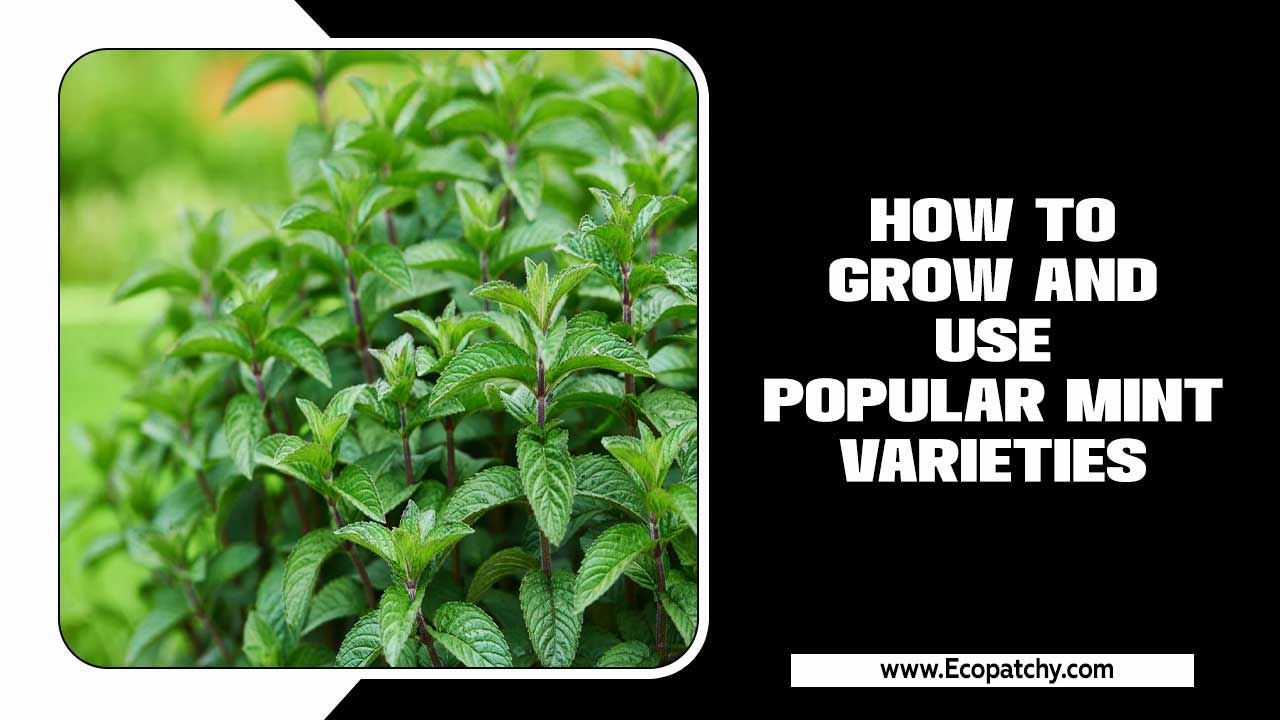
Explore the vast array of mint plants, each offering unique qualities. Delve into the world of mint and discover an enticing range of flavors and aromas. From the refreshing taste of spearmint to the more exotic notes of chocolate and pineapple mint, there is a variety to suit every palate.
Each mint plant type has its own characteristics, including growth habits, leaf shape, and flavour intensity. Whether you’re seeking a sweet, cool peppermint or the aromatic essence of basil mint, the diverse range of mint varieties will surely captivate your senses. Begin your journey into the mint kingdom and experience the pleasure of growing your very own mint plants.
Choosing The Right Planting Location
To ensure the success of your mint garden, it’s crucial to choose the right planting location. Take the time to find the perfect spot that meets the environmental requirements for growing healthy mint plants. By selecting the ideal location, you can set your mint plants up for optimal growth and abundance. Consider the following tips when choosing the right planting spot for your mind:
- Find a location that receives at least 4-6 hours of direct sunlight daily. Mint plants thrive in sunny areas.
- Ensure good drainage by selecting a spot with well-draining soil. Mint doesn’t like to be constantly waterlogged.
- Choose a small pot with drainage holes if you’re growing mint in pots. This allows excess water to escape and prevents root rot.
- Mint enjoys slightly acidic soil, so adding compost or peat moss to the planting area can create an ideal environment.
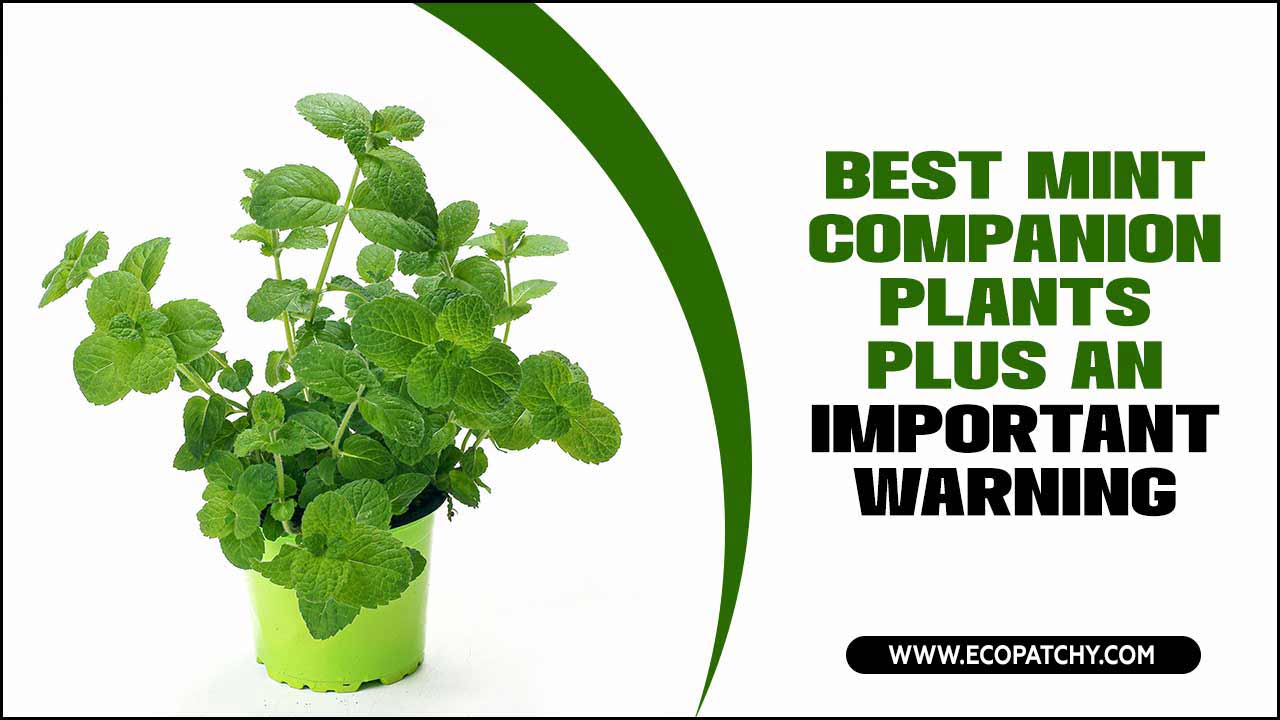
- Avoid planting mint near other herbs like basil or rosemary, as they can compete for resources and hinder each other’s growth.
With these points in mind, you can choose the right location for your mint plants and create an optimum environment for their growth. Remember, the success of your mint garden starts with the right planting spot.
Step-By-Step Instructions For How To Grow Mint From Cuttings Or Seeds
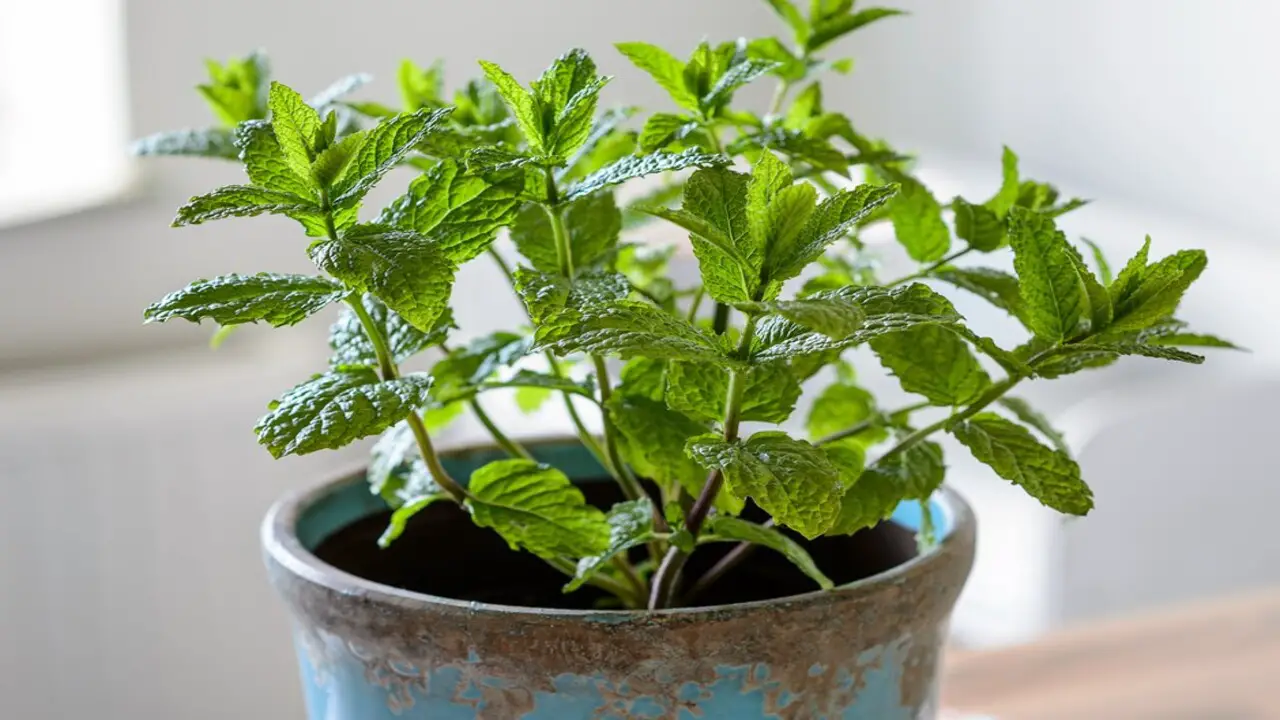
Growing mint can be a rewarding and enjoyable experience, whether you choose to propagate it from cuttings or seeds. To ensure successful growth, it is important to follow step-by-step instructions.
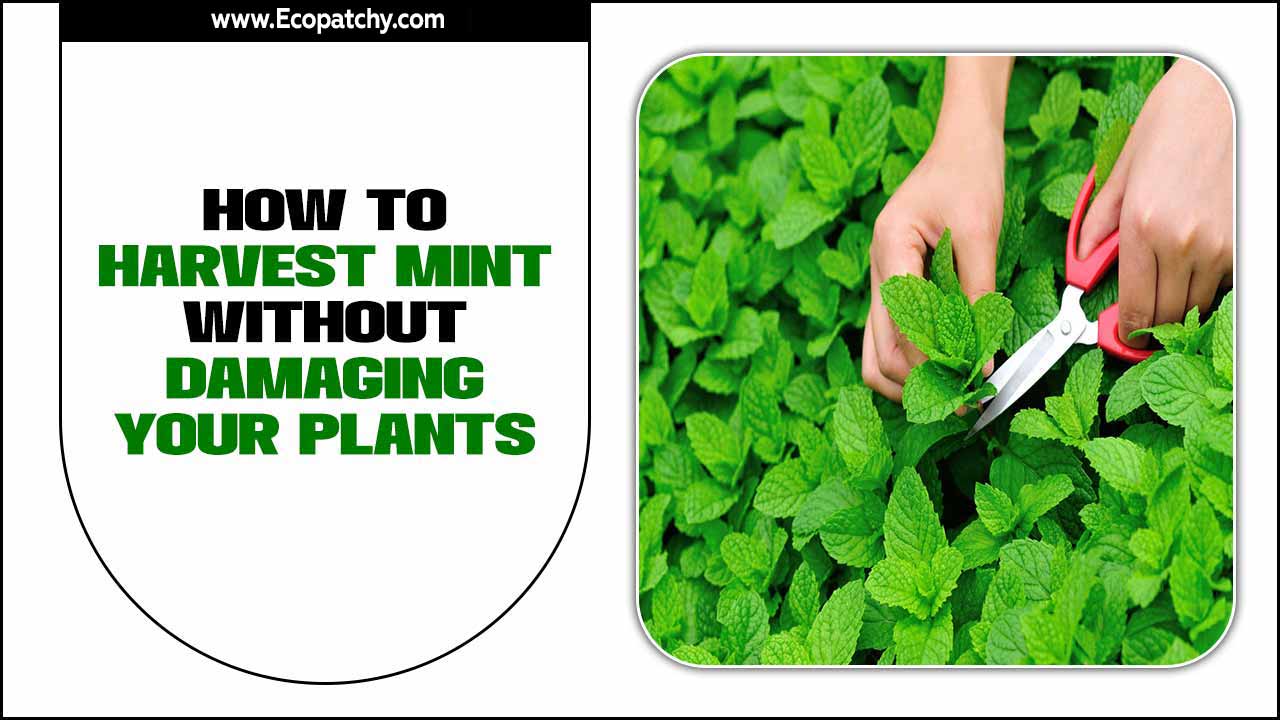
When starting from cuttings, select a healthy, mature mint plant. Using clean gardening shears, carefully cut a 4-6 inch stem from the parent plant, just below a node. Remove any lower leaves, leaving only a few at the top.
By following these step-by-step instructions, you’ll be able to learn how to grow mint from cuttings Or Seeds supply and enjoy the wonderful flavors and aromas it brings to your culinary creations.
1.Growing Mint From Cuttings
Learn the art of propagating mint plants using cuttings and discover a simple and effective way to grow new mint plants. It’s a good idea to start with your favourite mint varieties and follow these easy-to-follow instructions to ensure success.
To begin, gather sprigs of mint with new growth, making sure to use sharp scissors to cut just below a node. Growing mint from cuttings can be a simple and rewarding process. To start, select a healthy mint plant and take a cutting about 4-6 inches long. Below is the detailed discussion.
2.Gathering The Cuttings
Gathering the cuttings is an essential step in growing mint from cuttings. Mint plants are known for their ability to propagate easily, making them a great choice for beginner gardeners. To gather the cuttings, select a healthy and established mint plant.
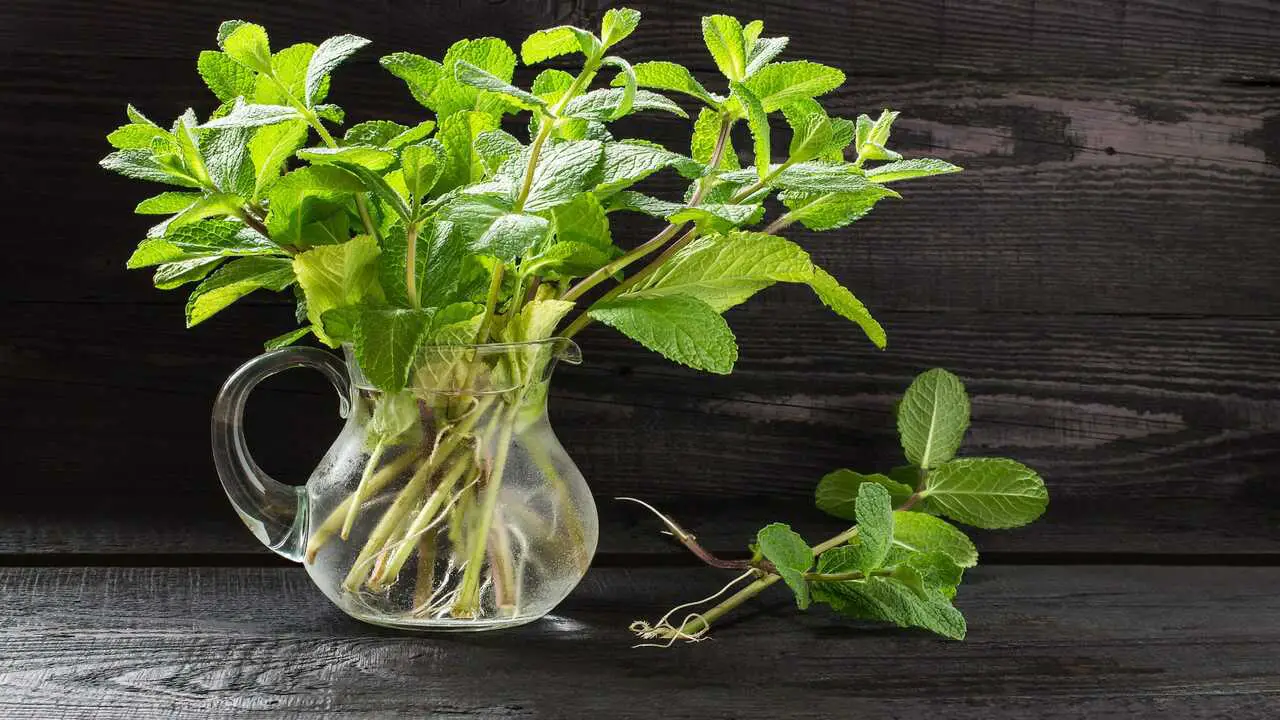
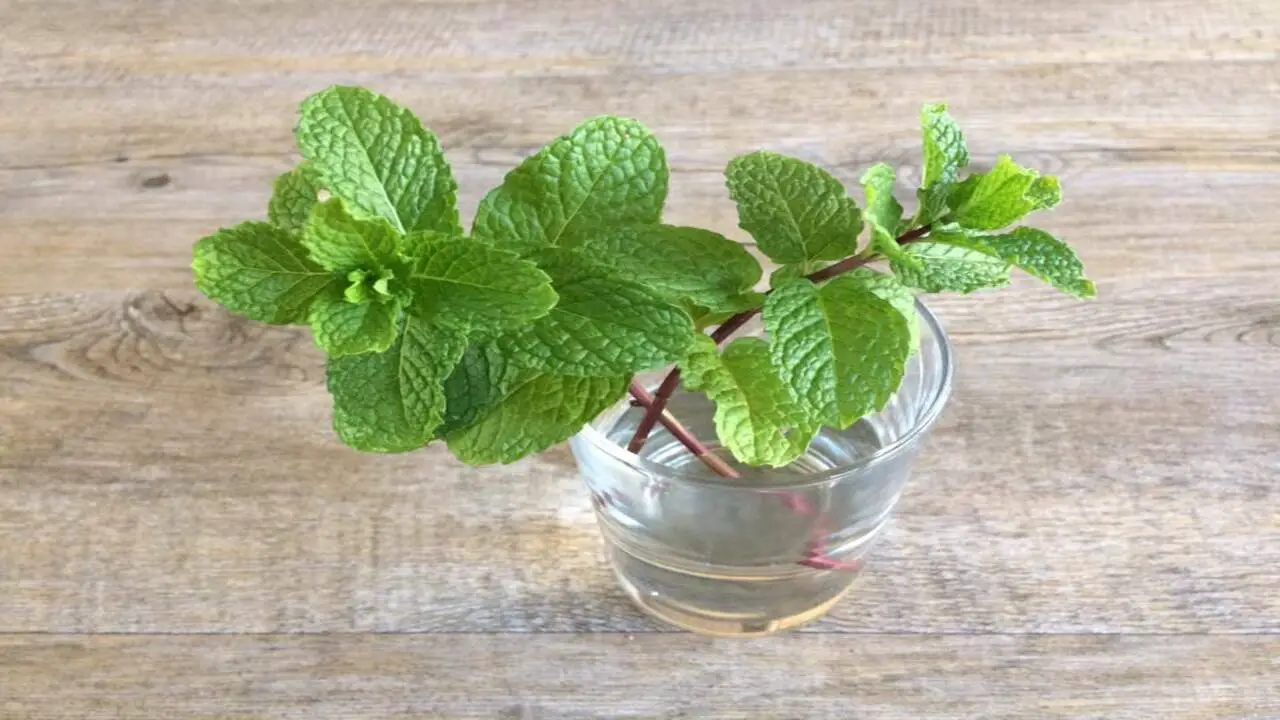
Snip off 4-6 inch long stems just below a leaf node using clean scissors or gardening shears. Remove any leaves from the bottom half of the cutting and leave a few leaves at the top. Once you have gathered your cuttings, place them in a glass of water or moist soil to encourage root growth.
Keeping the cuttings in a warm and well-lit area but out of direct sunlight is important. Your mint cuttings should start developing roots within a few weeks with proper care and attention.
3.Preparing The Cuttings For Planting
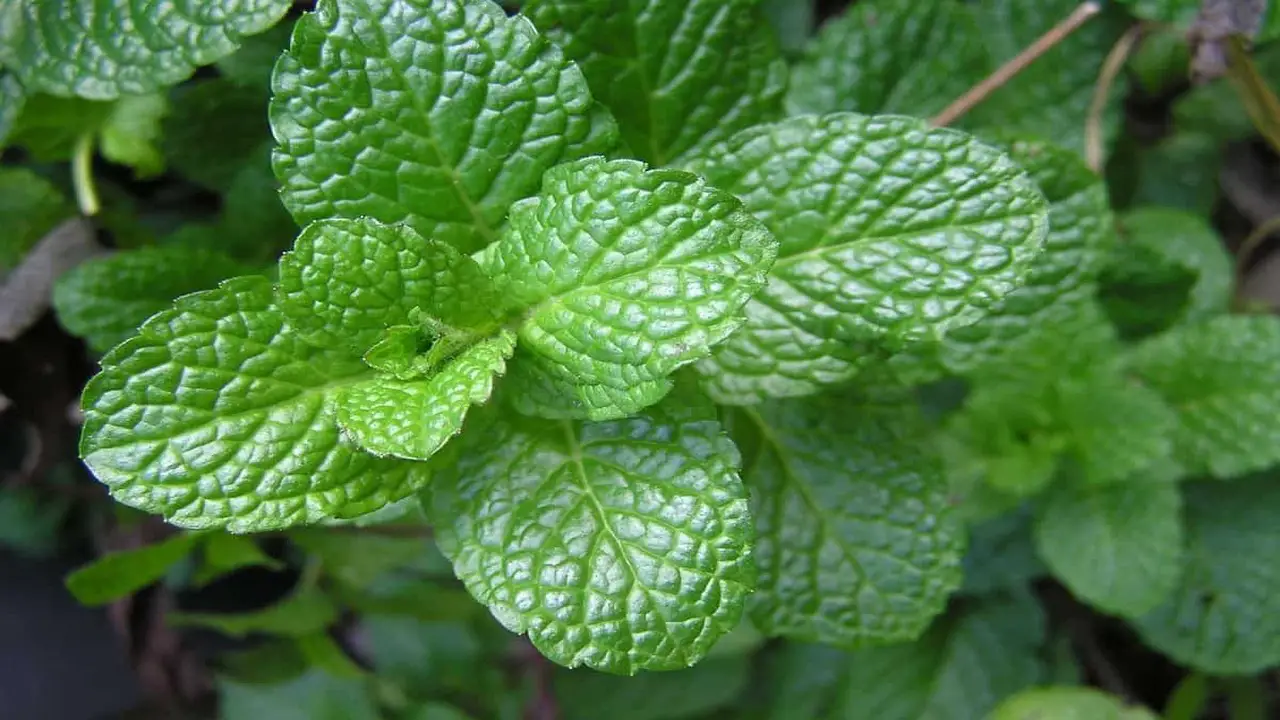
Preparing the cuttings is an important step in successfully growing mint from cuttings. Start by selecting healthy, mature stems from an existing mint plant. Make a clean cut just below a leaf node using sharp, clean scissors or pruning shears.
Remove any leaves from the lower half of the cutting to prevent them from rotting when planted. If desired, dip the cut end of the stem in the rooting hormone to encourage root development. Place the prepared cuttings in a container filled with well-draining soil or a mix of vermiculite and perlite.
Gently press the soil around the base of each cutting to ensure good contact and stability. Keep the soil consistently moist but not waterlogged, and place the container in a warm, bright location with indirect sunlight. With proper care and patience, your mint cuttings should soon develop roots and grow into healthy plants.
4.Planting The Cuttings In Soil
To ensure successful propagation, it’s important to know how to plant mint cuttings in soil. Healthy growth begins with the proper way of planting mint cuttings. Follow these easy-to-follow instructions to start growing new mint plants.
To begin, gather a couple of sprigs of mint from an established plant. Using sharp scissors, cut the stem about 10 cm from the bottom. Remove leaves from the bottom of the stem and place the cuttings in water for a couple of weeks.
This helps develop new roots. Afterwards, prepare a small pot with a mixture of peat and fertilizer. Gently transfer the rooted cuttings into their pot, covering the roots with soil. Provide regular watering and place the pot in a sunny location.
Give your mind time to adjust to its new environment before moving outdoors in late spring or early summer. Be mindful of fungal infections and use rosemary as a natural repellent. Following these steps, you can successfully plant mint cuttings for a fresh and aromatic addition to your garden.
5.Providing Proper Care And Maintenance
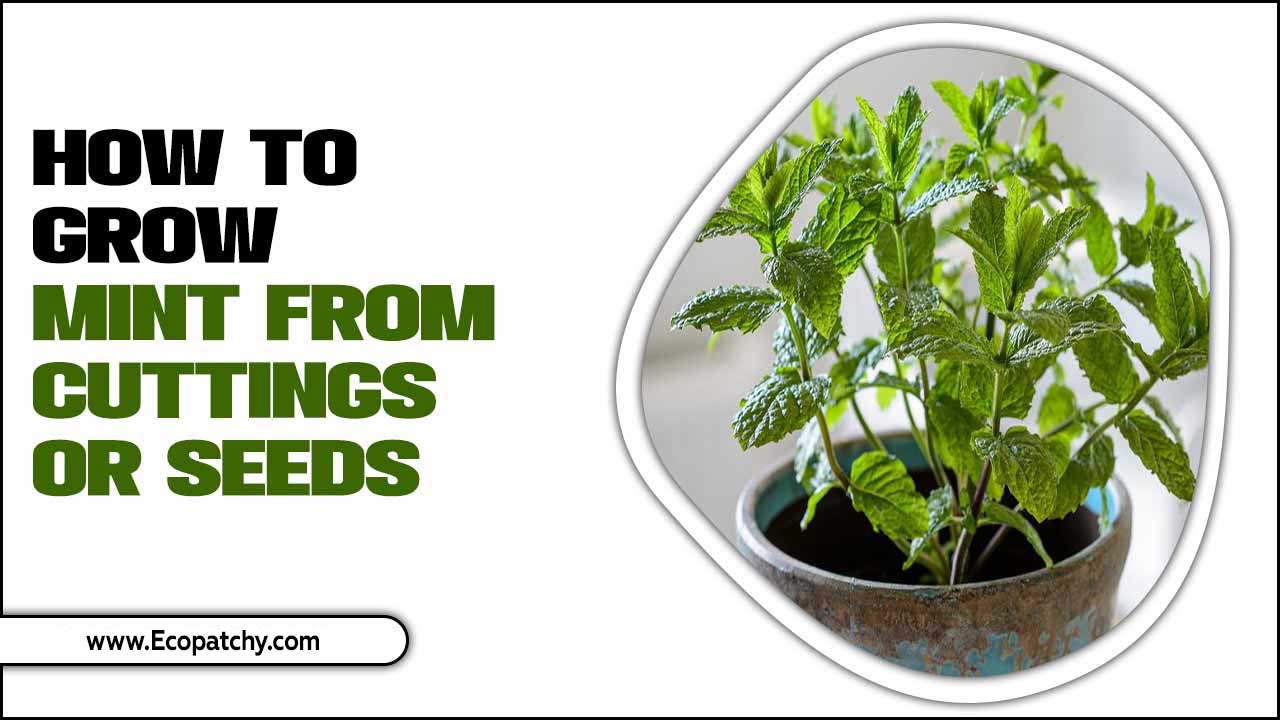
Proper care and maintenance are crucial for successfully growing mint from cuttings. After taking the cuttings, it is important to plant them in a well-draining soil mix and provide them with adequate sunlight. Mint plants thrive in moist soil, so it is essential to keep the soil consistently moist but not waterlogged.
Regular watering is necessary, especially during dry periods. Additionally, it is important to regularly prune the mint plants to encourage bushier growth and prevent them from becoming leggy. Pruning also helps to control the spread of the plant, as mint tends to be invasive.
By providing proper care and maintenance, you can ensure that your mint cuttings will grow into healthy and thriving plants that provide fresh and flavorful leaves for culinary use or herbal remedies.
6.Transplanting The Rooted Cuttings
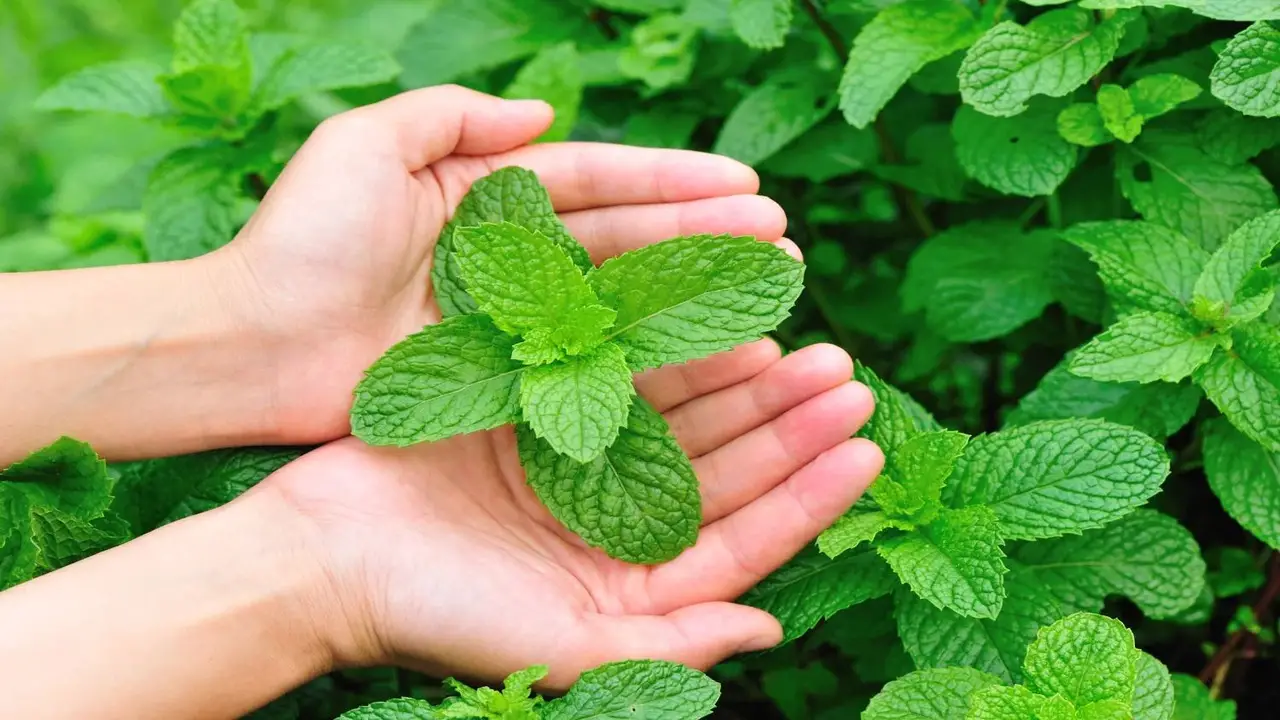
Transplanting the rooted cuttings is an important step in growing mint from cuttings. Once the cuttings have developed a healthy root system, they can be transplanted into individual pots or the garden. Here are some steps to help you successfully transplant your mint cuttings:
- Prepare The Planting Containers: Fill small pots or containers with well-draining soil. Make sure the containers have drainage holes to prevent waterlogging.
- Dig A Hole: Create a small hole in the soil of the pot or garden where you will be transplanting the cutting.
- Remove The Cutting: Gently remove the root cutting from its original container or rooting medium, careful not to damage the roots.
- Place The cutting In The Hole: Insert the cutting into the hole, ensuring that the roots are covered with soil and the stem is above ground level.
- Press Down Gently: Firmly press down on the soil around the base of the cutting to secure it in place.
- Water Thoroughly: Give the transplanted cuttings a thorough watering to help settle them into their new environment.
- Provide Care And Maintenance: Place your newly transplanted mint cuttings in a location that receives partial sun and water them regularly to keep the soil moist but not waterlogged.
By following these steps, you can successfully transplant your rooted mint cuttings and continue to enjoy fresh mint for culinary purposes or as a fragrant addition to your garden.
7.Growing Mint From Seeds
Starting your mint garden can be a rewarding experience. Growing mint from seeds offers various flavors, such as chocolate or pineapple mint. You can purchase mint seeds easily online or at your local garden center.
To ensure good drainage, prepare the soil by adding compost or potting soil. When sowing the mint seeds, plant them about 1/4 inch deep in the soil and water them gently. Below is the detailed discussion.
8.Selecting High-Quality Seeds
When selecting high-quality mint seeds, looking for fresh and high-quality seeds with a higher chance of successful germination is important. Check the seed packet for information on the specific mint variety you want to grow. Organic mint seeds can be good for a more natural growing experience.
Ensure that the seeds are not expired or damaged, as this can affect their viability. Opting for seeds from reputable suppliers or brands can also increase the likelihood of obtaining high-quality mint seeds. By selecting the right seeds, you can set yourself up for success in growing healthy and flavorful mint plants.
9.Preparing The Soil For Planting
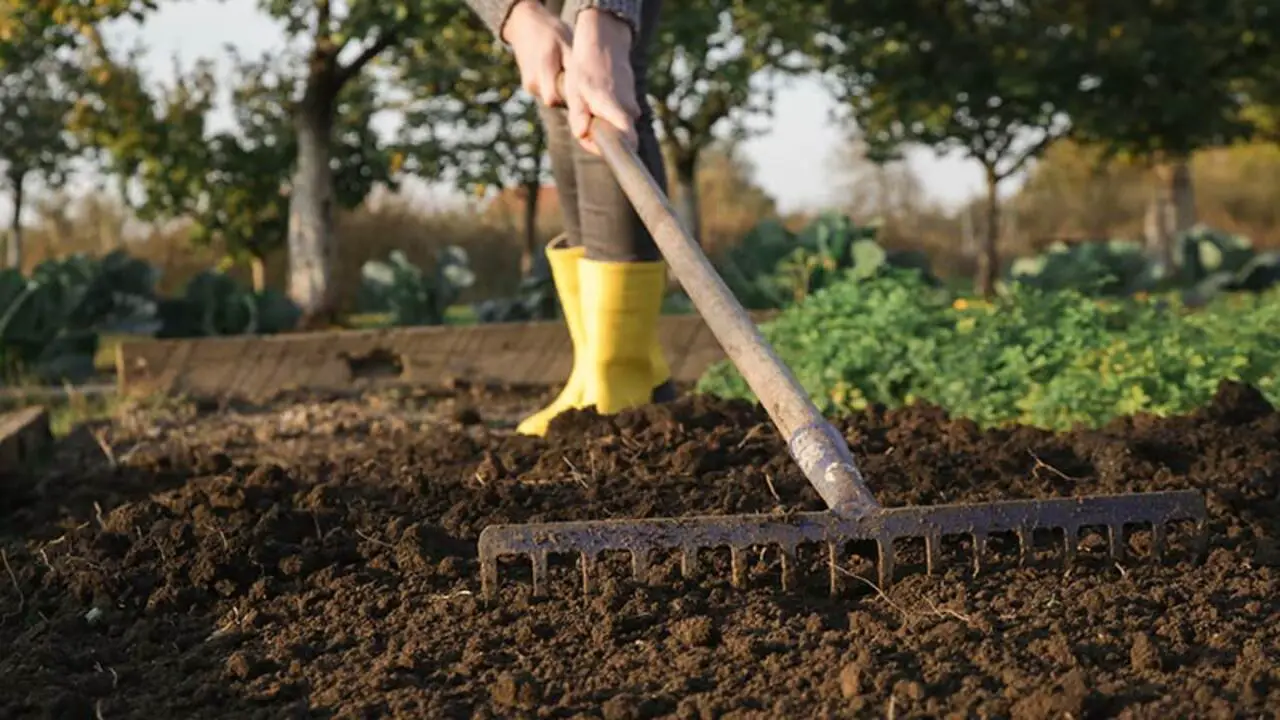
Preparing the soil is an essential step when growing mint from seeds. Mint prefers well-draining soil that is rich in organic matter. Start by clearing the area of any weeds or debris and loosen the soil with a garden fork or tiller.
Next, amend the soil with compost or well-rotted manure to improve its fertility and moisture retention. Mint also thrives in slightly acidic soil, so you may want to test the pH level and adjust it if necessary.
Once the soil is prepared, create small furrows or holes for planting the mint seeds, ensuring they are spaced about 12 inches apart. Gently cover the seeds with a thin layer of soil and water thoroughly. Proper soil preparation gives your mint plants a strong foundation for healthy growth.
10.Sowing The Mint Seeds
Sowing mint seeds is a simple process. Start by filling a small seed tray or pots with a good-quality potting mix. Moisten the soil before sowing the seeds to ensure proper germination. Next, sprinkle the seeds evenly over the soil’s surface, ensuring they are not too close together.
Lightly press the seeds into the soil, but do not cover them completely, as mint seeds require light to germinate. Place the tray or pots in a warm and sunny location, ideally with temperatures between 65-75 degrees Fahrenheit (18-24 degrees Celsius).
Keep the soil consistently moist, but be careful not to overwater, as this can lead to the rotting of the seeds. You should start seeing sprouts within 7-14 days with proper care and patience. Once the seedlings have developed their true leaves, they can be transplanted into larger pots or your garden.
Watering And Caring For Seedlings
Watering and caring for seedlings is crucial in successfully growing mint from seeds. Mint plants thrive in moist but not waterlogged soil, so it’s important to strike the right balance when watering.
Keep the soil consistently damp by watering regularly, but allow the top layer of soil to dry out slightly between waterings to prevent root rot. Aim to saturate the soil evenly and avoid getting water on the leaves, which can cause fungal diseases.
Regarding care, it’s important to provide adequate sunlight for the seedlings. Place them in a location that receives at least 4-6 hours of direct sunlight daily. Additionally, watch for any pests or diseases that may affect the seedlings and take appropriate measures to control them if necessary.
Transplanting The Seedlings
Transplanting the seedlings is an important step in growing mint from seeds. Once the seedlings have developed a few sets of true leaves and are strong enough to handle, they can be moved to their permanent location. Before transplanting, prepare the soil by loosening it and adding organic matter such as compost or well-rotted manure.
Dig a hole slightly larger than each seedling’s root ball. Gently remove the seedling from its container, careful not to damage the roots. Place the seedling in the hole and backfill with soil, gently firming it around the plant.
Water thoroughly after transplanting to help settle the soil and encourage root establishment. Remember that mint can spread aggressively, so it’s best to plant it in containers or use barriers to contain its growth if desired.
Common Mistakes To Avoid
When growing mint from cuttings or seeds, there are a few common mistakes that you should avoid. One mistake is not providing enough sunlight. Mint plants thrive in full sun, so ensure they get at least 6-8 hours of direct sunlight each day. Another mistake is overwatering. Mint plants prefer moist soil, but they do not like to be sitting in water. Be sure to water your mint plants when the top inch of soil feels dry, but avoid letting them sit in standing water.
Additionally, overcrowding can be a problem. Mint plants spread quickly and can easily take over a garden bed if not properly contained. To prevent overcrowding, consider planting mint in containers or using barriers to keep it contained.
Finally, be cautious of pests and diseases that can affect mint plants. Look for signs of damage or infestation and take appropriate measures to protect your plants. Avoiding these common mistakes can increase your chances of successfully growing mint from cuttings or seeds.
Troubleshooting Common Issues
Growing mint from cuttings or seeds can be a rewarding experience, but sometimes issues may arise. By proactively addressing these common issues, you can ensure that your mint plants grow healthy and vibrant, providing abundant fresh herbs for culinary delights and refreshing beverages. Here are some common problems you may encounter when growing mint and how to troubleshoot them:
- Yellowing leaves: If the leaves of your mint plant are turning yellow, it may be a sign of overwatering or nutrient deficiencies. Ensure to water your plants only when the top inch of soil feels dry, and consider adding a balanced fertilizer to provide essential nutrients.
- Wilting or drooping: Mint plants can wilt or droop if they are not receiving enough water. Ensure that your plants are getting adequate moisture by checking the soil regularly. If wilted leaves persist even after watering, it could be a sign of root rot, in which case you may need to repot your plant in fresh, well-draining soil.
- Pests: Mint plants are generally resistant to pests, but aphids and spider mites can occasionally become problematic. To combat these pests, spray your plants with water, mild dish soap, or organic insecticidal soap.
- Leggy growth: If your mint plants are growing tall and leggy with sparse foliage, it may be due to insufficient sunlight. Mint thrives in full sun or partial shade, giving them at least 4-6 hours of direct sunlight daily.
Final Tips For Grow Mint From Cuttings Or Seeds
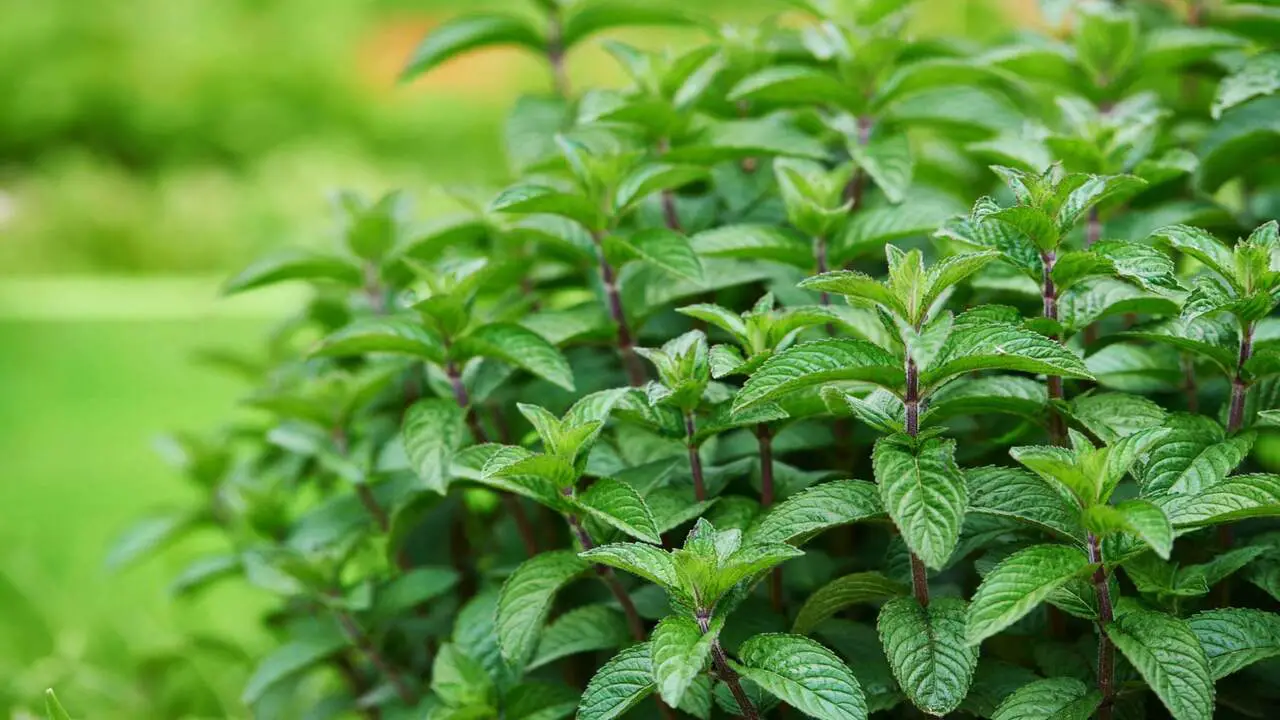
Following these tips, you can successfully grow mint from cuttings or seeds and enjoy its refreshing aroma and flavor in your garden or kitchen. Here are some final tips for growing mint from cuttings or seeds:
- If using cuttings, make sure to choose healthy stems that are about 4-6 inches long. Remove any lower leaves and place the cuttings in water until roots form.
- If starting from seeds, sow them in well-draining soil and keep the soil consistently moist until germination occurs.
- Mint is a fast-growing plant that can spread quickly, so growing it in containers or confined areas is best to prevent it from taking over your garden.
- Mint prefers full sun but can tolerate partial shade. Ensure it has at least 4-6 hours of sunlight per day.
- Keep the soil evenly moist but not waterlogged. Mint plants prefer slightly moist conditions.
- Harvest mint leaves regularly to promote bushier growth. Pinch off the top leaves and stems, leaving a few sets of leaves on each stem.
Conclusion
Growing mint from cuttings or seeds can be a rewarding and enjoyable experience. Whether you propagate mint from cuttings or start from seeds, following the right steps and providing proper care will ensure successful growth. Understanding different mint varieties and selecting the right planting location is essential for healthy growth.
If you opt for cuttings, gather them from established mint plants and prepare them for planting in soil. For seed propagation, select high-quality seeds and sow them in well-prepared soil. Remember to provide adequate watering and care for the seedlings.
Transplanting and pruning mint plants will promote their growth and prevent common issues. By following these steps and avoiding common mistakes, you can enjoy a bountiful harvest of fresh mint for culinary uses or aromatic enjoyment. We hope you understand how to grow mint from cuttings or seeds.
Frequently Asked Questions
1.Will Mint Cuttings Root In Water?
Ans: Yes, mint cuttings can successfully root in water. Roots will develop by placing the cuttings in a container of water and regularly changing the water. Once rooted, transfer the cuttings to the soil for continued growth. It’s also worth noting that mint can be propagated from seeds as an alternative method.
2.Can Mint Be Grown From Cuttings?
Ans: Yes, you can grow mint from cuttings. Take a 4-6 inch stem and remove the lower leaves. Place the cutting in water or soil and keep it moist until roots develop. Once the roots have formed, you can transplant the cutting to a bigger pot or garden.
3.How Long Does Mint Take To Grow From Seed?
Ans: Mint seeds typically germinate in 10-15 days. After sprouting, it takes another 6-8 weeks for mint plants to reach maturity. If you prefer a quicker method, mint can also be grown from cuttings, which root in about 2-3 weeks. Mint is a fast-growing herb that thrives in cool, moist conditions.
4.Can I Grow Mint From Store Bought Mint?
Ans: Yes, you can successfully grow mint from store-bought mint. Simply place cuttings with several leaves in water until they develop roots. Alternatively, plant the cuttings or seeds in well-draining soil in a pot or garden bed. Remember to provide regular watering and partial sunlight for optimal growth.
5.How Deep Will The Mint’s Roots Go?
Ans: Mint’s roots can extend up to 2-3 feet below the soil surface, making it important to provide enough depth for growth. However, its shallow and fast-spreading roots can become invasive, so growing mint in a pot is best. Ensure well-drained soil and regular watering for optimal growth. Maintaining moist soil until roots develop when propagating mint from cuttings is crucial.

