Do you want your house to look nice at night? Do you want to save energy? Outdoor lights can help. But who wants to turn them on and off every day? That’s where timers come in! Learning how to set the timer for outdoor lights is easy. It makes your life simpler and safer.
Key Takeaways
- Knowing how to set the timer for outdoor lights improves home security.
- Timers save energy by only using lights when needed.
- You can choose from digital or mechanical timers for your lights.
- Correct timer settings keep your lights on the right schedule.
- Timers make outdoor lights easy to manage.
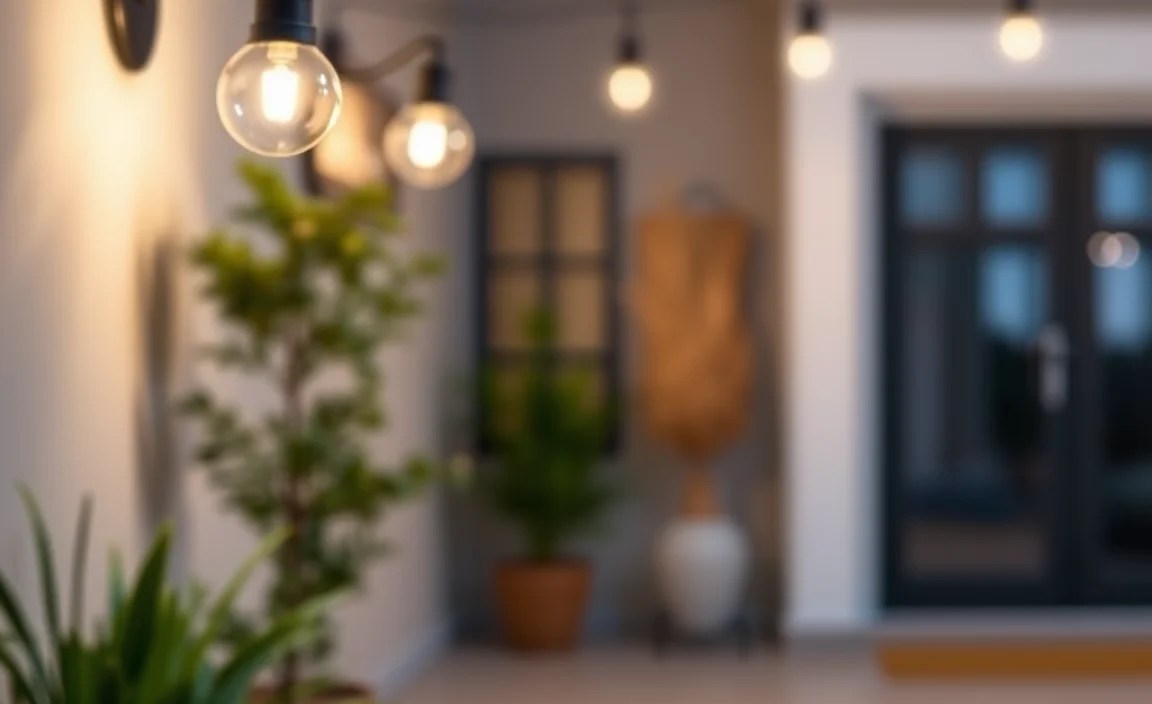
Understanding Outdoor Light Timers
Outdoor light timers are devices that control when your lights turn on and off. They help you save energy. They also make your home look lived-in, even when you are away. There are two main types: digital and mechanical. Digital timers use a screen and buttons. You can set them to the exact minute. Mechanical timers have a dial. You push down pins around the dial to set the on and off times. Both types are easy to use. The best timer for you depends on what you like. Do you want something very precise? A digital timer might be best. Do you want something simple and easy? A mechanical timer could be perfect.
- Timers save energy.
- They make your home safer.
- Digital timers are very precise.
- Mechanical timers are simple to use.
- Choose the timer that fits your needs.
Using a timer for your outdoor lights is a smart idea. It can help you save money on your electricity bill. It can also make your home safer. When lights turn on and off automatically, it looks like someone is home. This can keep burglars away. Plus, you don’t have to remember to turn the lights on and off every day. It’s all done for you! So, think about getting a timer for your outdoor lights. It’s a small change that can make a big difference.
Fun Fact or Stat: Did you know that using timers for your outdoor lights can save you up to 33% on your energy bill?
Why Use a Timer for Outdoor Lights?
Have you ever left your outdoor lights on all day by accident? It wastes energy and money. Timers fix this problem. They turn your lights on and off automatically. This saves energy. It also makes your home look safer. When lights go on and off, it looks like someone is home. This can scare away bad guys. Timers are easy to use. You set them once, and they do the work for you. You don’t have to remember to turn the lights on and off every day. This makes your life easier. So, why not use a timer? It’s a smart way to save energy and stay safe.
Digital vs. Mechanical Timers
Do you know the difference between digital and mechanical timers? Digital timers have a screen and buttons. You can set them to the exact minute. They are very precise. Mechanical timers have a dial with pins. You push the pins down to set the on and off times. They are simple to use. Digital timers can do more things. You can set different schedules for different days. Mechanical timers are usually cheaper. Both types work well. The best one for you depends on what you need. Do you want something fancy with lots of options? Choose digital. Do you want something simple and easy? Choose mechanical.
Benefits of Automatic Lighting Schedules
Imagine your lights turning on and off without you doing anything. That’s what an automatic lighting schedule does. It makes your life easier. You don’t have to think about your outdoor lights. The timer does it all for you. This is great when you go on vacation. Your home looks lived-in, even when you are away. It also saves energy. The lights only turn on when it’s dark. You don’t waste electricity by leaving them on all day. Automatic schedules are easy to set up. Once you set them, you can forget about them. It’s a simple way to make your life better.
Choosing the Right Timer for Your Needs
Choosing the right timer can feel tricky. Think about what you need. Do you want a simple timer? Or one with lots of features? Mechanical timers are great if you want simple. They are easy to set. Just push down the pins. Digital timers offer more control. You can set different schedules for each day. They also have features like sunrise and sunset settings. Consider the type of lights you have. Some lights need special timers. LED lights use less power. Make sure your timer works with LED lights. Think about where you will put the timer. Some timers are for indoor use only. Others are made for the outdoors. Choose a timer that fits your needs and your budget.
- Consider what features you need.
- Think about the type of lights you have.
- Check if the timer is for indoor or outdoor use.
- Set a budget before you start shopping.
- Read reviews to see what other people think.
When choosing a timer, read reviews. See what other people say about it. This can help you make a good choice. Look for timers that are easy to use and reliable. A good timer should last a long time. It should also be easy to set up. If you are not sure which timer to choose, ask for help. Go to a hardware store and talk to someone who knows about timers. They can help you find the perfect timer for your outdoor lights. With the right timer, your lights will always be on when you need them.
Fun Fact or Stat: Outdoor timers have been around since the early 1900s, but they’ve become much more efficient with digital technology!
What Type of Lights Do You Have?
Do you know what kind of outdoor lights you have? It matters when choosing a timer. Some lights use more power than others. Old-fashioned lights use a lot of energy. LED lights use very little. Make sure your timer can handle the amount of power your lights need. If you have LED lights, choose a timer that works with LEDs. Some timers are not made for LED lights. Using the wrong timer can damage your lights or the timer. Check the timer’s label. It will tell you what types of lights it works with. This will help you choose the right timer for your needs.
Considering Timer Location (Indoor vs. Outdoor)
Where will you put your timer? Some timers are made for indoors. Others are made for outdoors. Outdoor timers are made to handle rain and snow. They are also protected from the sun. Indoor timers are not. If you put an indoor timer outside, it could get damaged. This could be dangerous. Choose a timer that is made for the location where you will use it. If you need a timer for your outdoor lights, get an outdoor timer. It will last longer and work better. This will keep you safe and save you money.
Budget Considerations for Light Timers
How much money do you want to spend on a timer? Timers come in different prices. Simple mechanical timers are usually cheaper. Digital timers with lots of features cost more. Think about what you need. Do you need a fancy timer with lots of options? Or will a simple timer do the job? Set a budget before you start shopping. This will help you narrow down your choices. Remember, the most expensive timer is not always the best. Sometimes, a simple timer is all you need. Choose a timer that fits your budget and meets your needs.
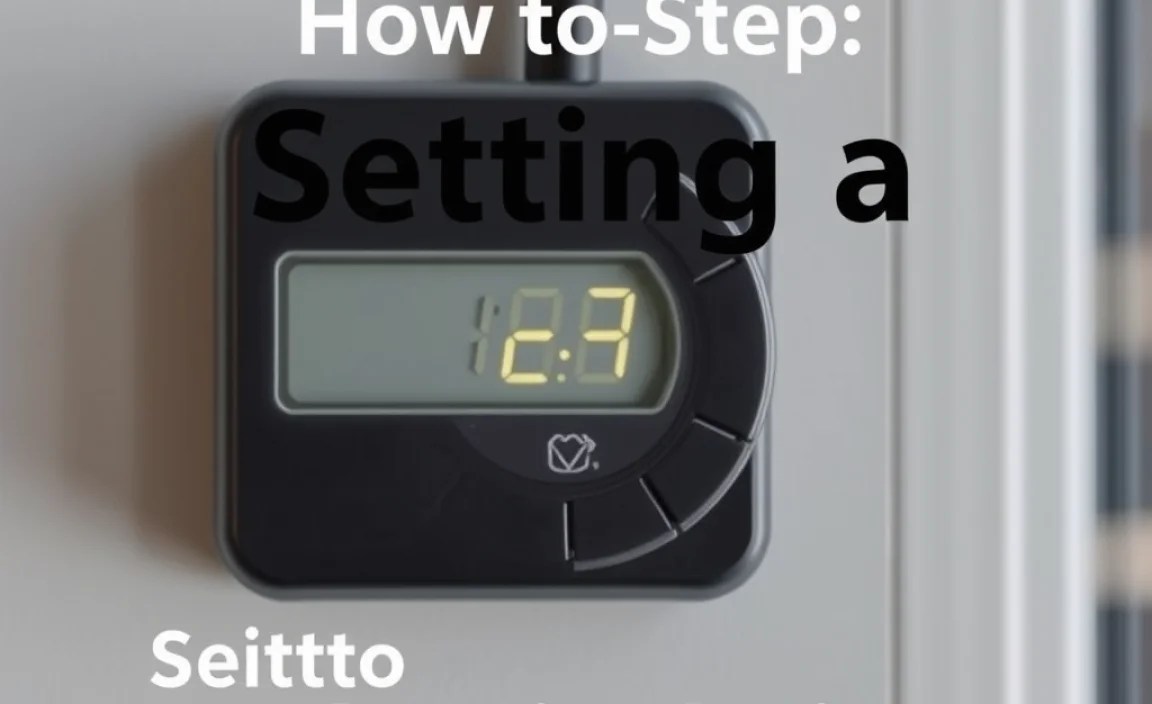
Step-by-Step: Setting a Mechanical Timer
Mechanical timers are simple to set. First, find the dial on the timer. It has numbers around it. These numbers stand for hours. Look for the pins around the dial. These pins control when the lights turn on and off. To set the “on” time, push down the pins for the hours you want the lights to be on. To set the “off” time, leave the pins up for the hours you want the lights to be off. Make sure you set the current time. Turn the dial until the arrow points to the right time. Now, plug the timer into an outlet. Plug your outdoor lights into the timer. Your lights will now turn on and off based on the settings you made.
- Find the dial with numbers.
- Push down pins for “on” time.
- Leave pins up for “off” time.
- Set the current time.
- Plug in the timer and lights.
Setting a mechanical timer is easy once you know how. Read the instructions that come with your timer. This will help you understand how it works. If you have trouble, ask someone for help. A friend or family member might know how to set it. You can also watch a video online. There are many videos that show you how to set the timer for outdoor lights. Once you set the timer, check to make sure it’s working right. Watch your lights to see if they turn on and off at the times you set. If not, adjust the pins until they do.
Fun Fact or Stat: Mechanical timers use a small motor to turn the dial, making the pins activate and deactivate the lights!
Finding the Dial and Setting the Current Time
The first step is finding the dial on your mechanical timer. It’s usually a round piece with numbers around it. These numbers represent the hours of the day. Once you find the dial, you need to set the current time. Look for an arrow or marker on the timer. Turn the dial until the arrow points to the current time. This is important. If you don’t set the current time, your lights will turn on and off at the wrong times. Setting the current time correctly ensures your lights follow your schedule. It is a simple step that makes a big difference.
Setting the “On” and “Off” Times
Now, let’s set the “on” and “off” times. Look for the pins around the dial. These pins control when the lights turn on and off. To set the “on” time, push down the pins for the hours you want the lights to be on. For example, if you want your lights to turn on at 6 PM, push down the pins around the 6 on the dial. To set the “off” time, leave the pins up for the hours you want the lights to be off. This tells the timer when to turn the lights on and off each day.
Plugging In and Testing the Timer
After setting the “on” and “off” times, it’s time to plug in the timer. Plug the timer into an electrical outlet. Then, plug your outdoor lights into the timer. Make sure everything is plugged in tightly. Now, it’s time to test the timer. Watch your lights to see if they turn on and off at the times you set. If they don’t, check the pins. Make sure they are pushed down or left up correctly. You might need to adjust the current time. Keep testing until your lights turn on and off when you want them to.
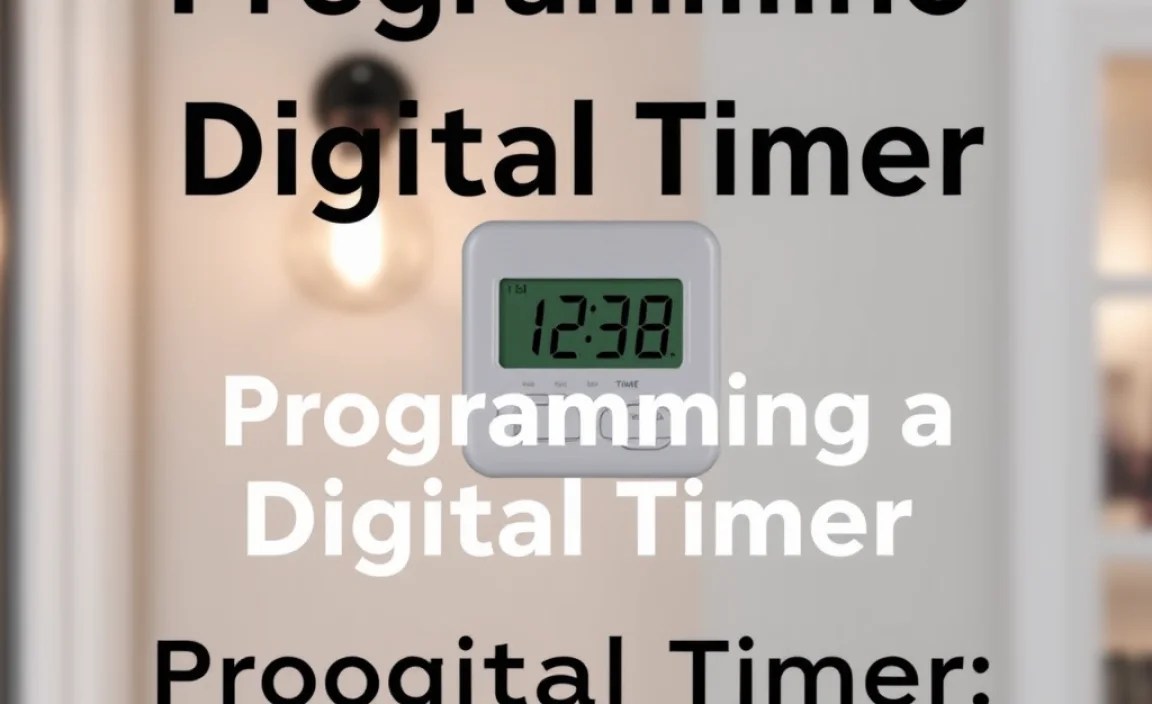
Programming a Digital Timer: A Simple Guide
Digital timers use buttons and a screen. They are more exact than mechanical timers. To program a digital timer, first find the “program” button. Press it. The screen will show different options. You can set the “on” time. Use the “+” and “-” buttons to choose the hour and minute. Then, set the “off” time. Again, use the “+” and “-” buttons. You can also set different schedules for each day of the week. Some timers have a “random” setting. This turns the lights on and off at different times each day. This can make your home look more lived-in. Once you set the timer, press the “ok” or “enter” button to save your settings.
| Feature | Digital Timer | Mechanical Timer |
|---|---|---|
| Precision | Very Precise | Less Precise |
| Settings | Multiple Schedules | Simple On/Off |
| Ease of Use | Can Be Complex | Very Simple |
| Cost | More Expensive | Less Expensive |
- Find the “program” button.
- Set the “on” and “off” times.
- Use the “+” and “-” buttons.
- Set different schedules for each day.
- Save your settings.
Digital timers can seem complicated at first. But they are easy to use once you get the hang of it. Read the instructions that come with your timer. This will help you understand all the features. Don’t be afraid to experiment. Try setting different schedules. See what works best for you. If you have trouble, look for help online. Many websites and videos show you how to set the timer for outdoor lights. With a little practice, you’ll be a pro in no time. Digital timers give you lots of control over your outdoor lights.
Fun Fact or Stat: The first digital timers used vacuum tubes, but modern ones use microchips, making them much smaller and more efficient!
Navigating the Digital Display
The digital display is the screen on your timer. It shows you the time and the settings. The display can seem confusing at first. But it’s easy to understand once you know what to look for. Look for the numbers that show the time. There are also symbols for AM and PM. These tell you if it’s morning or afternoon. The display also shows the days of the week. You can set different schedules for each day. Use the buttons to move around the display. The arrows will help you change the settings. Take your time and read the instructions. Soon, you’ll be able to navigate the digital display like a pro.
Programming On/Off Times and Schedules
Now, let’s program the “on” and “off” times. Press the “program” button. The display will show the “on” time setting. Use the “+” and “-” buttons to choose the hour and minute. Then, press the “next” button. The display will show the “off” time setting. Use the “+” and “-” buttons again to choose the hour and minute. You can also set different schedules for each day of the week. This lets you customize your outdoor lights. For example, you can have them turn on earlier on weekends.
Using Special Features (e.g., Random Mode)
Some digital timers have special features. One popular feature is “random mode.” This turns the lights on and off at different times each day. This makes your home look more lived-in. It can help scare away burglars. To use random mode, find the “random” button. Press it. The timer will now turn the lights on and off at random times. This is a great way to add extra security to your home. Experiment with the different features on your timer. See what works best for you.
Troubleshooting Common Timer Problems
Sometimes, timers don’t work right. Your lights might not turn on or off when they should. This can be frustrating. But don’t worry. There are some simple things you can try. First, check the power. Make sure the timer is plugged in. Check the outlet too. Sometimes, the outlet isn’t working. Next, check the settings. Make sure the “on” and “off” times are correct. If you have a mechanical timer, check the pins. Make sure they are pushed down or left up correctly. If you have a digital timer, check the program. Make sure it’s set right. If your lights still don’t work, try resetting the timer. This can fix many problems.
- Check the power.
- Check the settings.
- Reset the timer.
- Replace the battery.
- Check the light bulb.
If you’ve tried everything and your timer still doesn’t work, you might need a new timer. Timers don’t last forever. They can break down over time. Before you buy a new timer, read reviews. Find a timer that is reliable and easy to use. Ask a friend or family member for advice. They might know a good timer to buy. Replacing your timer can solve your lighting problems. Then, you can enjoy your outdoor lights without any hassle.
Fun Fact or Stat: Many timer problems are caused by simple issues like incorrect settings or a tripped circuit breaker!
Lights Not Turning On or Off
What if your lights don’t turn on or off at all? This is a common problem. First, check the power. Make sure the timer is plugged in. Test the outlet with another device. If the outlet doesn’t work, check the circuit breaker. It might have tripped. If the power is okay, check the light bulb. It might be burned out. Replace the bulb with a new one. If the lights still don’t work, check the timer settings. Make sure the “on” and “off” times are correct. If all else fails, reset the timer.
Incorrect Timer Settings
Sometimes, the timer settings are wrong. The lights might turn on too early or too late. This can happen if you accidentally changed the settings. Check the settings carefully. Make sure the “on” and “off” times are correct. If you have a mechanical timer, check the pins. Make sure they are pushed down or left up correctly. If you have a digital timer, check the program. Make sure it’s set right. Adjust the settings as needed. This will ensure your lights turn on and off at the right times.
Timer Not Keeping Time
Does your timer lose time? This can happen with both mechanical and digital timers. If your mechanical timer is losing time, it might need to be cleaned. Dust and dirt can slow down the motor. If your digital timer is losing time, the battery might be low. Replace the battery with a new one. Make sure you use the right type of battery. Check the timer’s instructions for the correct battery type. Keeping your timer clean and using fresh batteries will help it keep time accurately.
Safety Tips for Using Outdoor Light Timers
Safety is important when using outdoor light timers. Always use timers that are made for outdoor use. These timers are designed to handle rain and snow. They are also protected from the sun. Never use an indoor timer outdoors. This can be dangerous. It can cause an electrical shock. Before you plug in the timer, check the wires. Make sure they are not damaged. Damaged wires can cause a fire. If you see any damage, replace the wires. Don’t overload the timer. This means plugging in too many lights. Overloading can cause the timer to overheat. This can also cause a fire.
- Use outdoor-rated timers.
- Check wires for damage.
- Don’t overload the timer.
- Keep timers away from water.
- Unplug the timer before cleaning.
Keep timers away from water. Water and electricity don’t mix. This can cause an electrical shock. If a timer gets wet, unplug it right away. Don’t touch it until it’s dry. Before you clean the timer, unplug it. Use a dry cloth to wipe it clean. Never use water or cleaning products. This can damage the timer. By following these safety tips, you can use your outdoor light timers safely. This will keep you and your family safe.
Fun Fact or Stat: Using a GFCI (Ground Fault Circuit Interrupter) outlet for your outdoor lights and timers can prevent electrical shocks!
Using Weatherproof Timers
Weatherproof timers are made for outdoor use. They can handle rain, snow, and sun. They are also protected from dust and dirt. This makes them last longer. When buying a timer, look for the “weatherproof” label. This means the timer has been tested to handle outdoor conditions. Don’t use a timer that is not weatherproof. It could get damaged by the weather. This could be dangerous. Weatherproof timers are a safe and reliable choice for your outdoor lights.
Checking for Damaged Wires
Before you plug in your timer, check the wires. Look for any cracks or breaks in the insulation. The insulation is the plastic coating around the wires. If you see any damage, don’t use the timer. Damaged wires can cause a fire or an electrical shock. Replace the wires with new ones. You can buy new wires at a hardware store. Make sure you use the right type of wires. If you’re not sure, ask someone for help. Checking the wires is a simple way to stay safe.
Avoiding Overloading the Timer
Don’t plug in too many lights into your timer. This is called overloading. Overloading can cause the timer to overheat. This can cause a fire. Check the timer’s label. It will tell you how many watts it can handle. Add up the watts of all the lights you want to plug in. Make sure the total is less than the timer’s limit. If it’s more, you need to use a different timer. Or, you can use fewer lights. Avoiding overloading will keep you safe.
Summary
Learning how to set the timer for outdoor lights is a simple way to save energy and improve home security. You can choose between mechanical and digital timers. Mechanical timers are easy to set with pins. Digital timers use a screen and buttons for more precise control. Remember to consider your needs and budget when choosing a timer. Follow the steps to set the timer correctly, and troubleshoot any problems that arise.
Always follow safety tips to avoid electrical hazards. Using outdoor light timers is a smart way to automate your lights. It also makes your home look lived-in even when you are away. Take your time to set up your timer. You will enjoy the benefits of automatic lighting for years to come.
Conclusion
Setting a timer for your outdoor lights is a smart move. You can save energy and make your home safer. Whether you choose a simple mechanical timer or a fancy digital one, the steps are easy to follow. Take your time and read the instructions. Soon, you’ll be enjoying the benefits of automatic outdoor lights. Enjoy a safer and more energy-efficient home.
Frequently Asked Questions
Question No 1: What is an outdoor light timer?
Answer: An outdoor light timer is a device. It turns your outdoor lights on and off automatically. It can be mechanical or digital. A mechanical timer has a dial with pins. A digital timer has buttons and a screen. Timers help you save energy. They also make your home look safer. When lights turn on and off, it looks like someone is home. This can scare away burglars. Learning how to set the timer for outdoor lights is easy and useful.
Question No 2: How do I choose the right timer?
Answer: Choose a timer that fits your needs. Think about what features you want. Do you want a simple timer? Or one with lots of options? Mechanical timers are great if you want simple. Digital timers offer more control. Consider the type of lights you have. Some lights need special timers. LED lights use less power. Make sure your timer works with LED lights. Think about where you will put the timer. Some timers are for indoor use only. Others are made for the outdoors. Consider how to set the timer for outdoor lights based on its type, digital or mechanical. Choose a timer that fits your needs and your budget.
Question No 3: How do I set a mechanical timer?
Answer: Setting a mechanical timer is simple. First, find the dial on the timer. It has numbers around it. These numbers stand for hours. Look for the pins around the dial. These pins control when the lights turn on and off. To set the “on” time, push down the pins for the hours you want the lights to be on. To set the “off” time, leave the pins up for the hours you want the lights to be off. Make sure you set the current time. Turn the dial until the arrow points to the right time. Plug the timer into an outlet. Plug your outdoor lights into the timer.
Question No 4: How do I program a digital timer?
Answer: Digital timers use buttons and a screen. They are more exact than mechanical timers. To program a digital timer, first find the “program” button. Press it. The screen will show different options. You can set the “on” time. Use the “+” and “-” buttons to choose the hour and minute. Then, set the “off” time. Again, use the “+” and “-” buttons. You can also set different schedules for each day of the week. Some timers have a “random” setting. This turns the lights on and off at different times each day. Press the “ok” or “enter” button to save your settings. Now you know how to set the timer for outdoor lights using a digital interface!
Question No 5: What if my timer doesn’t work?
Answer: If your timer doesn’t work, check the power. Make sure it’s plugged in. Check the outlet too. Make sure the settings are correct. If you have a mechanical timer, check the pins. If you have a digital timer, check the program. Try resetting the timer. If your lights still don’t work, the light bulb might be burned out. Also, the timer might be broken. If you’ve tried everything and your timer still doesn’t work, you might need a new timer. Consider reviewing how to set the timer for outdoor lights to ensure proper setup.
Question No 6: Are there any safety tips I should know?
Answer: Yes, safety is important. Always use timers that are made for outdoor use. Never use an indoor timer outdoors. Check the wires for damage before you plug in the timer. Don’t overload the timer. Keep timers away from water. Before you clean the timer, unplug it. Following these tips will keep you safe. They will also help your timer last longer. Remember to review how to set the timer for outdoor lights safely before you begin.
