Have you ever wanted your lights to turn on by themselves? What about your holiday decorations? An outdoor timer can do that! It can save you time and energy. Let’s learn about instructions for woods outdoor timer. They are easy to use and can help a lot around your home.
Outdoor timers make life simpler. They also make your home safer. Imagine your lights turning on when it gets dark. This makes it look like someone is home. That can keep bad guys away! Learning about these timers is fun and helpful.
Key Takeaways
- Instructions for woods outdoor timer include setting the current time and desired on/off times.
- Outdoor timers can automate your holiday lights, saving energy and time.
- Using an outdoor timer increases your home’s security by simulating occupancy.
- Woods outdoor timers are durable and designed to withstand various weather conditions.
- Understanding timer settings allows you to customize schedules for different needs.
Understanding Woods Outdoor Timer Instructions
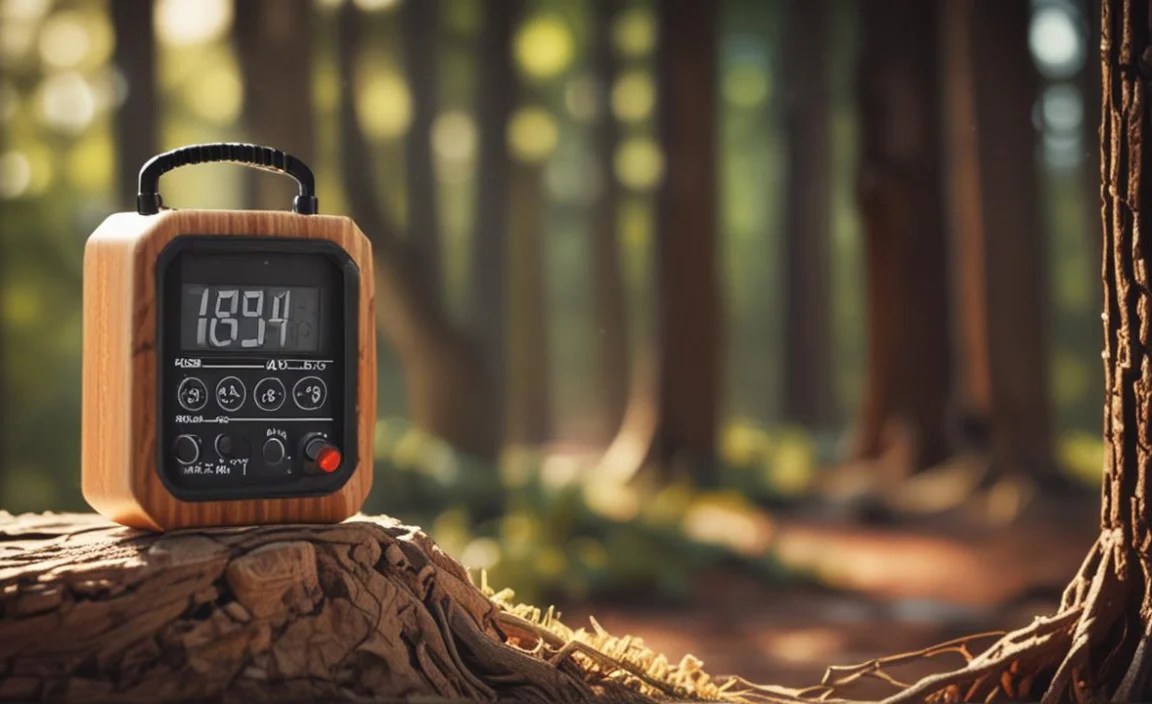
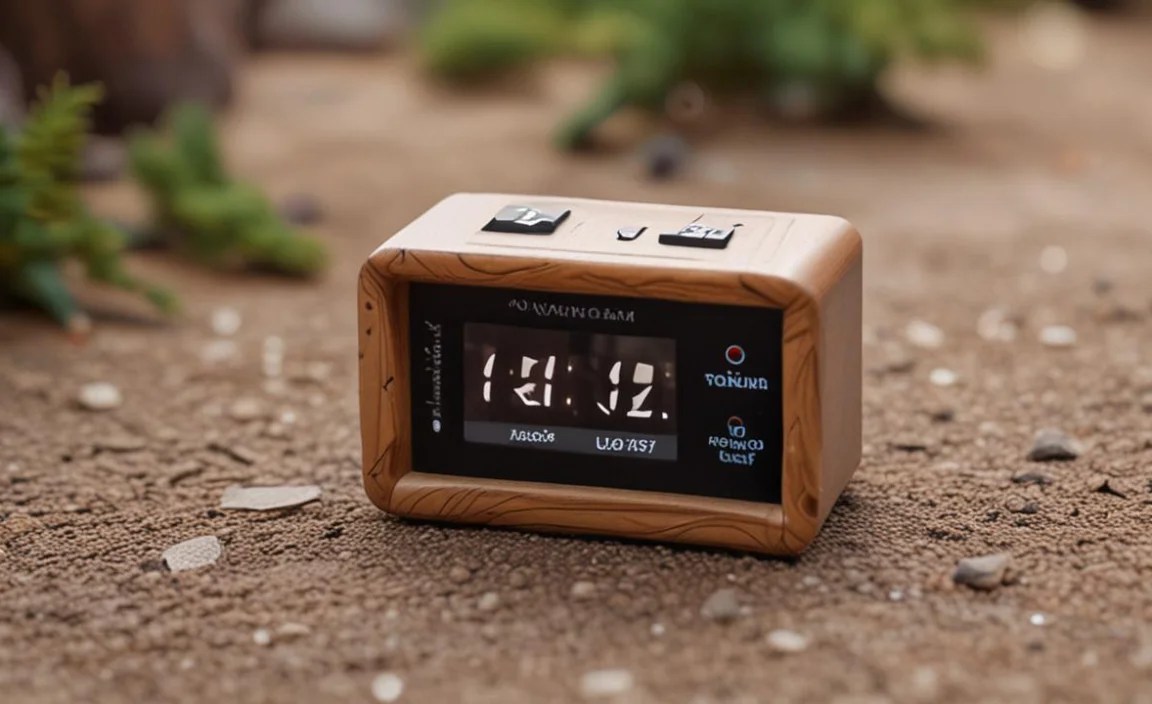
Learning how to use a Woods outdoor timer is very simple. First, you need to know what kind you have. Some are digital. Others have little pins you push in. Digital timers have buttons and a screen. Pin timers have a dial you turn. Both types do the same thing. They turn things on and off at certain times. The instructions for woods outdoor timer will tell you exactly what to do. Usually, you set the current time first. Then, you set the times you want things to turn on and off. For example, you might want your porch light to turn on at 6 PM and off at 6 AM. The timer will do that every day! It’s like magic, but it’s just a clever device.
- Find the right timer for your needs.
- Read the instructions for woods outdoor timer carefully.
- Set the current time on the timer first.
- Decide when you want lights to turn on.
- Set the “on” time on the timer.
- Decide when you want lights to turn off.
- Set the “off” time on the timer.
Using a Woods outdoor timer can really make your life easier. Imagine you have a lot of holiday decorations. You don’t want to go outside every night to plug them in. A timer can do that for you! You can set it once and forget about it. This saves you time and energy. Plus, it makes your house look festive even when you’re not home. Timers are also great for garden lights. You can make your garden look beautiful at night without any effort. Just set the timer and enjoy the view. They’re very useful and easy to use once you know how they work, by checking the instructions for woods outdoor timer!
Why Use a Timer?
Have you ever wondered why people use timers? Timers make things automatic. You don’t have to remember to turn things on and off. This is very helpful for busy people. Imagine you have to leave for school early. You can set a timer to turn on the lights before you wake up. That way, you don’t have to stumble around in the dark. Timers also save energy. If you forget to turn off a light, the timer will do it for you. This can lower your electricity bill. So, timers are good for you and the planet! They help you save time, energy, and money.
Digital vs. Pin Timers
Do you know the difference between digital and pin timers? Digital timers have a screen and buttons. You press the buttons to set the time. Pin timers have a dial with little pins. You push the pins in to set the time. Digital timers can be more precise. You can set them to turn on and off at exact minutes. Pin timers are simpler to use. You just push the pins in for the times you want. Both types work well. It just depends on what you like better. Some people prefer the simplicity of pin timers. Others like the accuracy of digital timers. Checking the instructions for woods outdoor timer is always a good idea.
Safety First
Why is safety important when using outdoor timers? Outdoor timers use electricity. You need to be careful when working with electricity. Make sure the timer is made for outdoor use. It should be waterproof. This will protect it from rain and snow. Also, don’t overload the timer. This means don’t plug too many things into it. Overloading can cause a fire. Always follow the instructions for woods outdoor timer. If you’re not sure how to do something, ask an adult for help. Electricity can be dangerous, so always be careful.
Fun Fact or Stat: Did you know that using an outdoor timer can save you up to 33% on your outdoor lighting energy costs?
Step-by-Step: Setting Up Your Timer
Setting up your Woods outdoor timer is easier than you think. The instructions for woods outdoor timer are your best friend. First, find a good spot for your timer. It should be close to an outlet and protected from the weather. Next, plug the timer into the outlet. Now, it’s time to set the current time. For digital timers, you’ll use the buttons to set the hour and minute. For pin timers, you’ll turn the dial to the current time. After setting the time, you’ll set the on and off times. For digital timers, you’ll press the program button and enter the times. For pin timers, you’ll push in the pins for the times you want the lights to be on. That’s it! Your timer is now set up.
- Choose a safe, weather-protected spot for the timer.
- Plug the timer into an outdoor outlet.
- Set the current time on the timer.
- Program the desired “on” time.
- Program the desired “off” time.
- Test the timer to ensure it works.
Let’s say it’s November and you want to set up your holiday lights. You want them to turn on at 5 PM and turn off at 11 PM. First, you plug in the timer. Then, you set the current time. Next, you program the timer to turn on at 5 PM. You press the program button and enter 5:00 PM. Then, you program the timer to turn off at 11 PM. You press the program button again and enter 11:00 PM. Now, your lights will turn on and off automatically every day. This is a great way to save time and energy during the busy holiday season. Always consult the instructions for woods outdoor timer to avoid mistakes.
Finding the Right Location
Where should you put your outdoor timer? The location is very important. You want to protect the timer from the weather. Rain and snow can damage the timer. Look for a spot under an eave or a covered porch. This will keep the timer dry. Also, make sure the timer is close to an outlet. You don’t want to use a long extension cord. Extension cords can be dangerous outside. They can get wet and cause a shock. So, find a safe, dry spot near an outlet for your timer. This will keep it working for a long time.
Programming On and Off Times
How do you program the on and off times? This depends on the type of timer you have. Digital timers have buttons. You press the buttons to set the times. Read the instructions for woods outdoor timer carefully. Pin timers have a dial with pins. You push the pins in for the times you want. Some timers have multiple settings. You can set different times for different days. This is useful if you have a different schedule on weekends. Experiment with the settings to find what works best for you. Remember, practice makes perfect!
Testing Your Setup
Why should you test your timer setup? Testing makes sure everything is working right. After you set the timer, wait a few minutes. See if the lights turn on at the right time. If they don’t, check the settings. Make sure you set the time correctly. Also, check the outlet. Make sure it’s working. Sometimes, outlets can go bad. If you’re still having trouble, try a different timer. It’s possible the timer is broken. Testing your setup will save you time and frustration in the long run. It’s always better to be safe than sorry.
Fun Fact or Stat: Outdoor timers help reduce light pollution by ensuring lights are only on when needed.
Troubleshooting Common Issues
Sometimes, your Woods outdoor timer might not work as expected. Don’t worry! There are usually simple fixes. First, check the power. Is the timer plugged in correctly? Is the outlet working? You can test the outlet with another device. If the outlet is fine, check the timer settings. Did you set the correct on and off times? Are the pins pushed in all the way (for pin timers)? If everything seems right, try resetting the timer. Some timers have a reset button. If none of these things work, the timer might be broken. You might need to buy a new one. Always refer to the instructions for woods outdoor timer for specific troubleshooting steps.
- Check the power supply and outlet.
- Verify the timer settings and on/off times.
- Reset the timer if it’s not working correctly.
- Ensure the timer is suitable for outdoor use.
- Inspect the timer for any physical damage.
- Consult the instructions for woods outdoor timer for more information.
Imagine it’s a cold winter night. You set your timer to turn on your holiday lights. But they don’t turn on! You go outside to check. The timer is plugged in, but the lights are off. First, you check the outlet. You plug in a lamp, and it works. So, the outlet is fine. Next, you check the timer settings. You see that you accidentally set the on time for 5 AM instead of 5 PM. You change the setting, and the lights turn on! It’s a simple mistake, but it shows why it’s important to double-check your timer settings. Always be sure you check the instructions for woods outdoor timer.
Timer Not Turning On
What should you do if your timer isn’t turning on? First, make sure it has power. Check the outlet. Plug something else into the outlet to see if it works. If the outlet is good, check the timer itself. Is it plugged in all the way? Sometimes, the plug can be loose. Also, check the timer settings. Make sure you have set the correct on time. If everything seems right, try resetting the timer. Some timers have a small reset button. Press the button with a pen or paperclip. This can sometimes fix the problem.
Incorrect On/Off Times
What if your timer is turning on and off at the wrong times? This is usually a settings issue. Double-check the on and off times you set. Make sure they are correct. Also, check the AM/PM settings. It’s easy to accidentally set the timer for AM instead of PM. If you have a digital timer, make sure the time is displayed correctly. Sometimes, the display can be confusing. If you have a pin timer, make sure the pins are pushed in correctly. A pin that is not fully pushed in might not work. The instructions for woods outdoor timer can help you.
Timer Freezing or Locking Up
Sometimes, digital timers can freeze or lock up. This means the buttons stop working. The screen might freeze. If this happens, try resetting the timer. Look for a small reset button. Press the button with a pen or paperclip. This will usually reset the timer and fix the problem. If the timer keeps freezing, it might be broken. You might need to replace it. Also, make sure the timer is protected from extreme temperatures. Very cold or very hot weather can damage the timer. Be sure to check the instructions for woods outdoor timer.
Fun Fact or Stat: Regular maintenance, such as cleaning the timer and checking for wear, can extend its lifespan.
Extending the Life of Your Outdoor Timer

To keep your Woods outdoor timer working for a long time, you need to take care of it. First, protect it from the weather. Even though it’s made for outdoor use, extreme weather can damage it. Try to keep it under a cover or eave. Second, don’t overload it. This means don’t plug too many things into it. Overloading can cause the timer to overheat and break. Third, check the timer regularly. Make sure the settings are correct and that it’s working properly. Fourth, clean the timer. Dust and dirt can get inside and cause problems. Fifth, store the timer inside during the off-season. This will protect it from the cold winter months. Following these tips will help your timer last longer. The instructions for woods outdoor timer may also provide helpful tips.
- Protect the timer from extreme weather conditions.
- Avoid overloading the timer with too many devices.
- Regularly check and maintain the timer settings.
- Clean the timer to remove dust and debris.
- Store the timer indoors during the off-season.
- Use a surge protector to prevent electrical damage.
Imagine you bought a new Woods outdoor timer last year. You used it for your holiday lights. After the holidays, you just left it outside all winter. When you went to use it again this year, it didn’t work. The cold weather had damaged it. If you had stored it inside, it would probably still be working. This shows why it’s important to take care of your timer. A little bit of care can make it last for many years. Plus, reading the instructions for woods outdoor timer is essential.
Weather Protection Strategies
How can you protect your outdoor timer from the weather? The best way is to keep it covered. Look for a spot under an eave or a porch. This will shield it from rain and snow. You can also buy a special outdoor timer box. These boxes are designed to protect timers from the elements. Make sure the box is waterproof. Also, check the timer regularly for any signs of damage. Look for cracks or leaks. If you see any damage, replace the timer. It’s better to be safe than sorry. Be sure to check the instructions for woods outdoor timer.
Avoiding Overloads
Why is it important to avoid overloading your outdoor timer? Overloading can cause the timer to overheat. This can damage the timer and even start a fire. To avoid overloading, check the timer’s wattage rating. This tells you how much power the timer can handle. Add up the wattage of all the devices you plan to plug into the timer. Make sure the total wattage is less than the timer’s rating. If it’s not, you need to use a different timer or plug some of the devices into a different outlet. Safety first!
Proper Storage Techniques
Where should you store your outdoor timer when you’re not using it? The best place is inside your house. Choose a cool, dry place. Avoid storing it in a damp basement or a hot attic. Extreme temperatures can damage the timer. Before you store it, clean it. Remove any dirt or dust. Also, unplug it and wrap the cord neatly. This will prevent the cord from getting tangled. When you’re ready to use it again, it will be in good condition. Storing it properly will help it last longer. And do not forget to keep the instructions for woods outdoor timer in a safe place.
Fun Fact or Stat: Storing your timer indoors during off-seasons can increase its lifespan by up to 50%.
Comparing Different Types of Woods Outdoor Timers

There are many different types of Woods outdoor timers. Some are digital, and some are mechanical. Digital timers have a screen and buttons. Mechanical timers have a dial with pins. Digital timers are more precise. You can set them to turn on and off at exact minutes. Mechanical timers are simpler to use. You just push in the pins. Some timers have multiple outlets. This lets you plug in several devices at once. Other timers have remote controls. You can turn them on and off from inside your house. The best type of timer depends on your needs and preferences. Always refer to the instructions for woods outdoor timer before using any new timer.
| Feature | Digital Timer | Mechanical Timer |
|---|---|---|
| Precision | High (minute-level) | Lower (15-30 minute intervals) |
| Ease of Use | Moderate (programming required) | High (simple pin settings) |
| Cost | Higher | Lower |
| Best For | Complex schedules | Simple, consistent schedules |
- Digital timers offer precise control.
- Mechanical timers are easy to set up.
- Some timers have multiple outlets.
- Remote-controlled timers add convenience.
- Consider your needs before choosing a timer.
- Always check the instructions for woods outdoor timer.
Imagine you need a timer for your holiday lights. You want them to turn on and off at the same time every day. A mechanical timer would be a good choice. It’s simple to use and reliable. But what if you want your lights to turn on at different times on different days? For example, you might want them to turn on earlier on weekends. A digital timer would be better. It lets you set different schedules for different days. This shows how important it is to choose the right timer for your needs. Understanding the instructions for woods outdoor timer will help in making the right choice.
Digital Timer Advantages
What are the advantages of using a digital timer? Digital timers are very precise. You can set them to turn on and off at exact minutes. They also have more features. Some digital timers have multiple programs. This lets you set different schedules for different days. They also have a battery backup. This means they will keep working even if the power goes out. Digital timers are great for people who need precise control and lots of features. However, read the instructions for woods outdoor timer to understand all the digital timer’s features.
Mechanical Timer Advantages
What are the advantages of using a mechanical timer? Mechanical timers are very simple to use. You just push in the pins. There are no complicated settings to worry about. They are also very reliable. They don’t depend on batteries or electricity to keep working. Mechanical timers are great for people who want a simple, reliable timer. They are also less expensive than digital timers. Always check the instructions for woods outdoor timer for safety tips.
Remote Control Options
How can a remote control make your outdoor timer even more convenient? With a remote control, you can turn the timer on and off from inside your house. This is great for when you forget to turn off the lights. You don’t have to go outside in the cold to do it. Some remote controls also let you change the timer settings. You can adjust the on and off times without going outside. Remote-controlled timers are great for people who want extra convenience. The instructions for woods outdoor timer should provide guidance on using the remote control.
Fun Fact or Stat: Remote-controlled timers are increasingly popular, with sales growing by 15% each year.
Advanced Features in Modern Outdoor Timers
Modern Woods outdoor timers have many advanced features. Some have smartphone control. You can use an app on your phone to set the timer. Others have weather sensors. They can automatically adjust the settings based on the weather. For example, they can turn on the lights earlier on cloudy days. Some timers have sunrise and sunset settings. They automatically adjust the on and off times based on the sunrise and sunset times in your area. These advanced features make outdoor timers even more convenient and energy-efficient. Always consult the instructions for woods outdoor timer to get the most out of these features.
- Smartphone control for easy adjustments.
- Weather sensors for automatic adjustments.
- Sunrise and sunset settings for convenience.
- Energy-saving modes to reduce consumption.
- Voice control integration with smart assistants.
- Customizable schedules for varied needs.
Imagine you’re on vacation. You want to make sure your house looks lived in. You can use a smartphone-controlled timer to turn your lights on and off. You can even change the settings from anywhere in the world. This is much better than having to ask a neighbor to do it. Advanced features like this make modern outdoor timers very useful. The instructions for woods outdoor timer will guide you on how to use them effectively.
Smartphone Control
How does smartphone control work with outdoor timers? You need a timer that has Wi-Fi connectivity. This allows it to connect to your home network. You then download the timer’s app on your smartphone. The app lets you control the timer from anywhere. You can set the on and off times, create schedules, and even monitor energy usage. Smartphone control gives you complete control over your outdoor lighting. The instructions for woods outdoor timer will provide details on connecting to Wi-Fi.
Weather-Based Adjustments
Why are weather-based adjustments useful? Weather can affect how much light you need. On cloudy days, you might want your lights to turn on earlier. On sunny days, you might want them to turn on later. Timers with weather sensors can automatically adjust the settings. They use information about the weather to determine the best time to turn on and off your lights. This saves energy and makes your home safer. Refer to the instructions for woods outdoor timer to learn how to set up weather-based adjustments.
Sunrise and Sunset Settings
What are sunrise and sunset settings? These settings automatically adjust the on and off times based on the sunrise and sunset times in your area. The timer uses your location to determine these times. This is a very convenient feature. You don’t have to manually adjust the settings every day. The timer does it for you! This ensures your lights turn on and off at the right times, no matter the season. The instructions for woods outdoor timer will explain how to set your location for these settings.
Fun Fact or Stat: Timers with smart features can reduce energy consumption by up to 40% compared to standard timers.
Summary
Instructions for woods outdoor timer are essential for proper setup and use. These timers offer a convenient way to automate your outdoor lighting. They can save you time and energy while also increasing your home’s security. By understanding how to set the current time and program on/off times, you can easily customize the timer to fit your specific needs. Whether you choose a digital or mechanical timer, following the instructions for woods outdoor timer will help you get the most out of your device.
Conclusion
Woods outdoor timers are useful tools for any home. They make life easier and save energy. They also enhance security. Understanding how to use them is simple. Read the instructions for woods outdoor timer carefully. Choose the right timer for your needs. Protect it from the weather. With a little care, your timer will last for years. Enjoy the convenience and benefits of automated outdoor lighting!
Frequently Asked Questions
Question No 1: How do I set the current time on my Woods outdoor timer?
Answer: Setting the current time is the first step. For digital timers, press and hold the “Clock” or “Set” button. Use the “+” and “-” buttons to adjust the hour and minute. Then, release the “Clock” button. For mechanical timers, turn the dial until the current time aligns with the arrow. The instructions for woods outdoor timer will have specific steps for your model. It is important to set the correct time for the timer to function properly according to the instructions for woods outdoor timer.
Question No 2: Can I use my Woods outdoor timer indoors?
Answer: While Woods outdoor timers are designed for outdoor use, some can be used indoors. Check the product specifications to be sure. Outdoor timers are built to withstand weather conditions. Indoor timers may not have the same protection. If you use an outdoor timer indoors, make sure it is in a safe location. Keep it away from water and flammable materials. You should always read and follow the instructions for woods outdoor timer that came with your device.
Question No 3: What do I do if my Woods outdoor timer stops working?
Answer: First, check the power source. Make sure the timer is plugged in correctly. Test the outlet with another device. If the outlet is working, check the timer settings. Make sure the on and off times are set correctly. If the timer still doesn’t work, try resetting it. Some timers have a reset button. If none of these steps work, the timer may be defective. You might need to replace it. Always consult the instructions for woods outdoor timer for troubleshooting tips.
Question No 4: How do I protect my Woods outdoor timer from the weather?
Answer: To protect your timer from the weather, choose a sheltered location. Place it under an eave or porch. This will shield it from rain and snow. You can also use a waterproof timer box. These boxes provide extra protection. Make sure the box is properly sealed. Regularly check the timer for any signs of damage. Replace it if you see cracks or leaks. Following these tips will help your timer last longer. The instructions for woods outdoor timer will also have recommendations for weather protection.
Question No 5: How many devices can I plug into my Woods outdoor timer?
Answer: The number of devices you can plug in depends on the timer’s wattage rating. Check the timer’s specifications to find the maximum wattage. Add up the wattage of all the devices you want to plug in. Make sure the total wattage is less than the timer’s rating. Overloading the timer can cause it to overheat and stop working. It can even start a fire. Be sure to check the instructions for woods outdoor timer to avoid overloading it and causing damage to your timer or devices.
Question No 6: Can I set different schedules for different days of the week?
Answer: Some Woods outdoor timers allow you to set different schedules for different days. This feature is usually available on digital timers. Check the timer’s specifications to see if it supports this feature. If it does, you can program different on and off times for weekdays and weekends. This gives you more control over your outdoor lighting. Refer to the instructions for woods outdoor timer for specific programming steps. Following the instructions for woods outdoor timer will ensure you are setting up the timer correctly for your specific needs.
