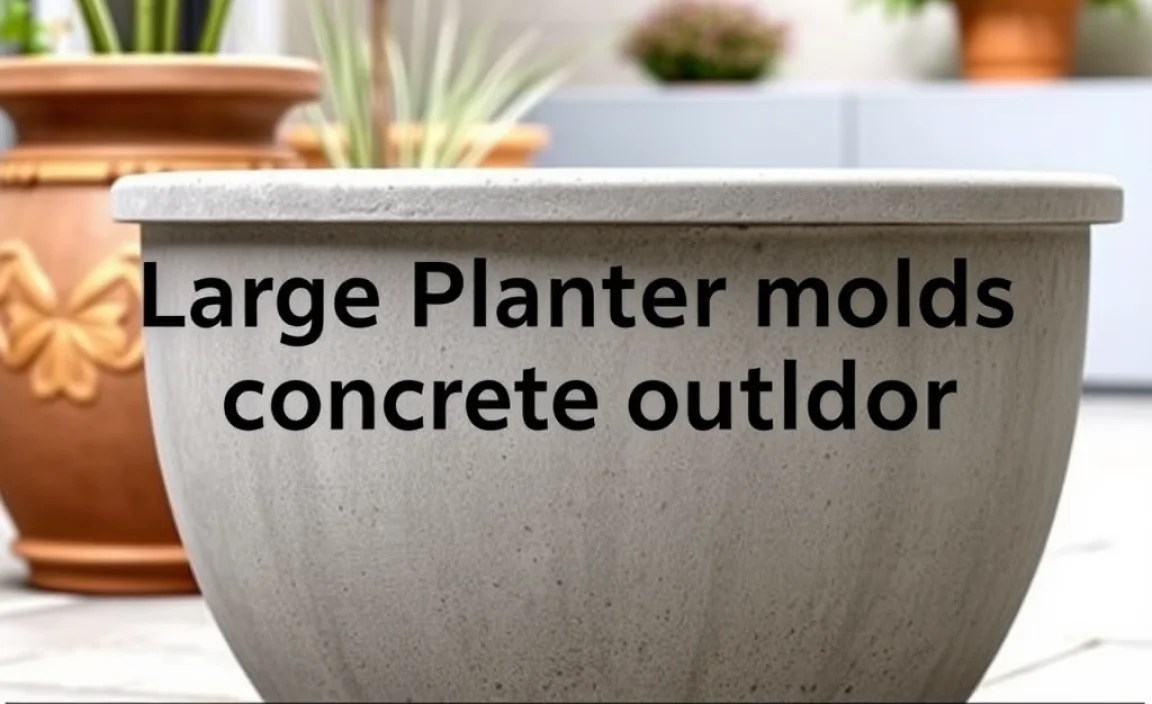
Have you ever seen a big, beautiful flower pot? Did you wonder how it was made? Some people use special molds to make them. These molds help create amazing concrete planters. Large planter molds for concrete outdoor use are a fun way to make your yard look great. They can turn plain concrete into works of art. You can make planters of all shapes and sizes.
These molds are like giant cookie cutters for concrete. You pour concrete into the mold. Then, you let it dry. After it dries, you take the mold off. You have a brand-new planter! It’s like magic, but it’s really science. Let’s learn more about these cool molds.
Key Takeaways
- Large planter molds for concrete outdoor use let you create custom planters easily.
- Concrete planters are strong and can withstand different weather conditions.
- Using molds saves money compared to buying ready-made large planters.
- You can paint and decorate your concrete planters to match your style.
- Different mold materials offer varying levels of detail and reusability.

Choosing the Right Size Mold
Choosing the right size large planter mold for concrete outdoor projects is important. Think about where you want to put the planter. Do you have a big garden? Or a small patio? A large garden can handle bigger planters. A small patio might need smaller ones. Big planters are great for trees or lots of flowers. Small planters are good for herbs or single plants. Measure the space before you pick a mold. This will help you choose the best size. A planter that is too big can take up too much space. A planter that is too small might not hold enough plants. Think about the plants you want to grow, too. Some plants need more room than others.
- Consider the space where you will place the planter.
- Think about the size of the plants you want to grow.
- Measure your space before choosing a mold size.
- Choose the right size for your needs.
- A large mold is good for big gardens and larger plants.
Picking the right size is just the first step. You also need to think about the shape. Round planters are classic. Square planters look modern. You can even find molds for unique shapes. Some molds make planters that look like animals or sculptures. The possibilities are endless. Once you know the size and shape, you can start looking at different materials. Some molds are made of plastic. Others are made of silicone. The material affects how easy it is to remove the planter. It also affects how many times you can use the mold.
Fun Fact or Stat: The largest concrete planter ever made weighed over 2 tons and held a fully grown tree!
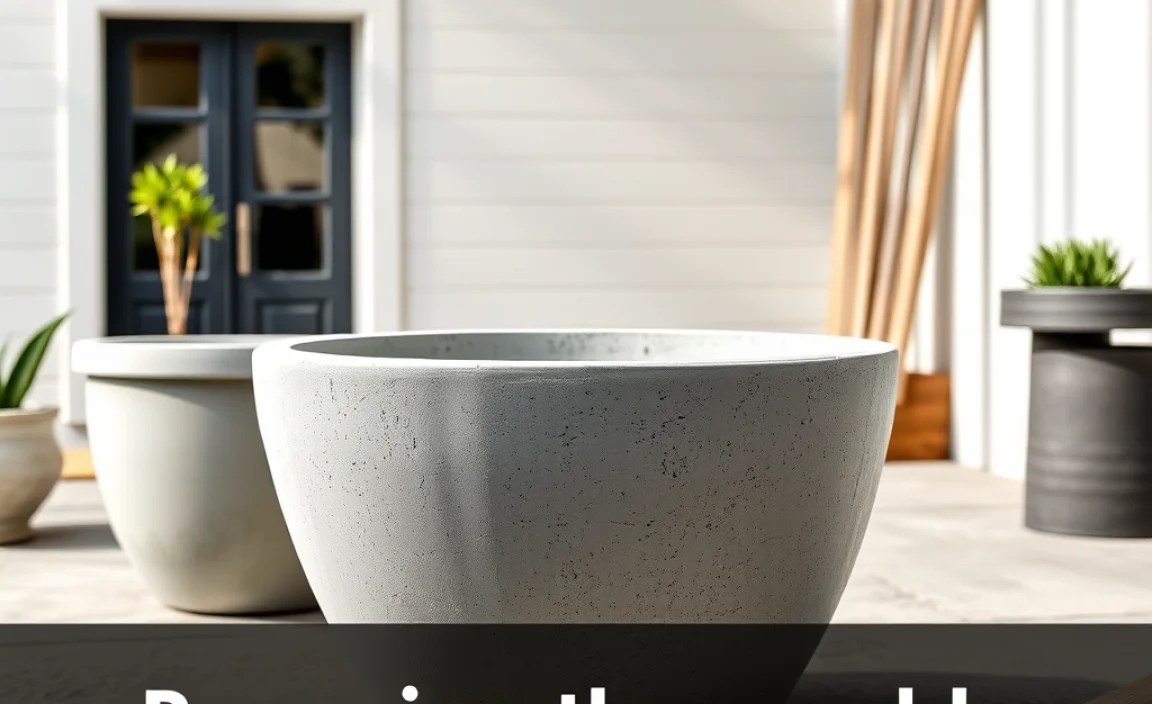
How Big is Too Big for a Planter?
Have you ever seen a planter so big it looked out of place? Size matters when it comes to planters. A giant planter in a tiny yard can look funny. Think about balance. The planter should fit well with its surroundings. Too big, and it overwhelms the space. Too small, and it gets lost. Consider the size of your house, too. A huge planter might look better with a large house. A smaller house might need smaller planters. Large planter molds for concrete outdoor projects need careful planning. You want your yard to look beautiful, not awkward.
Do Big Planters Need Special Support?
Imagine a super heavy planter tipping over. It could be a disaster! Big planters can weigh a lot, especially when filled with soil and plants. You might need to think about support. A strong base can help. Consider using a concrete slab or paving stones. These can provide a stable foundation. You might also want to think about drainage. Big planters need good drainage so the plants don’t get waterlogged. Add some gravel at the bottom of the planter. This helps water drain properly. Good support and drainage keep your plants healthy and your planter safe.
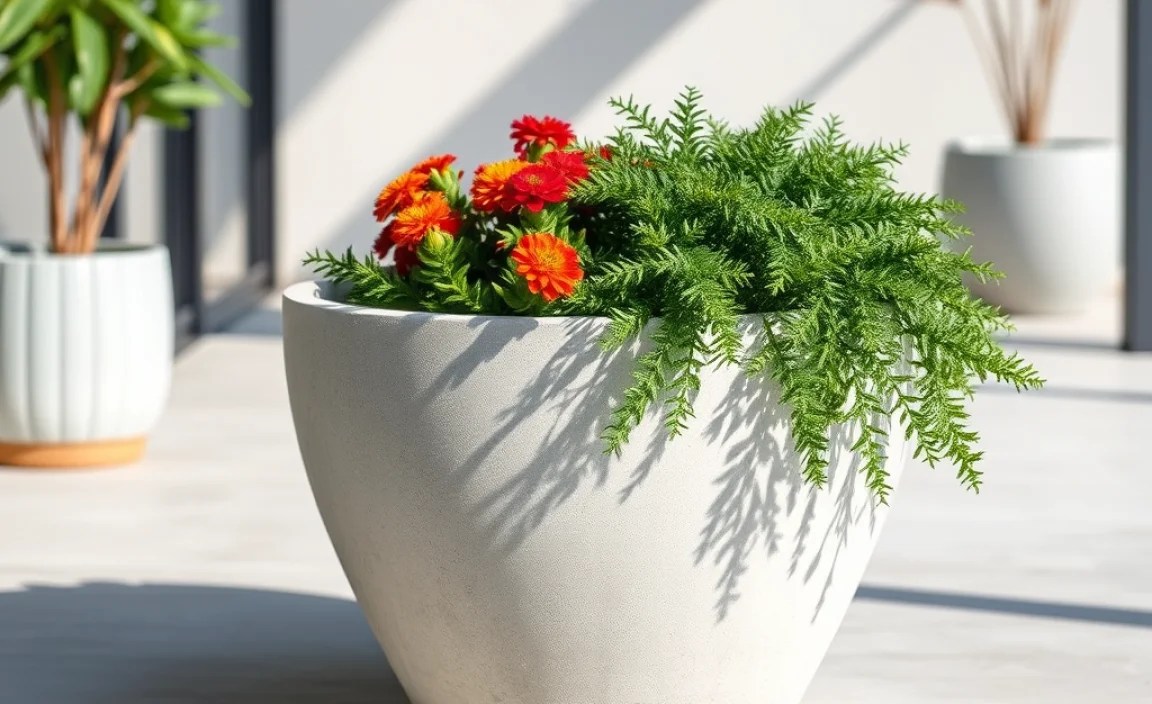
What Plants Look Best in Large Planters?
Big planters are like a blank canvas for your garden dreams. What plants should you choose? Think about height and color. Tall plants can add drama. Colorful flowers can brighten up the space. Small trees and shrubs also look great in large planters. Consider the sunlight. Some plants like full sun. Others prefer shade. Choose plants that will thrive in your yard. Mix different types of plants for an interesting look. You can combine flowers, vegetables, and herbs. Large planter molds for concrete outdoor creations deserve beautiful plants.
Different Materials for Molds
Large planter molds for concrete outdoor projects come in different materials. The material affects how easy the mold is to use. It also affects how many times you can reuse it. Plastic molds are common. They are often cheaper than other types of molds. Plastic molds are lightweight and easy to handle. However, they may not last as long as other materials. Silicone molds are more flexible. This makes it easier to remove the concrete planter. Silicone molds can also capture more detail. Metal molds are very durable. They can be used many times. However, they can be more expensive. Consider the pros and cons of each material.
- Plastic molds are affordable and lightweight.
- Silicone molds are flexible and capture fine details.
- Metal molds are durable and long-lasting.
- Each material offers different benefits and drawbacks.
- Choose based on your budget and project needs.
- Consider how many times you will reuse the mold.
The material also affects the finish of the planter. Some materials create a smooth finish. Others create a textured finish. If you want a smooth planter, choose a mold that is smooth inside. If you want a textured planter, choose a mold with texture. You can also add texture to the concrete yourself. Use tools to create patterns or designs. Experiment with different techniques to get the look you want. The right mold material can make a big difference. It can help you create beautiful and unique planters.
Fun Fact or Stat: Silicone molds can withstand temperatures from -40°F to 450°F!
Are Plastic Molds Strong Enough?
Plastic molds are popular, but are they strong enough? It depends on the type of plastic. Some plastic molds are thin and flimsy. These might not last very long. Other plastic molds are made of thicker, stronger plastic. These can be more durable. Look for molds made of high-quality plastic. These are less likely to crack or break. Reinforce the mold with tape or supports. This can help it hold its shape. Large planter molds for concrete outdoor use require strong materials. Check the reviews before you buy a plastic mold. See what other people say about its durability.
What are the Benefits of Silicone Molds?
Silicone molds are known for their flexibility. This makes it easy to remove the concrete planter. You can bend and twist the mold without damaging the planter. Silicone molds also capture fine details. They can create intricate designs on your planters. Silicone is also non-stick. This means the concrete won’t stick to the mold. Cleaning silicone molds is easy. Just wash them with soap and water. Silicone molds are a great choice for detailed planters. They are also a good choice if you want to reuse the mold many times.
How Long Do Metal Molds Last?
Metal molds are the most durable option. They can last for many years. Metal molds can withstand a lot of use. They are not likely to crack or break. Metal molds can be more expensive than plastic or silicone molds. However, they can be a good investment if you plan to make a lot of planters. Metal molds can also create a very smooth finish. They are a good choice for modern or minimalist planters. Large planter molds for concrete outdoor projects benefit from durable materials.
Preparing the Mold for Concrete
Preparing the large planter molds for concrete outdoor projects is very important. A well-prepared mold will make it easier to remove the planter. It will also create a smoother finish. Start by cleaning the mold. Remove any dust or debris. Use a brush or cloth to clean the inside of the mold. Next, apply a release agent. This helps prevent the concrete from sticking to the mold. You can use cooking spray or a special mold release agent. Apply a thin, even coat. Make sure to cover all the inside surfaces of the mold. This will help the planter release easily.
- Clean the mold thoroughly before use.
- Apply a release agent to prevent sticking.
- Use a thin, even coat of release agent.
- Make sure all surfaces are covered.
- This will help the planter release easily.
- A well-prepared mold ensures a smooth finish.
If the mold has multiple pieces, assemble it carefully. Make sure all the pieces fit together tightly. Use clamps or tape to hold the mold together. This will prevent leaks. Leaks can ruin the planter. They can also make it hard to remove the mold. Before pouring the concrete, check the mold one last time. Make sure everything is clean and secure. A little preparation can save you a lot of trouble later.
Fun Fact or Stat: Some professional concrete artists use up to three different release agents for complex molds!
Why is a Release Agent Important?
Imagine trying to peel a cake from a pan without greasing it. It would be a sticky mess! A release agent does the same thing for concrete. It creates a barrier between the concrete and the mold. This prevents the concrete from sticking. Without a release agent, the planter might be hard to remove. You could even damage the planter trying to get it out. A release agent makes the process much easier. It also helps protect the mold. This can extend the life of the mold. Large planter molds for concrete outdoor projects need this step.
How Do You Assemble Multi-Piece Molds?
Some molds come in multiple pieces. This can make them easier to store. It can also make it easier to remove the planter. But assembling the mold can be tricky. Start by reading the instructions carefully. Make sure you understand how the pieces fit together. Use clamps or tape to hold the pieces in place. Check for gaps or leaks. If you find any, seal them with tape or caulk. A properly assembled mold is essential for a successful planter. Large planter molds for concrete outdoor use often have multiple parts.
What Happens if the Mold Leaks?
A leaking mold can be a disaster. Concrete can seep out and ruin the planter. It can also make it hard to remove the mold. Prevent leaks by assembling the mold carefully. Use clamps or tape to hold the pieces together tightly. If you see a leak, stop pouring the concrete. Try to seal the leak with tape or caulk. If the leak is too big, you might need to start over. Leaks can waste concrete and create a mess. Prevention is key. Large planter molds for concrete outdoor projects need careful attention.

Mixing and Pouring the Concrete
Mixing and pouring concrete is a key step. It is important to get the right consistency. Too much water can weaken the concrete. Not enough water can make it hard to pour. Follow the instructions on the concrete mix. Use the right amount of water. Mix the concrete thoroughly. You can use a mixing machine or a shovel. Make sure there are no lumps. Pour the concrete slowly into the mold. Fill the mold evenly. Tap the mold to release air bubbles. Air bubbles can weaken the concrete. They can also create imperfections on the surface.
| Concrete Mix Type | Water Ratio | Mixing Time | Curing Time |
|---|---|---|---|
| Standard Concrete Mix | 1 part water to 4 parts mix | 5-10 minutes | 24-48 hours |
| Fast-Setting Concrete Mix | 1 part water to 3 parts mix | 3-5 minutes | 12-24 hours |
| Fiber-Reinforced Concrete Mix | 1 part water to 4.5 parts mix | 7-12 minutes | 48-72 hours |
| High-Strength Concrete Mix | 1 part water to 3.5 parts mix | 8-15 minutes | 72-96 hours |
- Follow the instructions on the concrete mix.
- Use the right amount of water.
- Mix the concrete thoroughly.
- Pour the concrete slowly into the mold.
- Tap the mold to release air bubbles.
- Fill the mold evenly.
Once the mold is full, smooth the surface. Use a trowel to create a smooth, even finish. You can also add decorative elements. Press stones or shells into the wet concrete. Create patterns or designs. Let the concrete dry completely. This can take several days. Follow the instructions on the concrete mix. The drying time depends on the type of concrete. Large planter molds for concrete outdoor use require careful mixing.
Fun Fact or Stat: Adding a small amount of vinegar to the concrete mix can help reduce air bubbles!
How Do You Get Rid of Air Bubbles?
Air bubbles can weaken the concrete. They can also create unsightly holes on the surface. There are several ways to get rid of air bubbles. Tap the mold gently with a hammer or mallet. This will help the bubbles rise to the surface. Use a vibrator to shake the concrete. This will also help release air bubbles. You can also add a plasticizer to the concrete mix. This makes the concrete more fluid. It helps the bubbles escape more easily. Large planter molds for concrete outdoor projects benefit from bubble-free concrete.
What Happens if the Concrete is Too Wet?
Too much water can weaken the concrete. It can also make it take longer to dry. The concrete might also shrink and crack. Use the right amount of water. Follow the instructions on the concrete mix. If you accidentally add too much water, add more dry concrete mix. Mix it thoroughly. This will help restore the proper consistency. Large planter molds for concrete outdoor creations need the right mix.
Can You Add Color to Concrete?
Yes, you can add color to concrete. Use a concrete pigment. Add the pigment to the concrete mix. Mix it thoroughly. You can also paint the concrete after it dries. Use a concrete paint or stain. Choose a color that complements your garden. You can create colorful and unique planters. Large planter molds for concrete outdoor designs can be customized with color.
Removing the Planter from the Mold
Removing the planter from the mold is the final step. It is important to be patient. Do not rush the process. Make sure the concrete is completely dry. Check the instructions on the concrete mix. The drying time depends on the type of concrete. Once the concrete is dry, carefully remove the mold. If the mold has multiple pieces, disassemble it slowly. Gently tap the mold to loosen the planter. If the planter is stuck, use a rubber mallet. Tap the mold gently around the edges. Do not force the planter out of the mold. This could damage the planter.
- Make sure the concrete is completely dry.
- Disassemble the mold slowly.
- Gently tap the mold to loosen the planter.
- Do not force the planter out of the mold.
- Use a rubber mallet if needed.
- Be patient and careful.
Once the planter is removed, inspect it for any imperfections. Fill any holes or cracks with concrete patch. Let the patch dry completely. You can also sand the surface of the planter. This will create a smoother finish. Now you are ready to decorate the planter. Paint it, stain it, or add decorative elements. Large planter molds for concrete outdoor planters are ready for plants.
Fun Fact or Stat: Warming the mold slightly with a heat gun can sometimes help release the concrete!
What Happens if the Planter Gets Damaged?
Sometimes, the planter can get damaged during removal. It might crack or chip. Do not worry. You can repair it. Use a concrete patch to fill the cracks or chips. Smooth the patch with a trowel. Let it dry completely. You can also use epoxy to repair the planter. Epoxy is a strong adhesive. It can bond the broken pieces together. Follow the instructions on the epoxy. Large planter molds for concrete outdoor projects can be salvaged.
How Do You Clean the Mold After Use?
Cleaning the mold after use is important. It will help extend the life of the mold. Remove any concrete residue. Use a brush or scraper. Wash the mold with soap and water. Rinse it thoroughly. Let it dry completely before storing it. Store the mold in a cool, dry place. This will prevent it from warping or cracking. Large planter molds for concrete outdoor use need proper care.
Can You Reuse the Molds?
Yes, you can reuse the molds. Most molds can be used multiple times. The number of times you can reuse a mold depends on the material. Metal molds can be used the most times. Plastic molds can be used fewer times. Silicone molds are somewhere in between. Clean the mold after each use. Store it properly. This will help it last longer. Large planter molds for concrete outdoor projects are an investment.
Decorating Your Concrete Planters
Decorating your concrete planters is a fun way to personalize them. There are many ways to decorate concrete planters. You can paint them. Use a concrete paint or stain. Choose colors that complement your garden. You can also add decorative elements. Glue stones, shells, or glass beads to the planter. Create patterns or designs. You can also stencil designs onto the planter. Use a stencil and concrete paint. Let your creativity shine.
- Paint the planter with concrete paint.
- Add stones, shells, or glass beads.
- Stencil designs onto the planter.
- Use different colors and textures.
- Let your creativity shine.
- Personalize the planter to match your style.
You can also add a sealant to the planter. This will protect it from the weather. It will also help prevent staining. Choose a sealant that is designed for concrete. Apply the sealant according to the instructions. A well-decorated planter can be a beautiful addition to your garden. Large planter molds for concrete outdoor projects deserve creative finishes.
Fun Fact or Stat: Some artists use glow-in-the-dark paint on concrete planters for a magical nighttime effect!
What Kind of Paint Should You Use?
Using the right kind of paint is important. Regular paint will not adhere to concrete. It will peel and flake off. Use a concrete paint or stain. These paints are designed to bond with concrete. They are also weather-resistant. Choose a paint that is appropriate for outdoor use. Follow the instructions on the paint can. Prepare the surface of the planter before painting. Clean it and let it dry. Large planter molds for concrete outdoor planters need special paint.
How Do You Add Stones and Shells?
Adding stones and shells is a fun way to decorate your planters. Use a strong adhesive, like epoxy or construction adhesive. Apply the adhesive to the back of the stone or shell. Press it onto the surface of the planter. Hold it in place until the adhesive dries. Create patterns or designs. You can also cover the entire surface of the planter with stones or shells. Large planter molds for concrete outdoor projects can be unique.
What are Some Other Decorative Ideas?
There are many other ways to decorate your concrete planters. You can mosaic the planter. Use small pieces of tile or glass. Glue them to the surface of the planter. You can also add metal accents. Use metal wire or sheets. Attach them to the planter with screws or adhesive. You can also carve designs into the concrete. Use a chisel or other carving tools. Be creative and have fun. Large planter molds for concrete outdoor creations can be works of art.
Maintaining Your Concrete Planters
Maintaining your concrete planters will help them last longer. Clean the planters regularly. Remove any dirt or debris. Use a brush or hose. Inspect the planters for cracks or damage. Repair any cracks or chips with concrete patch. Apply a sealant to protect the planters from the weather. Reapply the sealant every year or two. This will help prevent staining and damage.
- Clean the planters regularly.
- Inspect for cracks and damage.
- Repair any cracks with concrete patch.
- Apply a sealant to protect from weather.
- Reapply sealant every year or two.
- Proper maintenance extends the lifespan of planters.
Protect the planters from freezing temperatures. Cover them with a tarp or blanket. This will help prevent them from cracking. Empty the planters before winter. This will reduce the weight and prevent damage. With proper care, your concrete planters will last for many years. Large planter molds for concrete outdoor projects require upkeep.
Fun Fact or Stat: Concrete planters can last for 50 years or more with proper maintenance!
How Do You Clean Concrete Planters?
Cleaning concrete planters is easy. Use a brush and hose to remove dirt and debris. You can also use a mild detergent. Rinse the planter thoroughly with water. Avoid using harsh chemicals or abrasive cleaners. These can damage the concrete. Clean the planter regularly to keep it looking its best. Large planter molds for concrete outdoor creations benefit from regular cleaning.
How Do You Repair Cracks in Concrete?
Cracks in concrete are common. They can be caused by weather or impact. Repair cracks with concrete patch. Clean the area around the crack. Apply the concrete patch to the crack. Smooth it with a trowel. Let it dry completely. You can also use epoxy to repair cracks. Epoxy is a strong adhesive. It can bond the broken pieces together. Follow the instructions on the epoxy. Large planter molds for concrete outdoor projects can be repaired easily.
How Do You Protect Planters from Freezing?
Freezing temperatures can damage concrete planters. Water inside the concrete can freeze and expand. This can cause the concrete to crack. Protect the planters from freezing by covering them with a tarp or blanket. You can also wrap them with bubble wrap. Empty the planters before winter. This will reduce the weight and prevent damage. Large planter molds for concrete outdoor planters need winter protection.
Summary
Large planter molds for concrete outdoor use open up a world of possibilities. You can create custom planters that fit your style. You can choose the size, shape, and color. You can even add decorative elements. Making your own concrete planters is a fun and rewarding project. It is also a great way to save money. Ready-made planters can be expensive. Molds are affordable and reusable.
With a little effort, you can create beautiful and durable planters. These planters will enhance your outdoor space. Remember to prepare the mold carefully. Mix and pour the concrete properly. Remove the planter gently. Decorate it to your liking. Maintain it regularly. Your concrete planters will last for years to come.
Conclusion
Making your own concrete planters is a fun and easy project. Large planter molds for concrete outdoor use can help you create beautiful and unique planters. You can customize them to match your style. Concrete planters are durable and weather-resistant. They can last for many years with proper care. So grab a mold, mix some concrete, and get creative! Your garden will thank you.
Frequently Asked Questions
Question No 1: Are concrete planters heavy?
Answer: Yes, concrete planters can be quite heavy, especially the larger ones. Concrete is a dense material, so even a relatively small planter can weigh a significant amount. Consider this when choosing a location for your planter. Once it’s in place, it might be difficult to move. You may want to use a dolly or ask for help when moving heavy concrete planters. Always lift with your legs and keep your back straight to avoid injury. Large planter molds for concrete outdoor use will naturally result in heavier planters.
Question No 2: Can I use any type of concrete mix?
Answer: While you can technically use different types of concrete mix, it’s best to use a mix specifically designed for outdoor use and for creating planters. These mixes often contain additives that make the concrete more resistant to cracking and weathering. Look for a concrete mix that is labeled for “outdoor” or “planter” use. These mixes will provide better results and a longer-lasting planter. Follow the instructions on the concrete mix bag for best results. Using the wrong type of concrete mix can lead to problems later on. Large planter molds for concrete outdoor projects benefit from the right mix.
Question No 3: How long does it take for the concrete to dry?
Answer: The drying time for concrete depends on several factors. These include the type of concrete mix, the temperature, and the humidity. In general, it takes at least 24-48 hours for the concrete to dry enough to remove it from the mold. However, it can take longer for the concrete to fully cure. Curing is the process where the concrete hardens and gains strength. Follow the instructions on the concrete mix bag for specific drying and curing times. Patience is key when working with concrete. Rushing the process can lead to problems. Large planter molds for concrete outdoor creations need time to set properly.
Question No 4: Can I paint my concrete planter?
Answer: Yes, you can definitely paint your concrete planter! However, it’s important to use the right type of paint. Regular paint won’t adhere well to concrete and will likely peel or flake off over time. Use a paint specifically designed for concrete or masonry. These paints are formulated to bond with the concrete and withstand outdoor conditions. Before painting, clean the planter and let it dry completely. You may also want to apply a primer to help the paint adhere better. With the right paint and preparation, you can create a beautiful and colorful concrete planter. Large planter molds for concrete outdoor designs can be enhanced with paint.
Question No 5: How do I prevent my concrete planter from cracking in the winter?
Answer: Concrete can crack in the winter due to the expansion and contraction of water as it freezes and thaws. To prevent this, take a few precautions. First, make sure your planter has good drainage. This will prevent water from pooling inside. Second, consider covering the planter with a tarp or blanket during freezing temperatures. This will help insulate it and prevent the concrete from getting too cold. You can also empty the planter of soil before winter. Soil holds moisture, which can contribute to cracking. By taking these steps, you can protect your concrete planter from winter damage. Using large planter molds for concrete outdoor displays necessitates winter protection.
Question No 6: Where can I find large planter molds for concrete?
Answer: You can find large planter molds for concrete outdoor projects at a variety of places. Home improvement stores often carry a selection of molds. You can also find them online at retailers like Amazon or Etsy. Craft stores and specialty concrete supply stores are other good options. When choosing a mold, consider the size, shape, and material. Plastic molds are generally less expensive, while silicone molds are more flexible and durable. Metal molds are the most durable but can be more expensive. Read reviews and compare prices before making a purchase. With a little research, you can find the perfect mold for your next project.
