
Outdoor Command Strips for Lights: An Essential Guide for Easy, Damage-Free Decor
Yes, you can hang outdoor lights securely and beautifully without nails or screws! Outdoor Command Strips are a brilliant, damage-free solution for attaching lights to various outdoor surfaces. This guide will show you exactly how to use them for a stunning, hassle-free display.
Hello fellow garden and home enthusiasts! Are you dreaming of twinkling fairy lights accenting your porch, illuminating your garden path, or adding a festive glow to your patio? Often, the thought of hanging lights brings a sigh because of drills, screws, or nails that can damage your home’s exterior. It’s a common frustration, especially when you want a temporary or quick setup. But what if there was a way to achieve that beautiful lighting without any permanent marks? Well, there is! We’re going to explore the wonderful world of outdoor Command Strips, a simple yet incredibly effective solution for all your lighting needs. Get ready to transform your outdoor spaces with ease and confidence!
Why Outdoor Command Strips Are Your New Best Friend for Lighting
Let’s face it, traditional mounting methods for outdoor lights can be a bit of a headache. Drilling holes in your siding or wooden fence can lead to future problems like water damage or rot. Plus, who always has the right tools or the confidence to use them perfectly?
Outdoor Command Strips offer a refreshing alternative. They’re designed specifically to withstand the elements – sun, rain, wind, and temperature changes – while providing a strong hold. This means you can decorate your outdoor spaces knowing your lights will stay put, and more importantly, your home’s surfaces will remain unharmed.
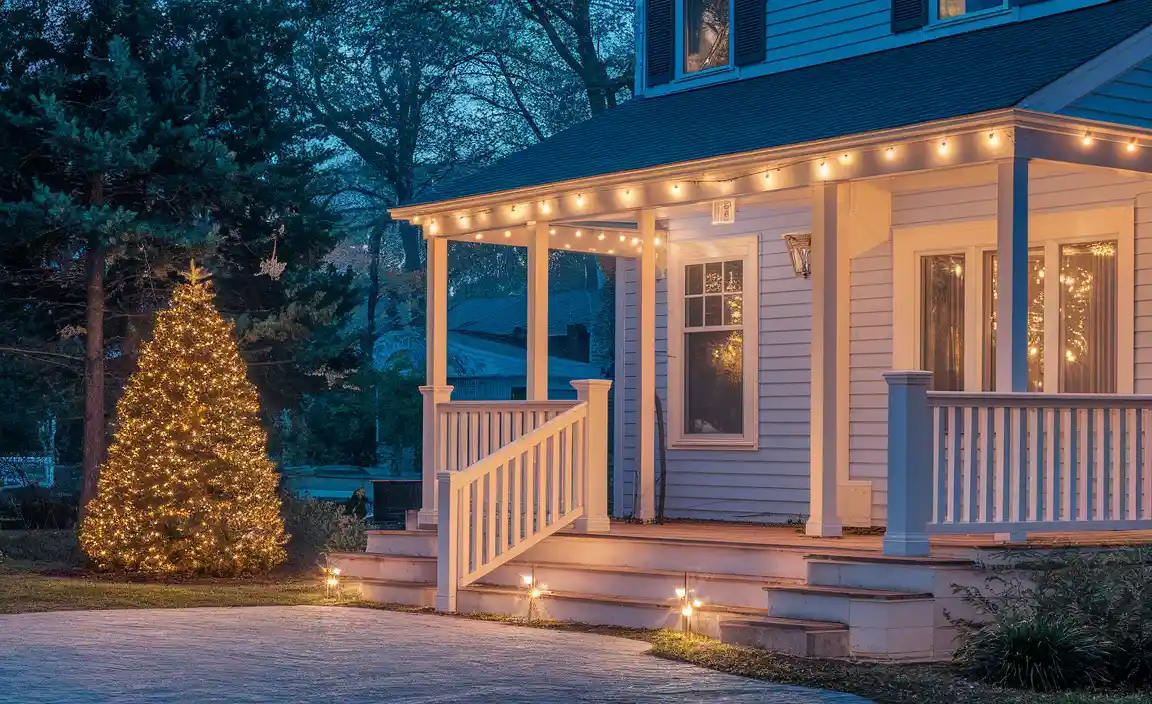
Imagine being able to hang delicate fairy lights along your deck railing, secure string lights across your pergola, or even attach small lanterns to your brick wall, all with a simple peel and stick application. It’s not magic; it’s smart design!
These strips are engineered to be waterproof and UV-resistant, making them a reliable choice for many outdoor applications. They also come off cleanly, leaving no sticky residue or paint chips behind when you’re ready to take them down. This makes them perfect for seasonal decorations or for renters who can’t make permanent alterations.
Understanding Outdoor Command Strips
So, what exactly are these miracle strips? Outdoor Command Strips are a type of adhesive product made by 3M, specifically formulated for use in outdoor environments. Unlike their indoor counterparts, outdoor versions boast enhanced durability to combat moisture, temperature fluctuations, and UV exposure. They work on a two-part system: one strip adheres to your surface, and the other adheres to the item you want to hang, connecting them with an incredibly strong bond that can still be detached cleanly.
The magic lies in the stretch-release technology. When it’s time to remove the strip, you gently stretch it downwards, and the adhesive bonds break apart, allowing for removal without damage. This is a huge benefit for anyone who worries about ruining paint or finishes. They come in various sizes and weight capacities, so it’s important to choose the right strip for the job to ensure a secure hold.
Key Features and Benefits
- Damage-Free Hanging: No drilling, nails, or screws required, protecting your home’s exterior surfaces.
- Weather Resistant: Designed to withstand rain, snow, sun, and temperature changes.
- Strong Hold: Capable of holding a surprising amount of weight when applied correctly.
- Easy Application & Removal: Simple peel-and-stick process and clean, residue-free removal.
- Versatile: Works on a variety of smooth, finished surfaces like painted surfaces, metal, glass, and vinyl.
- Ideal for Temporary Decor: Perfect for holidays, parties, or seasonal lighting without commitment.
Types of Outdoor Command Strips
Command offers a few variations of outdoor strips, each suited for slightly different needs. It’s helpful to know what you’re looking for:
| Strip Type | Weight Capacity (per pair) | Ideal For | Notes |
|---|---|---|---|
| Outdoor UV-Resistant Strips | Varies (check packaging) | General decoration, seasonal lights, small signs. | Specifically formulated to resist degradation from sunlight. |
| Outdoor Heavy-Duty Strips | Up to 8 lbs (check packaging) | Larger string lights, wreaths, lanterns. | Offers a stronger grip for items with more weight or wind resistance. |
| Outdoor Wire & Cord Holders | Up to 1 lb (check packaging) | Neatly managing light cords and wires. | Small clips designed to keep cords tidy and out of sight. |
Always check the packaging for specific weight limits, as these can vary between different product lines and sizes of strips. Using strips rated for more weight than you need is always a good safety measure.
Surface Compatibility: Where Can You Use Them?
One of the most important aspects of using Command Strips successfully is understanding which surfaces they stick to. While they are versatile, they perform best on smooth, clean, and finished surfaces. Trying to apply them to rough, unpainted, or dirty surfaces will significantly reduce their holding power and can lead to failure.
Here’s a breakdown of common outdoor surfaces:
- Painted Surfaces: Most finished, painted surfaces (like exterior walls, doors, trim) work well, provided the paint is in good condition and adheres firmly to the underlying material.
- Metal: Clean, painted metal surfaces such as aluminum siding or metal railings are excellent candidates.
- Glass: Smooth glass surfaces, like patio doors or windows, are generally very compatible.
- Vinyl Siding: Smooth vinyl siding can work, but it’s essential to ensure it’s clean and that the strip isn’t covering any textured areas.
- Finished Wood: Smooth, sealed, and painted or stained wood surfaces can be good if clean and dry. Rough, unpainted wood is not ideal.
- Brick and Concrete: These textured surfaces are generally not recommended for standard Command Strips. Their roughness prevents a strong seal. However, specialized products might be available for these, or you might need to get creative by attaching a small, smooth board to the brick/concrete first and then applying the Command Strip to that.
Important Note: For best results, the surface should be smooth. Textured or porous surfaces like unpainted wood, rough concrete, or certain types of stucco will not provide the necessary adhesion. As a general rule, if you can’t get your hand to slide smoothly across the surface, it might not be suitable.
Preparation is Key: Getting Surfaces Ready
Proper surface preparation is the most critical step for ensuring your outdoor Command Strips hold securely and remove cleanly. Skipping this step is the number one reason for adhesive failure.
Here’s what you need to do:
- Cleanliness is Crucial: The surface must be free of dirt, dust, grease, soap scum, or any other residues. Use a cleaning solution appropriate for the surface. For most painted surfaces and vinyl, a mix of mild dish soap and water is effective. For glass, a glass cleaner works wonders.
- Rinse Thoroughly: After cleaning, wipe down the area with a damp cloth to remove any cleaning solution residue.
- Dry Completely: This is vital. The surface must be completely dry before you apply the strips. Any moisture can interfere with the adhesive. A clean, lint-free cloth is best for drying. Avoid paper towels, which can leave fibers behind.
- Alcohol Wipe (Optional but Recommended): For ultimate adhesion on very smooth surfaces like glass or metal, gently wipe the application area with isopropyl alcohol (rubbing alcohol) and let it evaporate completely. This removes any last traces of oils or invisible contaminants. Ensure your surface can handle alcohol; most painted surfaces are fine, but test in an inconspicuous area if unsure.
Avoid cleaning products that contain lotions or conditioners, as these can leave a residue that hinders adhesion.
Step-by-Step Guide: Applying Outdoor Command Strips for Lights
Now for the fun part – actually putting up your lights! Follow these steps carefully for the best results:
Step 1: Choose the Right Strips and Plan Your Layout
- Select Appropriate Strips: Based on the weight of your lights and the surface, choose the correct outdoor Command Strips. Check the maximum weight capacity on the package and ensure your lights are well below it. For standard LED string lights, regular outdoor strips are usually sufficient. For heavier items like elaborate lanterns or multiple strands, consider the heavy-duty versions.
- Visualize and Measure: Decide exactly where you want your lights to go. You might want to temporarily tape them up or use a measuring tape to ensure even spacing. Mark light points lightly with a pencil or chalk if needed, but ensure these marks can be easily cleaned off.
- Consider Attachment Points: Think about where your lights have loops or attachment points. The Command Strips will adhere best to these points, rather than directly to the light wire itself, which might be thin or have an irregular surface.
Step 2: Prepare the Surface
- Follow all the surface preparation steps outlined earlier: clean, rinse, dry thoroughly, and use isopropyl alcohol if recommended for your surface.
- Ensure the surface is at room temperature (50°F to 80°F or 10°C to 27°C) and dry.
Step 3: Applying the Strips to the Surface and Lights
This is where you’ll use the two-part system.
- Separate the Strips: You’ll have two strips per pair. One will go on the wall/surface; the other will go on the item being hung.
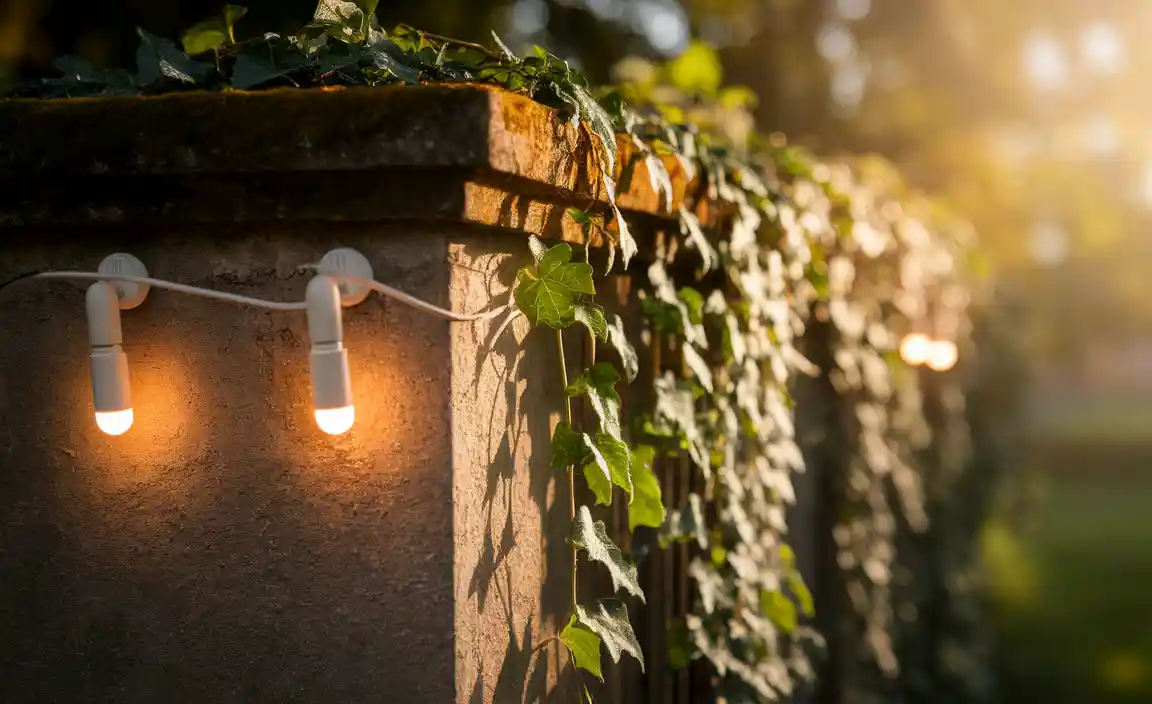
- Apply to Surface First: Take one strip and remove the blue liner. Press it firmly onto the selected spot on your clean and dry surface. Hold it for 30 seconds. Ensure it’s pressed evenly.
- Apply to Light Fixture/Loop: Take the second strip and remove the white liner with the tab. Press it firmly onto the attachment point of your light string or fixture. Again, hold for 30 seconds to ensure a good bond.
- Wait (Crucial!): This is a common mistake people make. Before connecting the two strips, you must wait one hour. This allows the adhesive to fully bond to both surfaces. Do not skip this waiting period!
- Connect the Strips: After the hour has passed, align the clean side of the strip on the light fixture with the strip on the surface. Press them together firmly until they click or securely adhere.
Pro Tip: For light strings, you’ll likely put one strip on a small loop or a thicker part of the wire, and the corresponding strip on the wall. Repeat this process along the length of the light string at appropriate intervals, usually every 1-2 feet, depending on the weight of the lights and how they are designed.
Step 4: Hanging and Securing Your Lights
- Test Gently: Once connected, give the lights a very gentle tug to ensure they are secure.
- Manage Cords: Tuck away any excess cords using Command Wire & Cord Holders, adhering them to the same prepared surfaces. This keeps your display looking neat and prevents tripping hazards.
- Admire Your Work: Step back and enjoy your beautifully lit outdoor space!
Removing Outdoor Command Strips Cleanly
When it’s time to take down your decorations, the clean-release feature of Command Strips is a lifesaver. The key is to stretch, not pull.

- Locate the Tab: Each strip has a tab. For removal, you need to grab this tab. If you can’t see it easily, you might need to gently separate the light fixture from the wall strip first.
- Stretch Slowly and Steadily: Gently pull the tab of the strip straight down, parallel to the surface you’re removing it from. You do not want to pull it outwards or upwards.
- Continue Stretching: Keep stretching the tab slowly and steadily along the surface. You should see the adhesive stretch and release its bond gradually. This process usually takes about 30-60 seconds per strip removal.
- Avoid Rushing: If you pull too quickly, the strip might break, or residue could be left behind. Patience is key here.
- Remove Any Residue: If, for some reason, a tiny bit of adhesive remains, you can usually remove it by stretching another Command Strip over it, or by using a soft cloth with a bit of isopropyl alcohol.
External Resource: For more detailed instructions and visual guides on removal, the official 3M Command website offers excellent tutorials and tips.
When NOT to Use Outdoor Command Strips
While incredibly useful, Command Strips aren’t a magical solution for every situation. Knowing their limitations will save you disappointment and potential damage.
- Unpainted or Rough Surfaces: As mentioned, unpainted wood, rough concrete, stucco, brick, and chalky or peeling paint surfaces are not suitable. The adhesive cannot create an airtight seal.
- Very High Temperatures or Direct, Constant Sun: While UV-resistant, extreme heat (constantly over 100°F/38°C) or prolonged, intense direct sunlight in arid climates can potentially degrade the adhesive over time, reducing its holding power.
- Heavy Items Requiring Permanent Fixation: For anything that is very heavy, poses a significant safety risk if it falls, or requires a truly permanent, robust mount, traditional fastening methods are still the best and safest option.
- Surfaces You Can’t Clean Properly: If you can’t get the surface thoroughly clean and dry, don’t risk it.
- Areas with Constant Abrasion or Impact: If the item or area is likely to be bumped, scraped, or otherwise disturbed frequently, Command Strips may not hold long-term.
For textured surfaces like brick or concrete, you might consider other DIY solutions. One approach could be to attach a smooth wooden plank to the brick using a strong outdoor construction adhesive, and then use Command Strips on the plank. Always research safe and appropriate methods for your specific materials.
Creative Lighting Ideas with Outdoor Command Strips
Now that you’re a Command Strip expert, let’s get inspired! Here are some ideas for using them to enhance your outdoor ambiance:

| Area | Type of Lights | Command Strip Use | Tips for Success |
|---|---|---|---|
| Porch/Deck Railings | Fairy lights, micro LED strings | Attach strips along the top or side of the railing. | Space strips about 1-2 feet apart. Consider alternating placement for a more organic look. |
| Pergola/Gazebo Roof | Standard string lights (globe or Edison bulb style) | Attach strips to the underside of the beams/slats. | Ensure you hang lights within weight limits. For heavier bulbs, verify the strip’s capacity and consider reinforcing attachment points if necessary. |
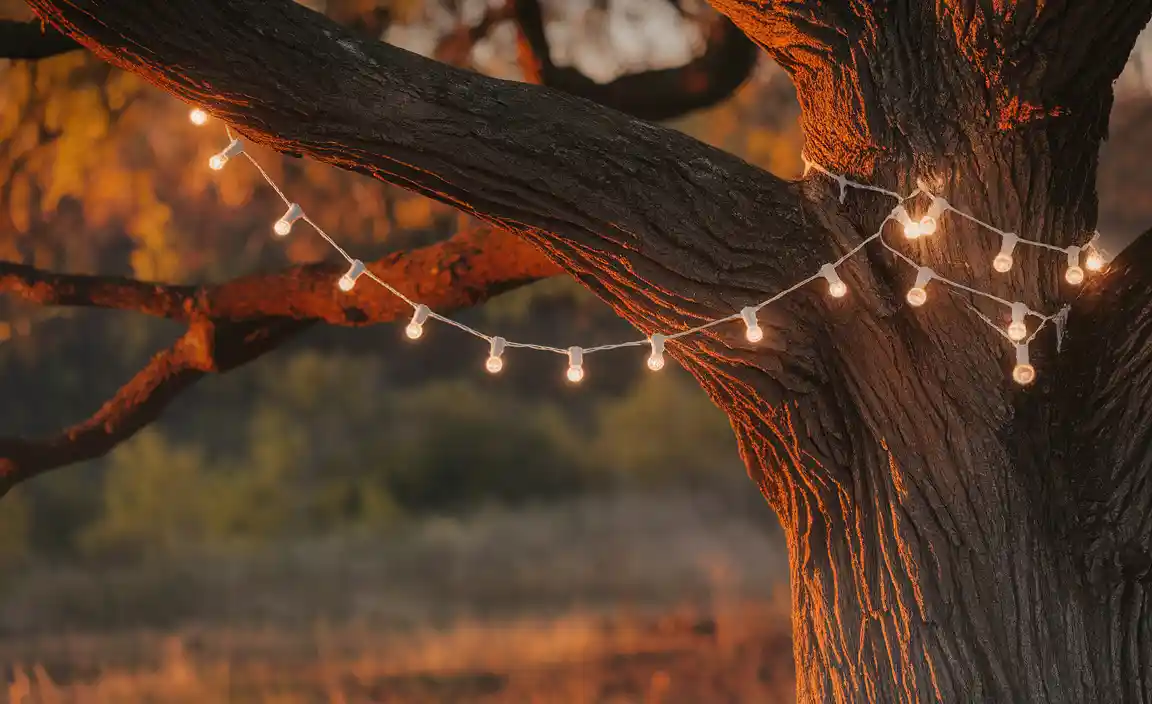
| Garden Paths | Solar path lights (often stake into ground) or small battery-operated lanterns. | Use strips to attach small lanterns to fence posts, sturdy planters, or garden walls. | For path lights that stake in the ground, Command Strips aren’t needed for the lights themselves, but can be used to secure extension cords or decorative wiring neatly along edges. |
| Patio Walls/Doors | Window string lights, silhouette lights, or simple fairy lights. | Attach directly to smooth siding, window frames, or painted brick if using a smooth adapter. | Clean surfaces meticulously. Ensure there are no power outlets or cables directly behind where you are sticking if possible. |
| Outdoor Furniture | Small fairy lights to outline a seating area. |