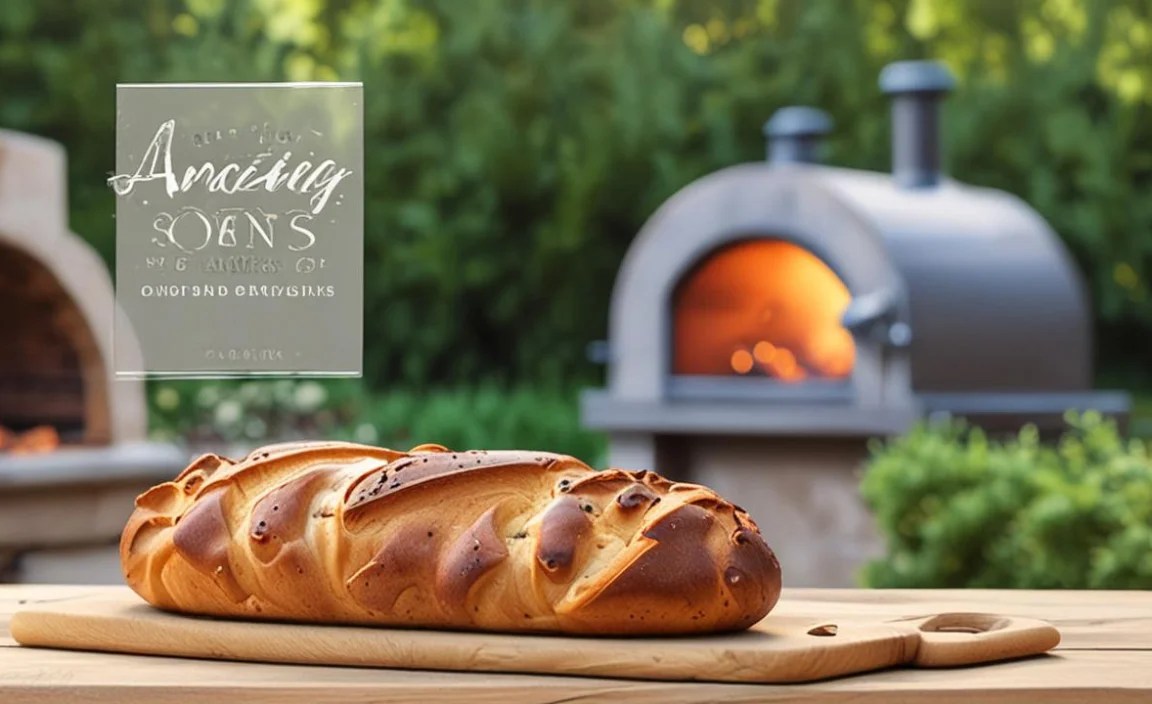
Have you ever smelled fresh bread baking? It fills the air with warmth. Imagine baking it outside! Outdoor oven baking bread is a fun and tasty way to cook. It is also a very special way to enjoy your backyard.
Baking bread outside can be a great adventure. Ovens can be made from brick or clay. They use wood to make heat. The bread tastes amazing with a smoky flavor. It’s a treat for everyone! Have you ever tried outdoor oven baking bread?
Outdoor oven baking bread brings people together. Families and friends can share the joy of baking. The warm oven makes a cozy gathering place. Making bread outside is a fun way to learn. It is also a fun way to enjoy nature.
Key Takeaways
- Outdoor oven baking bread gives a smoky, unique flavor you can’t get inside.
- Baking bread outdoors is a fun activity for families and friends to do together.
- You can build your own outdoor oven with bricks, clay, or even a kit.
- Using wood as fuel adds a rustic touch and authentic baking experience.
- Mastering the right temperature is key for perfectly baked bread every time.
Getting Started With Outdoor Bread Baking
Outdoor oven baking bread can seem tricky at first. But with a little practice, anyone can do it. The most important thing is to understand your oven. How hot does it get? How long does it stay hot? These are important questions. You need to know how to control the heat. This will help you bake perfect loaves. You also need the right tools. A long-handled peel helps you put bread in the oven. A thermometer tells you the temperature. Learning these basics makes baking bread outside easy and fun. It also lets you enjoy the taste of homemade bread. Are you ready to try baking outside?
- Learn how your oven works.
- Use a long-handled peel.
- Get a good thermometer.
- Practice controlling the heat.
- Start with simple recipes.
- Keep safety in mind.
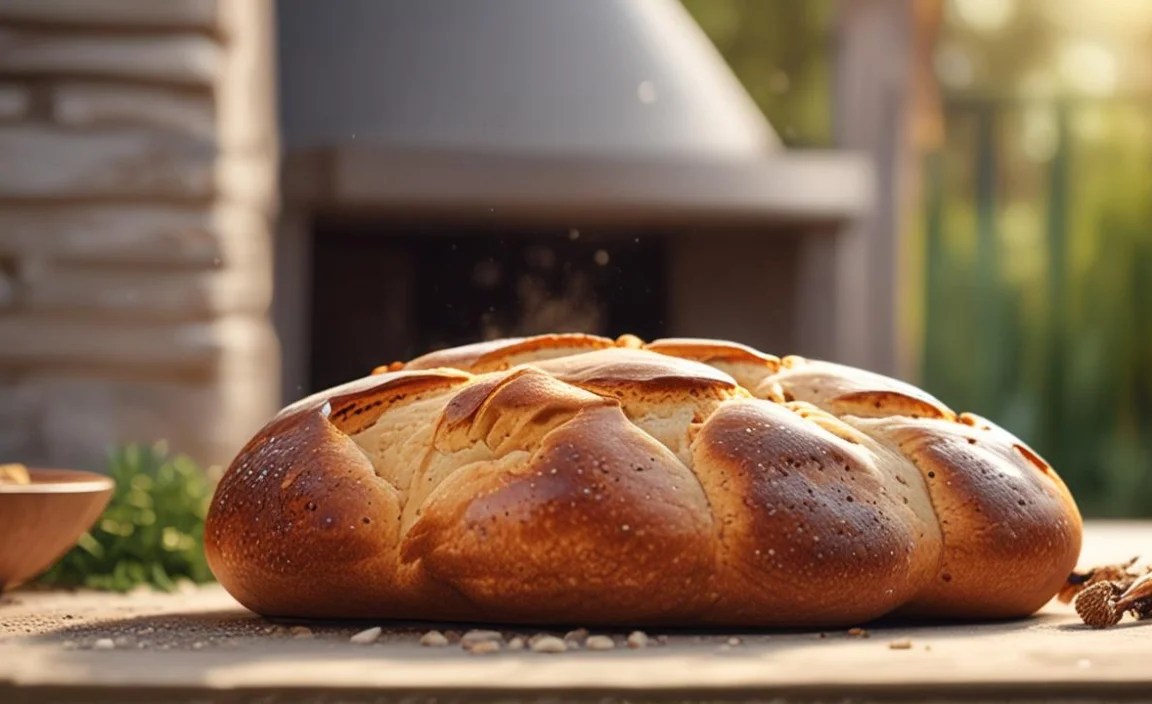
Many people love the taste of outdoor oven baking bread. The smoky flavor is different from what you get inside. Baking outside also connects you to nature. You can hear the birds and feel the breeze. Baking bread becomes more than just cooking. It becomes an experience. You get to enjoy the outdoors while making something delicious. It’s a great way to slow down and appreciate simple things. Plus, sharing your homemade bread with others is always a joy. The smell of fresh bread is sure to bring smiles.
Fun Fact or Stat: The oldest known oven dates back to 6000 BC and was found in present-day Jordan!
Choosing Your Outdoor Oven
What kind of outdoor oven should you use? There are many choices. You can build one from scratch with bricks. You can also buy a ready-made oven. Brick ovens hold heat very well. They are great for baking many loaves. Clay ovens are another option. They are often cheaper to build. Pizza ovens can also be used for bread. Each type has its own pros and cons. Think about how much you want to bake. Consider your budget. Then pick the oven that is right for you. No matter what you choose, you’ll be able to enjoy outdoor oven baking bread.
Essential Tools for Outdoor Baking
Do you have the right tools for baking bread outside? A long-handled peel is a must. It lets you put bread in the hot oven safely. A thermometer helps you check the temperature. Oven gloves protect your hands from the heat. A bench scraper helps you shape the dough. Mixing bowls and measuring cups are also important. With the right tools, baking bread outside is much easier. You can focus on making delicious bread. What tools do you need to get started?
Safety First: Baking Outdoors
Outdoor oven baking bread is fun. But it’s important to be safe. Always keep a fire extinguisher nearby. Wear oven gloves to protect your hands. Never leave the oven unattended. Keep children and pets away from the hot oven. Be careful when handling hot coals or wood. Make sure the oven is on a stable surface. Following these safety tips will help you enjoy baking bread without any accidents. Safety should always be your top priority.
Selecting the Right Wood for Baking

The type of wood you use matters a lot. It affects the flavor of your bread. Hardwoods like oak and maple are great. They burn hot and long. Softwoods like pine burn faster. They might not give you the best flavor. Make sure the wood is dry. Wet wood creates smoke and doesn’t burn well. Seasoned wood is best. It has been dried for at least six months. This ensures a clean and hot fire. Good wood helps you achieve the perfect outdoor oven baking bread. What kind of wood will you use?
- Use hardwoods like oak or maple.
- Avoid softwoods like pine.
- Make sure the wood is dry.
- Season the wood for at least six months.
- Store wood in a dry place.
- Use a wood moisture meter.
Many bakers believe that the wood adds a special touch. The smoky flavor is unique. It’s different from baking in an electric oven. The wood also creates a rustic feel. It connects you to older traditions. People have been baking with wood for centuries. When you bake with wood, you’re part of that history. The process is slower and more deliberate. It requires more attention. But the result is worth it. The taste of wood-fired bread is simply amazing. It’s a taste you won’t forget. Do you know that some chefs use different types of wood for different flavors?
Fun Fact or Stat: Some bakers experiment with fruit woods like apple or cherry for a sweeter, more subtle smoky flavor!
Understanding Wood Types
Oak is a popular choice for wood-fired ovens. It burns slowly and steadily. Maple is another good option. It also provides a consistent heat. Avoid using treated wood. It can release harmful chemicals. Fruit woods like apple and cherry add a subtle flavor. Experiment to find your favorite. Remember, dry wood is always better. It burns cleaner and hotter. What kind of wood will you try first?
Preparing Your Wood Supply
How should you prepare your wood? First, make sure it’s dry. Split the wood into smaller pieces. This helps it burn more easily. Store the wood in a dry place. A woodshed is ideal. Cover the wood with a tarp if needed. Stack the wood neatly to allow air to circulate. This helps it dry faster. A well-prepared wood supply makes baking easier. It ensures a consistent fire.
The Impact of Wood on Bread Flavor
The wood you use can change the taste of your bread. Hardwoods give a classic smoky flavor. Fruit woods add a hint of sweetness. Experiment with different woods to find your favorite. Remember that the smoke should be clean. Too much smoke can make the bread taste bitter. A well-maintained fire is key. It provides the right amount of heat and smoke. What flavors will you create with your wood?
Mastering Temperature Control for Bread
Temperature is key when outdoor oven baking bread. Too hot, and the bread will burn. Too cold, and it won’t rise properly. A thermometer is your best friend. Use it to check the oven temperature. You want the oven to be around 450-500°F (232-260°C). This is the ideal temperature for most breads. Let the oven heat up slowly. This ensures even heat distribution. Adjust the amount of wood to control the temperature. Practice makes perfect. With time, you’ll learn how to maintain the perfect temperature. What’s your favorite way to check the temperature?
- Use a thermometer to check the temperature.
- Aim for 450-500°F (232-260°C).
- Heat the oven up slowly.
- Adjust the amount of wood.
- Monitor the bread closely.
- Learn from each baking session.
Many bakers find temperature control the most challenging part. It takes practice and patience. But don’t give up! Each time you bake, you’ll learn something new. Pay attention to how the bread looks and feels. This will help you adjust the temperature next time. Remember, outdoor oven baking bread is an art. It’s about more than just following a recipe. It’s about understanding the process. It’s about connecting with the elements. And it’s about creating something delicious. With dedication, anyone can master temperature control. What will you bake next?
Fun Fact or Stat: The “Maillard reaction,” a chemical reaction between amino acids and reducing sugars, is responsible for the browning and delicious flavor of bread crusts!
Using a Thermometer Effectively
A good thermometer is essential. Make sure it’s accurate. Place it inside the oven. Check the temperature regularly. Some thermometers are designed for high heat. Others are not. Choose the right one for your oven. Digital thermometers are easy to read. Infrared thermometers let you check the temperature quickly. Find the thermometer that works best for you.
Adjusting Heat Levels
How do you adjust the heat? Add more wood to raise the temperature. Remove some wood to lower it. You can also adjust the airflow. Open the vents to increase the heat. Close them to decrease it. Small adjustments can make a big difference. Monitor the temperature closely. Make changes as needed. With practice, you’ll become a master of heat control.
Recognizing Visual Cues
Besides a thermometer, look for visual cues. The color of the flames tells you a lot. Bright flames mean high heat. Dark flames mean lower heat. The color of the oven walls also matters. White walls indicate high heat. Dark walls indicate lower heat. Watch the bread closely. If it’s browning too quickly, lower the heat. If it’s not browning enough, raise the heat.
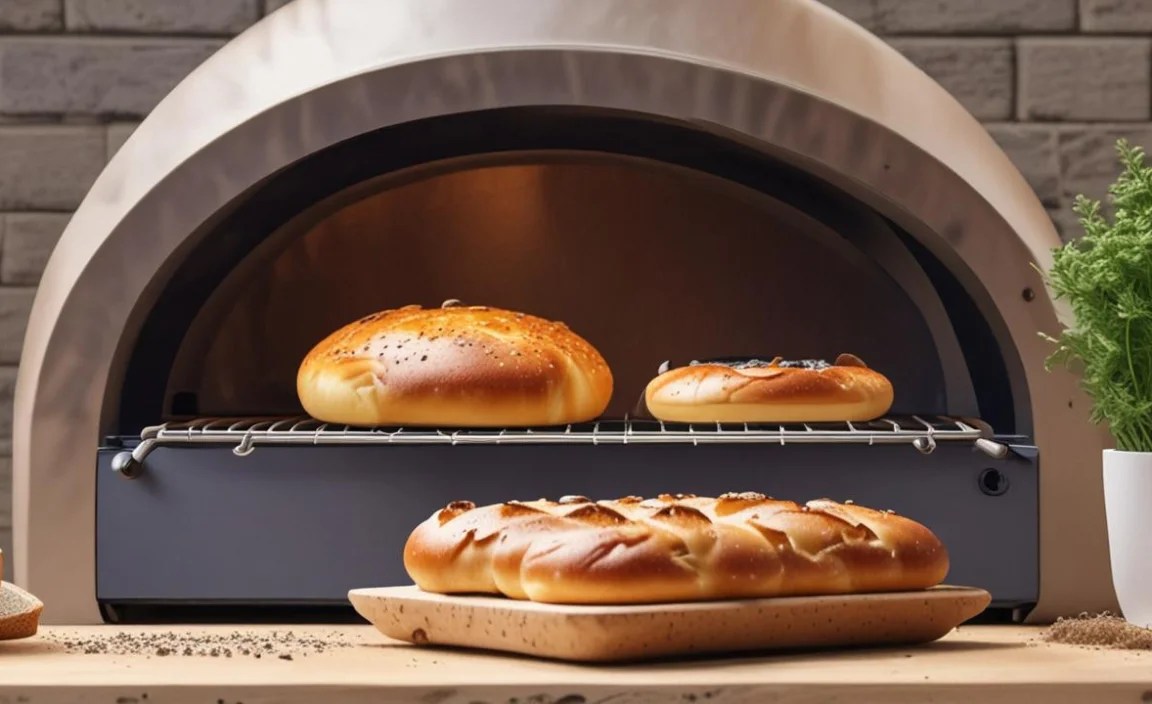
Choosing Your Bread Recipe for Outdoors

The right recipe is important. Simple recipes work best at first. Sourdough bread is a classic choice. It has a tangy flavor. Rustic loaves are also popular. They are easy to make. Pizza dough is another option. You can bake it in the outdoor oven. Experiment with different recipes. Find the ones you like best. Outdoor oven baking bread is a chance to be creative. What will you bake first?
- Start with simple recipes.
- Try sourdough bread.
- Bake rustic loaves.
- Make pizza dough.
- Experiment with different flours.
- Add herbs and spices.
Many bakers enjoy the challenge of adapting recipes. You might need to adjust the baking time. Outdoor ovens can be hotter than indoor ovens. Keep a close eye on the bread. Check it often. Use your senses. Smell the aroma. Look at the color. Feel the texture. These will tell you when the bread is done. Remember, outdoor oven baking bread is an adventure. Embrace the unexpected. Learn from your mistakes. And most importantly, have fun! What new recipe will you try this week?
Fun Fact or Stat: Sourdough bread relies on wild yeasts and bacteria for its fermentation, giving it a unique tangy flavor and a longer shelf life!
Simple Sourdough Starter
Sourdough bread starts with a starter. A starter is a mix of flour and water. It ferments over time. This creates wild yeasts. These yeasts help the bread rise. Making a starter takes patience. It can take several days. Feed the starter regularly. This keeps the yeasts alive. A healthy starter is key to good sourdough bread. What will you name your starter?
Rustic Loaf Variations
Rustic loaves are easy to make. They don’t require a lot of kneading. Use simple ingredients. Flour, water, salt, and yeast are all you need. Experiment with different flours. Whole wheat flour adds a nutty flavor. Rye flour adds a dark color. Add herbs and spices for extra flavor. Rosemary and thyme are popular choices. What flavors will you add to your rustic loaf?
Pizza Dough Perfection
An outdoor oven is perfect for pizza. The high heat makes the crust crispy. Use a simple pizza dough recipe. Let the dough rise for several hours. Stretch the dough thin. Add your favorite toppings. Bake the pizza quickly. It should only take a few minutes. Watch it closely. It can burn easily. What toppings will you use on your pizza?
Troubleshooting Common Baking Problems
Sometimes things go wrong. The bread might not rise. It might burn on the bottom. Don’t worry! These problems are common. The key is to learn from them. If the bread doesn’t rise, the yeast might be old. Or the oven might not be hot enough. If the bread burns, lower the heat. Use a baking stone to protect the bottom. Outdoor oven baking bread takes practice. Don’t be discouraged by mistakes. What have you learned from your baking mistakes?
| Problem | Possible Cause | Solution |
|---|---|---|
| Bread doesn’t rise | Old yeast, oven not hot enough | Use fresh yeast, preheat oven longer |
| Bread burns on the bottom | Oven too hot, direct heat | Lower heat, use baking stone |
| Bread is too dense | Not enough kneading, not enough rise time | Knead longer, allow more rise time |
| Bread is too dry | Overbaking, low humidity | Reduce baking time, add moisture to oven |
- Bread doesn’t rise: Check the yeast.
- Bread burns: Lower the heat.
- Bread is too dense: Knead more.
- Bread is too dry: Reduce baking time.
- Crust is too hard: Add moisture to the oven.
- Bread is too pale: Increase the heat.
Many bakers find troubleshooting the most rewarding part. It’s like solving a puzzle. You need to figure out what went wrong. Then you need to find a solution. Each mistake is a learning opportunity. It helps you become a better baker. Remember, outdoor oven baking bread is a journey. It’s about learning and growing. It’s about enjoying the process. And it’s about sharing your creations with others. What challenges have you overcome in your baking journey?
Fun Fact or Stat: Bakers often use a “proofing box” to create a warm, humid environment that encourages dough to rise quickly and consistently!
Why Didn’t My Bread Rise?
If your bread didn’t rise, several things could be to blame. The yeast might be old. Check the expiration date. The water might be too hot or too cold. Use lukewarm water. The dough might not have been kneaded enough. Knead it longer next time. The oven might not be warm enough. Preheat it longer. Give the bread enough time to rise. Patience is key.
Preventing a Burnt Bottom
A burnt bottom is a common problem. The oven is too hot. Lower the heat. Use a baking stone. This helps distribute the heat evenly. Place the bread on a higher rack. This moves it away from the heat source. Check the bread often. If it’s browning too quickly, cover it with foil. Don’t give up!
Achieving the Perfect Crust
The perfect crust is crispy and golden brown. To achieve this, create steam in the oven. Place a pan of water on the bottom rack. This adds moisture to the air. Brush the bread with egg wash before baking. This helps it brown. Bake the bread at a high temperature. This helps it crisp up. Watch it closely. It can burn easily.
Enjoying Your Homemade Bread
Finally, it’s time to enjoy your bread. Let it cool slightly before slicing. The aroma will fill your kitchen. Slice the bread and serve it warm. Add butter or jam. Share it with friends and family. Outdoor oven baking bread is a gift. It’s a gift of flavor, warmth, and connection. Savor each bite. What’s your favorite way to enjoy homemade bread?
- Let the bread cool slightly.
- Slice and serve warm.
- Add butter or jam.
- Share with friends and family.
- Pair with soup or salad.
- Enjoy the aroma.
Many bakers find the joy of sharing the best part. It’s about bringing people together. It’s about creating memories. The taste of homemade bread is special. It’s a taste of love. When you share your bread, you’re sharing a part of yourself. You’re sharing your passion. And you’re sharing your joy. Outdoor oven baking bread is more than just cooking. It’s about connection. It’s about community. And it’s about celebrating life. What memories will you create with your bread?
Fun Fact or Stat: In many cultures, bread is a symbol of hospitality and sharing, often offered as a sign of welcome and friendship!
Serving Suggestions
How should you serve your bread? Warm is always best. Slice it and add butter. Serve it with jam or honey. Pair it with soup or salad. Use it to make sandwiches. Toast it and top it with avocado. The possibilities are endless. Get creative and have fun. What’s your favorite way to serve bread?
Storing Your Bread
How should you store your bread? Wrap it tightly in plastic wrap. This keeps it from drying out. Store it at room temperature. It will stay fresh for a few days. You can also freeze it. Slice it before freezing. This makes it easier to thaw. Thaw it at room temperature. Or toast it straight from the freezer. What’s your favorite way to store bread?
The Joy of Sharing
Sharing your bread is a special experience. It’s about connecting with others. It’s about spreading joy. Bring a loaf to a neighbor. Share it with your family. Offer it to a friend. The simple act of sharing bread can brighten someone’s day. It shows you care. It creates a bond. It makes the world a better place. Who will you share your bread with today?
Summary
Outdoor oven baking bread is a rewarding experience. It combines the joy of baking with the beauty of nature. You can build your own oven. You can use different types of wood. You can experiment with various recipes. Temperature control is key. The right tools make the process easier. Troubleshooting problems is part of the learning curve. Sharing your homemade bread brings joy to others. It’s a way to connect with your community. It’s a way to celebrate life. Are you ready to start your outdoor baking adventure?
Baking bread outside offers a unique smoky flavor. It’s different from baking inside. It’s a great way to spend time with family and friends. The aroma of fresh bread fills the air. It creates a warm and inviting atmosphere. Outdoor oven baking bread is a skill that can be passed down through generations. It’s a tradition that can be cherished for years to come. So gather your ingredients. Light your oven. And get ready to bake some amazing bread.
Conclusion
Outdoor oven baking bread is a special way to cook. It combines baking with nature. You can make amazing bread with a smoky taste. It takes practice to control the heat. You can use different types of wood. Sharing your bread makes people happy. Try baking bread in an outdoor oven. You will love the experience. It’s a fun and delicious way to cook.
Frequently Asked Questions
Question No 1: What are the benefits of outdoor oven baking bread?
Answer: Outdoor oven baking bread has many benefits. The bread gets a unique smoky flavor. It’s a fun activity for families and friends. You can enjoy the outdoors while you bake. It’s also a great way to learn about traditional baking methods. Baking outside can be a very rewarding experience. It connects you to nature and to the past. Plus, the taste of homemade bread is simply amazing. It’s a taste that you won’t forget. The warmth of the oven creates a cozy gathering place. It’s a perfect way to spend a day.
Question No 2: What kind of oven should I use?
Answer: There are many kinds of ovens you can use. Brick ovens are popular. They hold heat very well. Clay ovens are another option. They are often cheaper to build. You can also buy a ready-made oven. Pizza ovens can also be used for bread. Choose the oven that fits your needs and budget. Think about how often you want to bake. Consider the size of your baking space. Then pick the oven that is right for you. No matter what you choose, you’ll be able to enjoy outdoor oven baking bread.
Question No 3: What kind of wood should I use?
Answer: The type of wood you use matters a lot. Hardwoods like oak and maple are best. They burn hot and long. Avoid softwoods like pine. Make sure the wood is dry. Wet wood creates smoke and doesn’t burn well. Seasoned wood is best. It has been dried for at least six months. Good wood helps you achieve the perfect outdoor oven baking bread. It also adds a unique flavor to your bread. Experiment with different woods to find your favorite. Some bakers even use fruit woods for a sweeter taste.
Question No 4: How do I control the temperature?
Answer: Temperature control is key. Use a thermometer to check the oven temperature. You want the oven to be around 450-500°F (232-260°C). Let the oven heat up slowly. Adjust the amount of wood to control the temperature. Add more wood to raise the temperature. Remove some wood to lower it. Monitor the bread closely. Learn from each baking session. With practice, you’ll master temperature control. You will get better at baking bread outdoors.
Question No 5: What if my bread doesn’t rise?
Answer: If your bread doesn’t rise, the yeast might be old. Check the expiration date. The water might be too hot or too cold. Use lukewarm water. The dough might not have been kneaded enough. Knead it longer next time. The oven might not be warm enough. Preheat it longer. Give the bread enough time to rise. Patience is key. Don’t be discouraged. Keep trying. You will eventually bake a perfect loaf of bread. Maybe you can try outdoor oven baking bread to see if that helps!
Question No 6: How do I store my bread?
Answer: Store your bread properly to keep it fresh. Wrap it tightly in plastic wrap. This keeps it from drying out. Store it at room temperature. It will stay fresh for a few days. You can also freeze it. Slice it before freezing. This makes it easier to thaw. Thaw it at room temperature. Or toast it straight from the freezer. Properly stored bread will taste better for longer. Whether you bake it inside or enjoy outdoor oven baking bread, keeping it fresh is key.
