Do you love taking pictures outside? Have you ever wondered how to make them better? Taking photos outdoors can be tricky. But the right outdoor settings camera can make all the difference.
Cameras have many settings. These settings help you take great photos. Let’s learn about the best ones for being outside. We will make your outdoor photos amazing.
Key Takeaways
- Understanding outdoor settings camera options helps capture stunning nature shots.
- Use the right ISO to avoid grainy photos in different lighting.
- Aperture controls light and background blur for perfect portraits.
- Shutter speed freezes action or creates motion blur outdoors.
- Master white balance for true colors under any outdoor light.
Understanding Outdoor Camera Settings
Taking great photos outdoors means knowing your camera. Different outdoor settings camera work best in different situations. You need to understand aperture, ISO, and shutter speed. These are the main tools for controlling your camera. Aperture controls how much light enters the lens. It also affects the background blur. ISO controls how sensitive the camera is to light. Shutter speed controls how long the camera sensor is exposed to light. Each setting affects the final photo. Learning these settings helps you take better photos. You can capture stunning landscapes and portraits. It all starts with understanding your camera’s capabilities.
- Learn what each setting does.
- Practice using aperture for portraits.
- Experiment with ISO on cloudy days.
- Understand how shutter speed freezes motion.
- Read your camera’s manual carefully.
When you start using an outdoor settings camera, it feels hard. But with practice, it becomes easier. Think about your camera as a tool. This tool helps you tell stories. You can capture moments in nature. You can show the beauty of the world around you. The more you practice, the better you get. Soon, you will be taking photos like a pro. Don’t be afraid to make mistakes. Every mistake is a chance to learn. Keep exploring and keep creating.
Fun Fact or Stat: The first digital camera was invented in 1975 and weighed 8 pounds!
What is Aperture and How Does it Work?
Aperture is like the pupil of your eye. It controls how much light enters the camera. A wider aperture (smaller f-number like f/2.8) lets in more light. This is good for low-light situations. It also creates a shallow depth of field. What is depth of field? It is when the background is blurry. A smaller aperture (larger f-number like f/16) lets in less light. It is good for bright sunlight. It also makes the background sharp. Think of taking a photo of a flower. A wide aperture makes the flower sharp and the background blurry. This helps the flower stand out.
ISO Explained Simply
ISO measures how sensitive your camera is to light. A low ISO (like 100) is best for bright light. It produces a clean image. A high ISO (like 3200) is best for low light. But it can make the image grainy. Imagine you are taking a photo at night. You need a high ISO to see anything. But the photo might have spots or noise. During the day, use a low ISO to get a clear photo. The right ISO helps you take good photos in any light.
Shutter Speed and Motion
Shutter speed is how long the camera’s sensor is exposed to light. A fast shutter speed (like 1/1000 second) freezes motion. It is perfect for sports or wildlife. A slow shutter speed (like 1 second) blurs motion. This is good for waterfalls or light trails. Have you ever seen a photo of a car with blurry lights? That is a slow shutter speed. A fast shutter speed can freeze a bird in flight. Understanding shutter speed helps you control how motion looks in your photos.
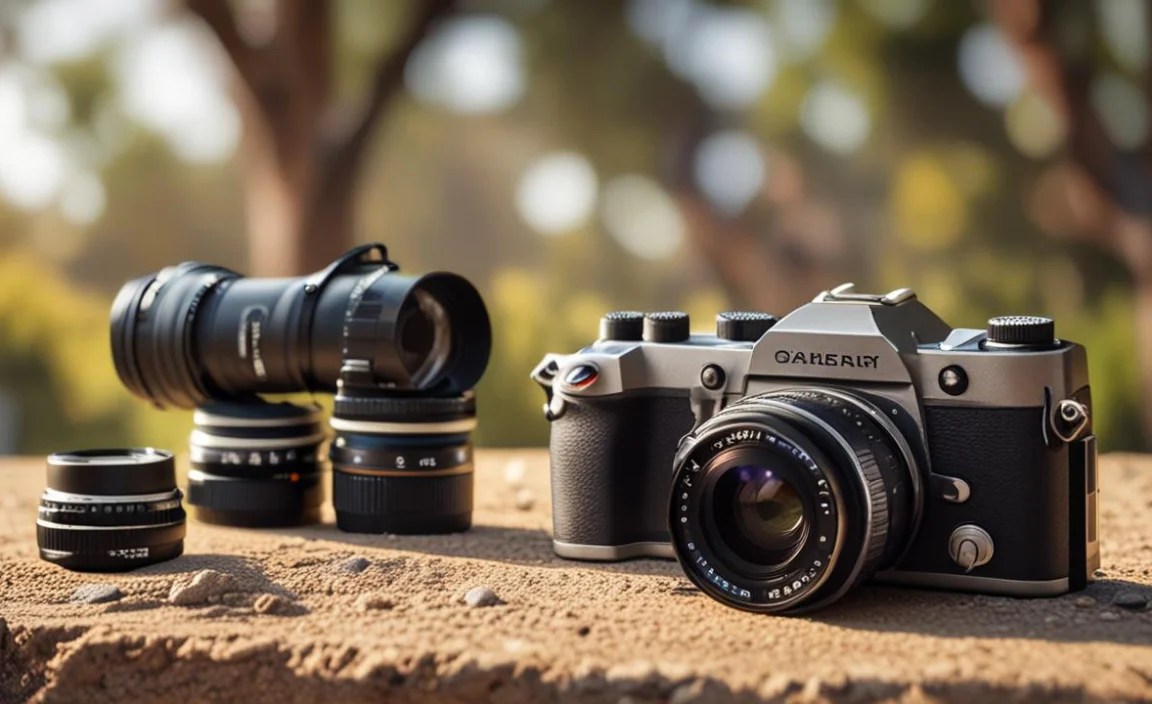
Choosing the Right Camera for Outdoor Use

Picking the right outdoor settings camera matters a lot. You need a camera that can handle different weather. It should be easy to carry. And it should take great photos. There are many types of cameras to choose from. DSLRs are great for control and quality. Mirrorless cameras are lighter and smaller. Point-and-shoot cameras are simple to use. Action cameras are tough and waterproof. Each type has its pros and cons. Think about what you want to photograph. Are you hiking in the mountains? Or taking portraits in the park? The right camera makes outdoor photography more fun.
- Consider a camera with weather sealing.
- Think about how easy it is to carry.
- DSLRs offer great control.
- Mirrorless cameras are lightweight.
- Action cameras are good for adventures.
- Point-and-shoot cameras are user-friendly.
When choosing an outdoor settings camera, read reviews. Talk to other photographers. Check out different models in stores. Think about the lenses you might want to use. Lenses can change the look of your photos. A wide-angle lens is good for landscapes. A telephoto lens is good for wildlife. The right lens can make a big difference. Don’t rush your decision. Take your time and find the perfect camera for you. The best camera is the one you enjoy using.
Fun Fact or Stat: The most expensive camera lens costs over $2 million!
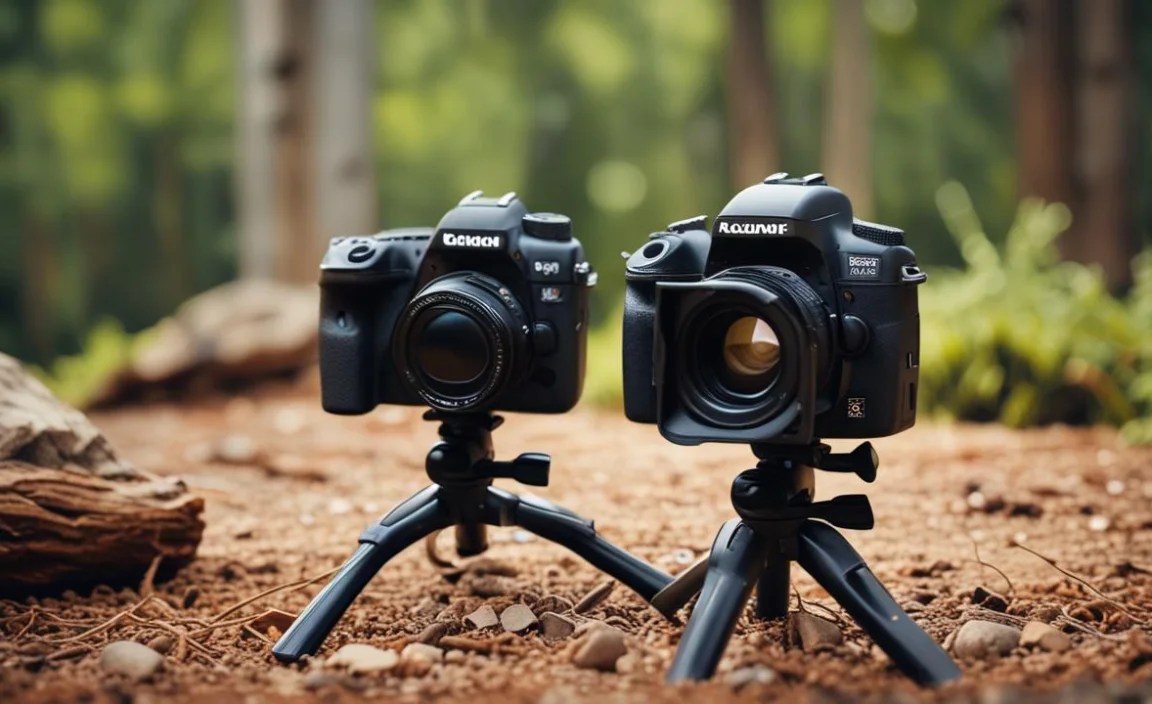
DSLR vs. Mirrorless: Which is Better?
DSLR and mirrorless cameras are popular choices. DSLRs use a mirror to reflect light. This lets you see the image through the viewfinder. Mirrorless cameras don’t have a mirror. They are often smaller and lighter. DSLRs have a longer battery life. Mirrorless cameras often have better video features. Both can take amazing photos. It depends on what you need. Do you want a smaller camera? Choose mirrorless. Do you need long battery life? Choose DSLR. Think about what is important to you.
Point-and-Shoot Cameras for Beginners
Point-and-shoot cameras are easy to use. They are great for beginners. These cameras are small and simple. You just point and shoot. The camera does the rest. They often have automatic settings. This makes taking photos easy. Point-and-shoot cameras are good for everyday use. They are not as powerful as DSLRs. But they are perfect for casual photographers. If you are just starting out, a point-and-shoot is a good choice.
Action Cameras for Adventure
Action cameras are built for adventure. They are tough and waterproof. These cameras can handle anything. They are perfect for sports and outdoor activities. You can mount them on your helmet or bike. Action cameras often shoot video. They can also take photos. If you love adventure, an action camera is a must-have. They capture amazing footage of your adventures. Imagine recording your bike ride down a mountain!
Mastering White Balance Outdoors

White balance is how your camera sees colors. Different light sources have different colors. Sunlight is different from shade. Cloudy days are different from sunny days. White balance adjusts the colors in your photo. It makes sure white objects look white. If the white balance is wrong, your photos can look too blue or too yellow. Most cameras have an auto white balance setting. But you can also adjust it manually. Experiment with different settings to see what looks best. Mastering white balance will make your outdoor photos look more natural. You will capture the true colors of the scene.
- Understand different light sources.
- Use auto white balance for simplicity.
- Adjust white balance manually for accuracy.
- Experiment with different settings.
- Look for the right color balance.
Think about taking a photo on a cloudy day. The light is soft and even. But it can also make your photos look a bit blue. To fix this, you can adjust the white balance. Choose a cloudy setting or a custom setting. This will warm up the colors and make them look more natural. White balance is a small detail. But it can make a big difference in your photos. Pay attention to the colors in your photos. Adjust the white balance to make them look their best. A good outdoor settings camera helps a lot.
Fun Fact or Stat: Some cameras can automatically detect the type of scene and adjust the white balance for you!
Understanding Color Temperature
Color temperature measures the color of light. It is measured in Kelvin (K). Low color temperatures (like 2000K) are warm. They look yellow or orange. High color temperatures (like 8000K) are cool. They look blue. Sunlight is around 5500K. Incandescent light is around 2700K. Understanding color temperature helps you choose the right white balance. It helps you make your photos look natural. If you want a warm look, choose a low color temperature. If you want a cool look, choose a high color temperature.
Using Preset White Balance Settings
Most cameras have preset white balance settings. These settings are designed for different light sources. There is a setting for sunlight, shade, cloudy, and fluorescent light. These presets make it easy to adjust the white balance. Just choose the setting that matches the light source. Your camera will do the rest. Presets are a good starting point. But you can also adjust the white balance manually for more control. Experiment with the presets to see what you like.
Custom White Balance for Perfect Colors
For the most accurate colors, use custom white balance. This lets you tell the camera what white looks like. You need a white or gray card. Place the card in the scene. Take a photo of the card. Then, tell your camera to use that photo as the white balance. This will make sure white objects look white. Custom white balance is more accurate than presets. It is good for important photos. It takes a little more time. But it is worth it for perfect colors.
Using ISO Effectively Outdoors
ISO controls your camera’s sensitivity to light. A low ISO is best for bright light. It produces a clean image. A high ISO is best for low light. But it can make the image grainy. Grain is tiny dots in the photo. It makes the photo look noisy. You want to use the lowest ISO possible. This will give you the best image quality. But sometimes you need a high ISO. This is when there is not enough light. Learn how to balance ISO with other settings. This will help you take great photos in any light. A good outdoor settings camera will offer a wide ISO range.
- Keep ISO as low as possible.
- Increase ISO in low light.
- Understand how ISO affects image quality.
- Balance ISO with aperture and shutter speed.
- Use noise reduction software if needed.
Imagine you are taking photos at sunset. The light is fading fast. You need to increase the ISO to see anything. But the higher the ISO, the more grain you will see. Try opening the aperture wider. This will let in more light. You can also slow down the shutter speed. But be careful, this can cause motion blur. Finding the right balance takes practice. Don’t be afraid to experiment. Every situation is different. The goal is to get a bright, clear photo without too much grain.
Fun Fact or Stat: Some new cameras have amazing ISO performance and can take clean photos at very high ISOs!
Low ISO for Bright Light
In bright sunlight, use a low ISO like 100. This will give you the best image quality. Low ISOs produce clean, sharp images. You don’t need a high ISO when there is plenty of light. A low ISO also helps prevent overexposure. Overexposure is when the photo is too bright. Keep your ISO low when you can. It will make your photos look better. Remember, the goal is to use the lowest ISO possible for the best results.
High ISO for Low Light
In low light, you need to increase the ISO. This will make the camera more sensitive to light. But be careful, high ISOs can cause grain. Start by increasing the ISO to 400 or 800. See if that is enough. If not, increase it further. Some cameras can handle high ISOs better than others. Experiment with your camera to see what it can do. Noise reduction software can help reduce grain. But it can also make the photo look soft.
Balancing ISO with Aperture and Shutter Speed
ISO, aperture, and shutter speed work together. They control how much light reaches the sensor. If you increase the ISO, you can use a faster shutter speed. This is good for freezing motion. If you open the aperture wider, you can use a lower ISO. This is good for image quality. Finding the right balance is key. Think about what you want to achieve. Do you want to freeze motion? Or do you want a shallow depth of field? Adjust the settings accordingly. Practice makes perfect.
Composing Stunning Outdoor Shots
Composition is how you arrange elements in your photo. Good composition makes a photo more interesting. It draws the viewer’s eye. There are many rules of composition. The rule of thirds is a good starting point. Imagine dividing your photo into nine equal parts. Place important elements along the lines or at the intersections. Leading lines can guide the viewer’s eye. Symmetry can create a sense of balance. Use different angles to create interest. Think about the foreground, middle ground, and background. All these elements work together. They create a stunning outdoor shot.
- Use the rule of thirds.
- Look for leading lines.
- Create symmetry.
- Use different angles.
- Think about foreground, middle ground, and background.
- Keep it simple.
When you are outdoors, look around you. What catches your eye? What tells a story? Think about the light. How does it affect the scene? Pay attention to the details. A small detail can make a big difference. Don’t be afraid to experiment. Try different compositions. Move around and see what works best. The more you practice, the better you will get. Soon, you will see the world in a new way. You will be able to capture stunning photos.
Fun Fact or Stat: Studies show that photos with good composition are more likely to be shared on social media!
The Rule of Thirds Explained
The rule of thirds is a simple guideline. It helps you create balanced compositions. Imagine dividing your photo into nine equal parts. Place important elements along the lines. Or at the intersections. This creates a more interesting composition. It avoids placing the subject in the center. The rule of thirds is a good starting point. But don’t be afraid to break it. Sometimes a centered composition works best. Experiment and see what you like.
Using Leading Lines
Leading lines guide the viewer’s eye through the photo. They lead to the main subject. A road, a river, or a fence can be a leading line. Leading lines create depth and interest. They draw the viewer into the scene. Look for leading lines when you are composing your shot. Use them to your advantage. They can make your photos more dynamic. Imagine a path leading to a mountain. That is a powerful leading line.
Creating Depth in Your Photos
Depth makes your photos look more three-dimensional. There are several ways to create depth. Use a wide-angle lens. Include elements in the foreground, middle ground, and background. Overlapping elements can also create depth. Use atmospheric perspective. This is when distant objects look hazy. Depth makes your photos more immersive. It draws the viewer into the scene. Think about depth when you are composing your shot. It can make a big difference.
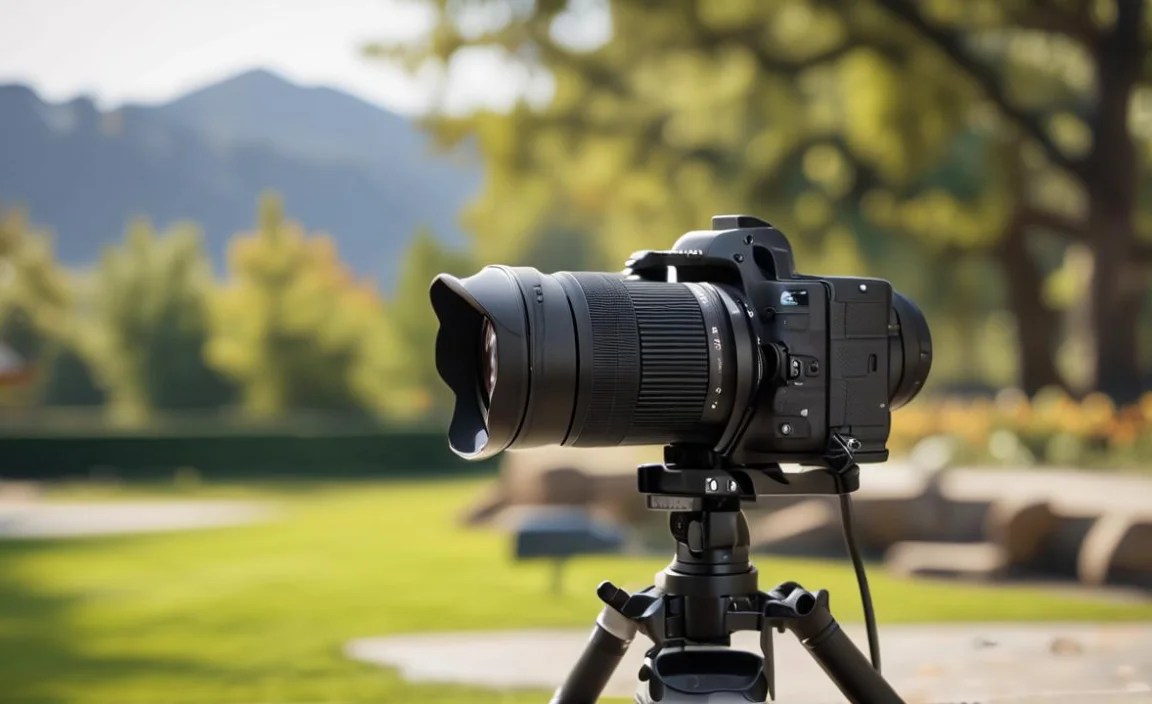
Taking Great Landscape Photos
Landscape photography is about capturing the beauty of nature. You need a wide-angle lens. This lets you capture a wide view. Use a small aperture. This makes everything sharp. Pay attention to the light. Golden hour (sunrise and sunset) is the best time for landscape photos. Use a tripod to keep your camera steady. Look for interesting elements. Mountains, trees, and rivers can make great subjects. Think about the composition. Use the rule of thirds. Leading lines can guide the viewer’s eye. Take your time and explore. Landscape photography is about patience and observation. A great outdoor settings camera is essential.
- Use a wide-angle lens.
- Shoot during golden hour.
- Use a tripod.
- Look for interesting elements.
- Pay attention to the composition.
- Explore different perspectives.
Imagine you are standing on top of a mountain. The sun is setting. The sky is full of color. You want to capture this amazing scene. Use a wide-angle lens to capture the entire view. Use a small aperture to make everything sharp. Use a tripod to keep your camera steady. Pay attention to the composition. Place the horizon line according to the rule of thirds. Look for leading lines that guide the viewer’s eye. Take a deep breath and enjoy the moment. Then, press the shutter button. You have captured a stunning landscape photo.
Fun Fact or Stat: The world’s largest landscape photo is over 365 gigapixels!
Finding the Best Light for Landscapes
Light is everything in landscape photography. The best light is during golden hour. This is the hour after sunrise and the hour before sunset. The light is warm and soft. It creates beautiful colors and shadows. Avoid shooting in the middle of the day. The light is harsh and flat. Cloudy days can also be good for landscapes. The clouds diffuse the light. This creates a soft, even light. Pay attention to the light. It will make your landscape photos better.
Using Filters for Landscape Photography
Filters are glass or plastic that you attach to the front of your lens. They can improve your landscape photos. A polarizing filter reduces glare and reflections. It also makes the sky darker. A neutral density (ND) filter reduces the amount of light entering the camera. This allows you to use a slower shutter speed. This is good for creating motion blur. A graduated ND filter is dark on top and clear on the bottom. It helps balance the exposure between the sky and the land. Filters can be useful tools for landscape photography.
Choosing the Right Lens for Landscapes
The best lens for landscape photography is a wide-angle lens. This allows you to capture a wide view. A wide-angle lens is typically between 16mm and 35mm. A zoom lens is also a good choice. This allows you to zoom in and out. A prime lens (fixed focal length) can also be used. Prime lenses are often sharper than zoom lenses. Choose a lens that suits your style and needs. A good lens is essential for landscape photography.
Taking Great Portrait Photos Outdoors
Taking portraits outdoors can be fun. You need to consider the light. Soft, diffused light is best. Avoid direct sunlight. It can create harsh shadows. Use a wide aperture. This creates a shallow depth of field. The background will be blurry. This makes the subject stand out. Pay attention to the background. Make sure it is not distracting. Use a reflector to bounce light onto the subject. Pose the subject naturally. Talk to them and make them feel comfortable. Capture their personality. Outdoor settings camera features are important.
- Find soft, diffused light.
- Use a wide aperture.
- Pay attention to the background.
- Use a reflector.
- Pose the subject naturally.
- Capture their personality.
Imagine you are taking a portrait of your friend in a park. It is a sunny day. Find a spot in the shade. The shade will create soft, diffused light. Use a wide aperture to blur the background. This will make your friend stand out. Pay attention to the background. Make sure there are no distracting elements. Use a reflector to bounce light onto your friend’s face. This will brighten their eyes. Talk to your friend and make them feel comfortable. Capture their smile. You have taken a great outdoor portrait.
Fun Fact or Stat: The most expensive portrait photo ever sold was of Andreas Gursky’s “Rhein II” for $4.3 million!
Finding the Best Light for Outdoor Portraits
The best light for outdoor portraits is soft, diffused light. Avoid direct sunlight. It can create harsh shadows. Open shade is a good option. This is shade that is not too dark. Overcast days are also good for portraits. The clouds diffuse the light. This creates a soft, even light. Golden hour is also a good time for portraits. The light is warm and soft. Pay attention to the light. It will make your portraits better.
Posing Tips for Natural-Looking Portraits
Posing is important for portraits. But you want the pose to look natural. Don’t tell the subject to say “cheese.” This will make them look stiff. Talk to them and make them feel comfortable. Tell them to relax their shoulders. Tell them to think about something happy. Have them move around. Capture them in motion. Use props to make them feel more comfortable. The goal is to capture their personality. A relaxed subject makes for a better portrait.
Using a Reflector to Improve Portraits
A reflector is a tool that bounces light. It can be used to improve portraits. A reflector can fill in shadows. It can brighten the subject’s face. Reflectors come in different colors. White reflectors create soft, neutral light. Silver reflectors create bright, cool light. Gold reflectors create warm light. Choose a reflector that suits the situation. Have a friend hold the reflector. Or use a reflector stand. A reflector is a simple but effective tool.
Weather Considerations for Your Camera
Weather can affect your camera. Rain, snow, and dust can damage your camera. Protect your camera from the elements. Use a rain cover. Or keep it in a waterproof bag. Avoid changing lenses in dusty or wet conditions. Clean your camera regularly. Use a soft cloth to wipe the lens. Use a blower to remove dust. Extreme temperatures can also affect your camera. Keep your camera cool in hot weather. Keep it warm in cold weather. Weather can be a challenge. But with proper care, your camera will be safe. Using the outdoor settings camera properly is important.
| Weather Condition | Potential Impact | Protective Measures |
|---|---|---|
| Rain | Water damage to camera and lens. | Use a rain cover or waterproof bag. |
| Snow | Moisture can freeze and damage internal components. | Keep camera warm. Use a waterproof bag. |
| Dust | Dust can scratch the lens and get inside the camera. | Avoid changing lenses in dusty conditions. Clean camera regularly. |
| Extreme Heat | Overheating can damage the sensor and battery. | Keep camera in the shade. Avoid direct sunlight. |
| Extreme Cold | Battery life can decrease. LCD screen may become slow. | Keep camera warm. Use extra batteries. |
- Protect your camera from rain and snow.
- Avoid dust and sand.
- Keep your camera cool in hot weather.
- Keep your camera warm in cold weather.
- Clean your camera regularly.
- Use a camera bag for protection.
Imagine you are hiking in the mountains. It starts to rain. You need to protect your camera. Put it in a waterproof bag. Or use a rain cover. Avoid changing lenses in the rain. This can let water inside the camera. When you get home, clean your camera. Use a soft cloth to wipe the lens. Use a blower to remove dust. Taking care of your camera will keep it working well for years to come. The outdoor settings camera will function perfectly.
Fun Fact or Stat: Some cameras are fully waterproof and can be used underwater!
Protecting Your Camera from Rain
Rain can damage your camera. Water can get inside the camera. This can cause corrosion and other problems. Use a rain cover to protect your camera. A rain cover is a waterproof bag that fits over your camera. You can also use a plastic bag. Make sure the bag is sealed tightly. Avoid changing lenses in the rain. This can let water inside the camera. If your camera gets wet, dry it immediately. Remove the battery and memory card. Let it air dry for several days.
Dealing with Dust and Sand
Dust and sand can scratch your lens. They can also get inside the camera. This can damage the sensor. Avoid changing lenses in dusty or sandy conditions. Use a blower to remove dust from your camera. A blower is a rubber bulb that you squeeze. This creates a blast of air. Use a soft brush to remove sand from your camera. Be gentle. Don’t scratch the lens. Clean your camera regularly. This will keep it working well.
Handling Extreme Temperatures
Extreme temperatures can affect your camera. Hot weather can cause the camera to overheat. This can damage the sensor and battery. Keep your camera in the shade. Avoid direct sunlight. Cold weather can decrease battery life. The LCD screen may become slow. Keep your camera warm. Use extra batteries. Store the batteries in your pocket. Extreme temperatures can be a challenge. But with proper care, your camera will be safe.
Summary
Taking great photos outdoors requires understanding your camera. You need to know about aperture, ISO, and shutter speed. White balance is also important. It affects the colors in your photos. Choose the right camera for your needs. DSLRs, mirrorless cameras, and point-and-shoot cameras are all good options. Composition is how you arrange elements in your photo. Use the rule of thirds and leading lines. Pay attention to the light. Golden hour is the best time for landscape photos. Protect your camera from the weather. Rain, snow, and dust can damage your camera. With practice and patience, you can take stunning outdoor photos.
Conclusion
Outdoor photography is a rewarding hobby. It allows you to connect with nature. It helps you capture beautiful moments. Understanding your camera is the first step. Learn about aperture, ISO, and shutter speed. Pay attention to composition and light. Protect your camera from the weather. Don’t be afraid to experiment. Practice makes perfect. With the right outdoor settings camera and skills, you can create amazing photos.
Frequently Asked Questions
Question No 1: What is the best camera setting for sunny days?
Answer: On sunny days, use a low ISO like 100 to keep the image clean and prevent overexposure. Set your aperture to f/8 or f/11 for good depth of field if you are shooting landscapes. For portraits, you might want a wider aperture like f/2.8 or f/4 to blur the background. Adjust your shutter speed to properly expose the image. This might be around 1/200th of a second or faster, depending on the light. These outdoor settings camera adjustments will make your photos crisp and clear.
Question No 2: How do I take good photos on a cloudy day?
Answer: Cloudy days provide soft, diffused light. This is great for portraits and landscapes. Use a slightly higher ISO, like 200 or 400, to brighten the image. Adjust your white balance to “Cloudy” to warm up the colors. This will prevent the photos from looking too blue. Choose a wider aperture like f/5.6 to let in more light. Pay attention to composition. Cloudy days can create beautiful, even lighting. You can adjust the outdoor settings camera to make the best of it.
Question No 3: What is the best ISO to use outdoors?
Answer: The best ISO to use outdoors depends on the light. On sunny days, use ISO 100. On cloudy days, use ISO 200 or 400. In low light, you might need to use ISO 800 or higher. The goal is to use the lowest ISO possible. This will give you the best image quality. Higher ISOs can cause grain or noise in the photo. Experiment to find the right balance. A good outdoor settings camera will perform well at various ISO levels.
Question No 4: How do I take sharp landscape photos?
Answer: To take sharp landscape photos, use a small aperture like f/8 or f/11. This will give you a large depth of field. Everything from the foreground to the background will be in focus. Use a tripod to keep your camera steady. This will prevent motion blur. Focus carefully. Use manual focus if needed. Shoot during golden hour for the best light. These tips will help you take stunning landscape photos. Make sure your outdoor settings camera is ready with the proper lens.
Question No 5: What is the best aperture for outdoor portraits?
Answer: The best aperture for outdoor portraits depends on the look you want. A wide aperture like f/2.8 or f/4 will create a shallow depth of field. The background will be blurry. This makes the subject stand out. A smaller aperture like f/5.6 or f/8 will give you more depth of field. More of the background will be in focus. Experiment to find the right balance. Consider your outdoor settings camera‘s capabilities and your artistic vision.
Question No 6: How do I protect my camera from the rain?
Answer: To protect your camera from the rain, use a rain cover. A rain cover is a waterproof bag that fits over your camera. You can also use a plastic bag. Make sure the bag is sealed tightly. Avoid changing lenses in the rain. This can let water inside the camera. If your camera gets wet, dry it immediately. Remove the battery and memory card. Let it air dry for several days. Taking these steps will help your outdoor settings camera last longer.
