Quick Summary: After harvest, caring for garden soil means replenishing nutrients, improving its structure, and protecting it from erosion. Simple steps like adding compost, cover cropping, and mulching ensure healthy soil for next season’s bounty.
Harvest time is exciting, isn’t it? Seeing all your hard work pay off is a wonderful feeling. But once the last tomato is picked and the final bean is pulled, what happens to your garden soil? It’s not uncommon for gardeners to feel a bit lost after the plants are gone. It can feel like the work is over, and the soil is just… left. This can lead to tired soil that struggles to produce as well next year. Don’t worry, though! Taking care of your garden soil after harvest is simpler than you think. We’ll walk through it step-by-step so you can give your soil the love it deserves and set yourself up for an even better garden next season.
Why Soil Care After Harvest Matters
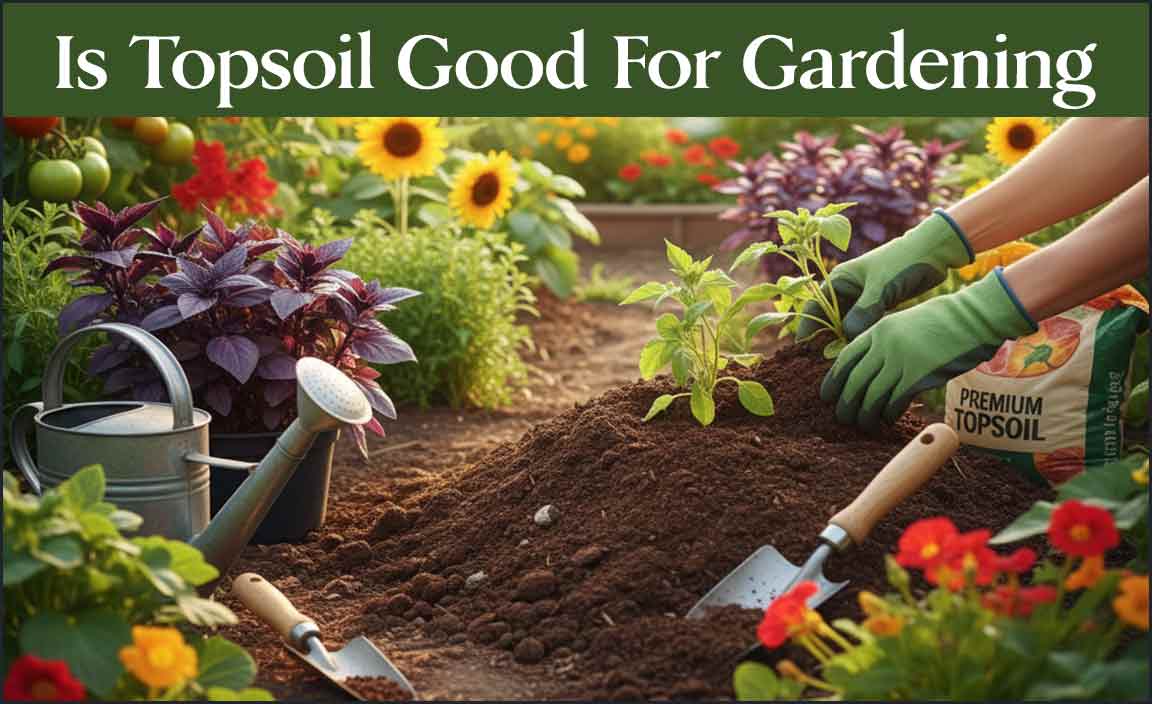
Think of your garden soil as the foundation of your growing success. Just like you wouldn’t build a house on a weak foundation, you can’t expect a thriving garden from depleted soil. After a season of feeding your plants, your soil has given a lot. It’s full of nutrients that your fruits, vegetables, and flowers used up. If left unmanaged, this soil can become compacted, lose its vital organic matter, and be more susceptible to weeds and erosion during the off-season. Caring for it now is an investment that pays dividends in healthier plants, better yields, and a more resilient garden for years to come. EcoPatchy believes that nurturing our soil is a core part of sustainable living, ensuring our gardens are productive and beautiful for seasons to come.
Step-by-Step Guide to Perfect Post-Harvest Soil Care
Ready to give your soil some TLC? Here’s how to do it effectively:
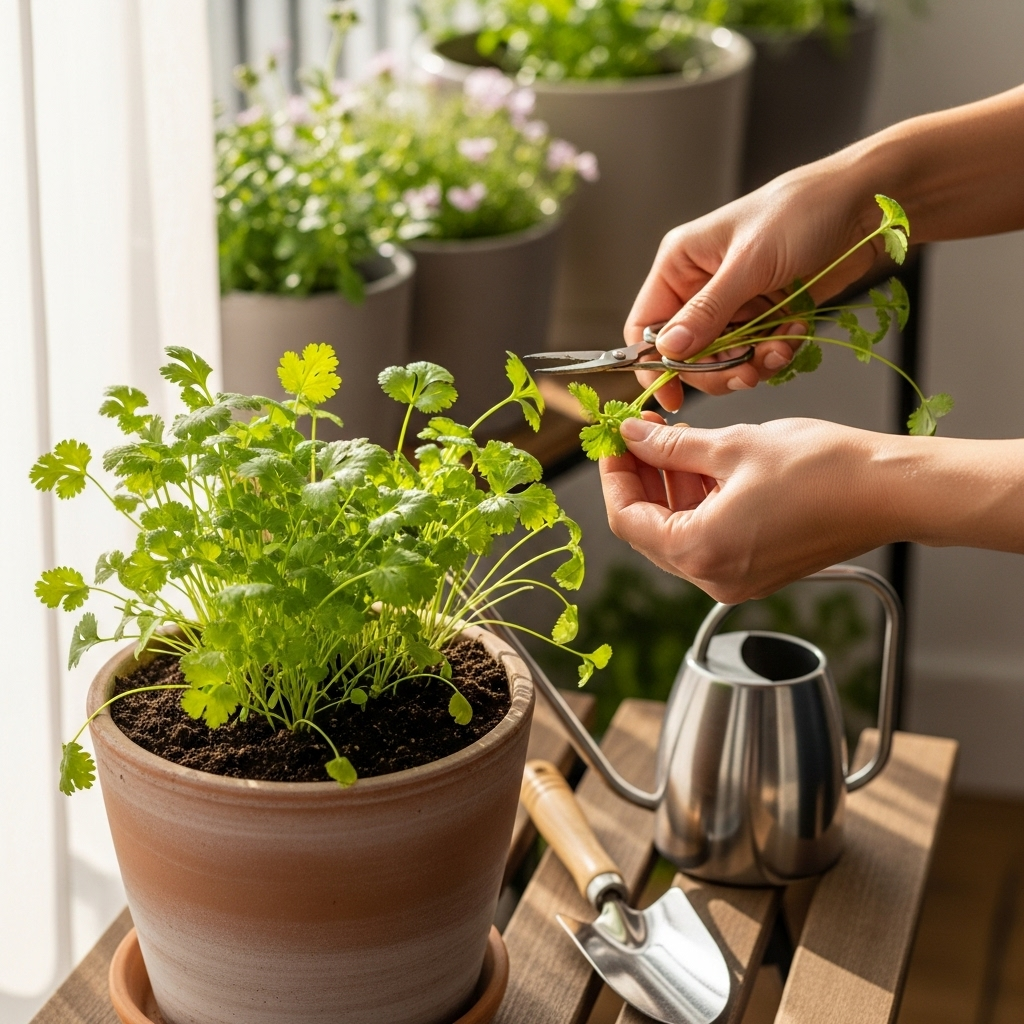
1. Clear Out the Old Growth
Once your plants have finished producing, it’s time to tidy up. Gently remove spent plants from the garden beds. This is important for a few reasons:
- Disease Prevention: Diseased plants or those that attracted pests should be removed and disposed of (don’t add them to your compost if you suspect disease). This prevents future problems.
- Weed Control: Remove any weeds that have sprouted, especially those that have gone to seed. Get them out before they spread!
- Soil Aeration: As you remove plants, you’ll disturb the soil surface slightly, allowing a little more air to reach the roots.
If your plants were healthy, you can chop them up and add them to your compost pile. This is a fantastic way to recycle nutrients back into your garden system. For more on composting, check out our guide to Composting for Beginners.
2. Test Your Soil (Optional but Recommended)
Before you add anything, it’s a great idea to understand what your soil actually needs. A soil test can tell you about its pH level and the amount of essential nutrients like nitrogen, phosphorus, and potassium. This helps you avoid over-amending and adding unnecessary products. You can buy DIY soil test kits from most garden centers, or send a sample to your local cooperative extension office for a more comprehensive analysis. Many universities offer excellent Cooperative Extension programs that can provide free or low-cost soil testing and advice.
Why Test?
- Identifies nutrient deficiencies.
- Reveals pH imbalances that affect nutrient uptake.
- Helps you choose the right amendments.
3. Add Organic Matter: The Secret Sauce
This is arguably the most crucial step. Organic matter—like compost, aged manure, or leaf mold—improves soil structure, water retention, drainage, and provides a slow release of nutrients. After harvest is the perfect time to top-dress your beds.
- Compost: Well-rotted compost is gold for your soil. Spread a 2-4 inch layer over your garden beds.
- Aged Manure: If you have access to aged cow, chicken, or horse manure, this is also excellent. “Aged” is key – fresh manure can burn plant roots.
- Leaf Mold: Decomposed leaves are fantastic for improving soil structure and are especially good for sandy soils.
You don’t need to deeply till this organic matter in. Simply spread it on top, and let worms and microbes do the work of incorporating it over the winter. This no-till approach helps preserve soil structure and health.
4. Cover Cropping: Your Soil’s Winter Blanket
Cover crops, also known as “green manure,” are plants grown specifically to benefit the soil. They protect the soil from erosion by wind and rain, suppress weeds, improve soil structure, and add nutrients when they are tilled in or when they decompose.
Popular Cover Crops for Fall Planting:
| Cover Crop | Benefits | Best For |
|---|---|---|
| Winter Rye | Excellent erosion control, suppresses weeds, adds nitrogen when tilled in, breaks up compacted soil. | Cold climates, heavy soils. |
| Crimson Clover | Fixes nitrogen from the air into the soil, attracts beneficial insects, good weed suppression. | Mild to moderate climates, sandy to loam soils. |
| Hairy Vetch | Fixes significant amounts of nitrogen, produces abundant biomass, great weed suppressor. | Can tolerate colder temperatures, adaptable to various soils. |
| Buckwheat | Fast-growing, suppresses weeds, improves soil structure, scavenges phosphorus. | Shorter growing seasons, warmer climates (though can be planted in cooler fall weather for a quick cover). |
How to Plant:
- Clear your garden beds of old plants and debris.
- Lightly loosen the top inch of soil if it’s very compacted.
- Broadcast the cover crop seeds evenly over the soil surface.
- Rake the seeds in lightly to ensure good soil contact.
- Water if the soil is dry.
Most cover crops will grow for a few weeks before winter sets in and then die back naturally. If they don’t die back, you’ll till them into the soil in the spring before planting your main crops. This is a fantastic sustainable practice recommended by organizations like the USDA Natural Resources Conservation Service.
5. Mulch, Mulch, Mulch!
Mulching is like tucking your soil into a warm, protective blanket for the winter. It conserves moisture, moderates soil temperature, prevents erosion, and suppresses winter weeds. It also breaks down over time, adding more organic matter.
- Straw: Clean straw (not hay, which can contain weed seeds) is an excellent, inexpensive mulch.
- Shredded Leaves: If you have a yard that produces leaves, shredding them and using them as mulch is a budget-friendly and effective option.
- Wood Chips: Larger wood chips can be used, but they break down slowly. They are best for pathways or areas where you don’t plan to plant for a while.
Apply a layer of 2-4 inches of your chosen mulch after adding compost or before a cover crop begins to grow. Keep the mulch pulled back a little from the crowns of any perennial plants you have in your garden beds.
6. Consider Soil Aeration
Compact soil can be a killer for plant roots. If your soil is heavy clay or has become compacted over a busy season, a light aeration can help. Avoid deep tilling, which can disrupt soil’s natural structure and beneficial organisms. Instead, consider:
- Forking: Use a garden fork to gently push into the soil and lift it slightly, creating air pockets. Do this in several places across the bed.
- Adding Organic Matter: As mentioned, incorporating generous amounts of compost is one of the best ways to naturally improve soil structure and aeration over time.
7. Protect Against Erosion
Bare soil is vulnerable. Wind and rain can wash away valuable topsoil, especially on sloped beds. By using mulch or planting cover crops, you create a protective layer that shields the soil from the elements. This is vital for maintaining the health and fertility of your garden year after year.
Indoor Gardening Soil Care After Harvest: A Different Approach
While outdoor gardens have seasons, indoor plants and container gardens often live in their soil for longer periods. However, there are still steps you can take after a plant has finished its cycle or if you’re refreshing pots:
- For Annuals: After an indoor annual plant (like a poinsettia or an herb that’s finished its life) is done, discard the spent plant material. You can often reuse the potting mix if it’s still in good condition. To refresh it, remove about one-third of the old soil and mix in an equal amount of fresh potting mix and some compost. This replenishes nutrients and improves aeration.
- For Perennials: If you’re repotting a tired-looking perennial, you can often salvage some of the old potting mix. Gently tease away about half of the old soil from the roots. Mix the remaining old soil with new potting mix and compost. This is a great way to reduce waste and save money.
- Sterilizing Old Potting Mix: If you suspect disease or pest issues in your old potting mix, you might want to sterilize it before reusing. Baking moist potting mix in an oven at 180-200°F (82-93°C) for 30 minutes can kill pathogens, but it also kills beneficial microbes. It’s generally better to add this baked mix to your outdoor compost pile to let nature reintroduce beneficial life.
- Adding Amendments: Even if you’re not repotting, you can top-dress indoor pots with a thin layer of compost or worm castings to give your plants a nutrient boost.
For more on creating healthy indoor environments, explore our tips on Indoor Plant Soil Mixes.
FAQ: Your Post-Harvest Soil Questions Answered
Q1: Do I need to remove all plant matter from my garden beds after harvest?
A1: It’s best to remove spent or diseased plants. Healthy plant material can be chopped up and added to your compost bin to enrich it for future use. Leaving diseased material can spread issues.
Q2: How much compost should I add?
A2: Aim for a layer of 2-4 inches of compost spread over the surface of your garden beds. You don’t need to dig it in deeply; worms and soil microbes will do that work for you.
Q3: When is the best time to plant a cover crop?
A3: For fall planting, it’s usually best to sow cover crops after your main harvest is complete but while there’s still enough time for them to establish before the first hard frost. This varies by climate, but often late summer to early fall is ideal for many regions.
Q4: What’s the difference between mulch and compost?
A4: Compost is organic matter that has decomposed and is rich in nutrients, acting as a soil amendment. Mulch is a protective layer placed on top of the soil to conserve moisture, suppress weeds, and prevent erosion. While compost can be used as mulch, its primary role is to feed and improve the soil itself.
Q5: Can I just leave my garden beds empty over winter?
A5: While you can, it’s not ideal for soil health. Bare soil is prone to erosion, nutrient loss, and weed invasion. Using mulch or cover crops offers significant benefits for your soil’s structure and fertility.
Q6: How do I know if my soil is compacted?
A6: Compacted soil is hard for roots to penetrate, drains poorly, and holds less air. You might notice water pooling on the surface after rain, or when you try to dig into it, it feels very resistant.
Q7: Can I use any kind of manure?
A7: It’s important to use aged or composted manure. Fresh manure is very strong and can burn plant roots and harm beneficial soil organisms. If you’re unsure, buy composted manure from a reputable garden supplier.
Conclusion: A Gift to Your Future Garden
Caring for your garden soil after harvest is one of the most rewarding activities a gardener can undertake. It’s not just about cleaning up; it’s about actively improving the living ecosystem beneath your feet. By clearing spent plants, adding organic matter like compost, planting beneficial cover crops, and applying mulch, you are providing your soil with the nourishment and protection it needs to thrive during the off-season. In return, you’ll be rewarded with healthier soil, stronger plants, and a more abundant harvest next year. Think of it as giving your garden the gift of rest and rejuvenation. Your future self, and your plants, will be eternally grateful for this thoughtful post-harvest care. Happy gardening, no matter the season!