Calla lilies are a beautiful and elegant addition to any garden or landscape. Known for their distinctive trumpet-shaped flowers and wide variety of colors, these flowers are popular among amateur and experienced gardeners.
While many opt to purchase fully grown calla lily plants, planting calla lily bulbs is a cost-effective and rewarding way to grow these gorgeous blooms. However, the process may seem daunting for those new to gardening or who have never planted calla lily bulbs. That’s why we have put together a step guide on how to plant calla lily bulbs.
From choosing the right location to caring for the bulbs after planting, this article will cover all the necessary information to help you grow thriving calla lily plants in your backyard. So, whether you are a seasoned gardener looking to try something new or a beginner with a green thumb, follow along as we delve into the world of planting calla lily bulbs.

When To Plant Calla Lily Bulbs
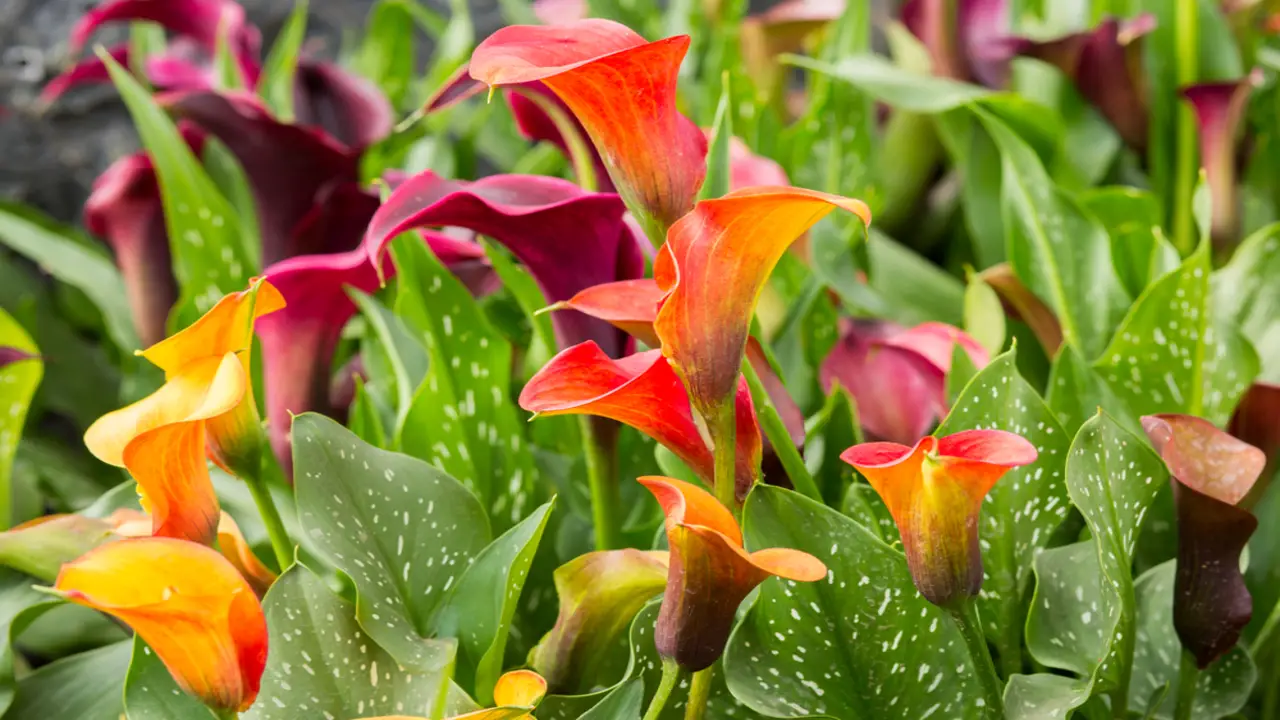
Knowing when to plant calla lily bulbs is crucial for a successful growing season. Calla lilies are typically planted in the spring after the danger of frost has passed and the soil has warmed up. Depending on your location, this is usually around late April or early May. Planting calla lily bulbs at the right time allows them to establish their roots and grow strong before the hot summer months arrive.
It’s important to note that calla lilies prefer well-drained soil and should be planted in a sunny or partially shaded area. Following these guidelines and planting your calla lily bulbs appropriately, you can enjoy beautiful blooms all summer.
How To Plant Calla Lily Bulbs? 6 Steps
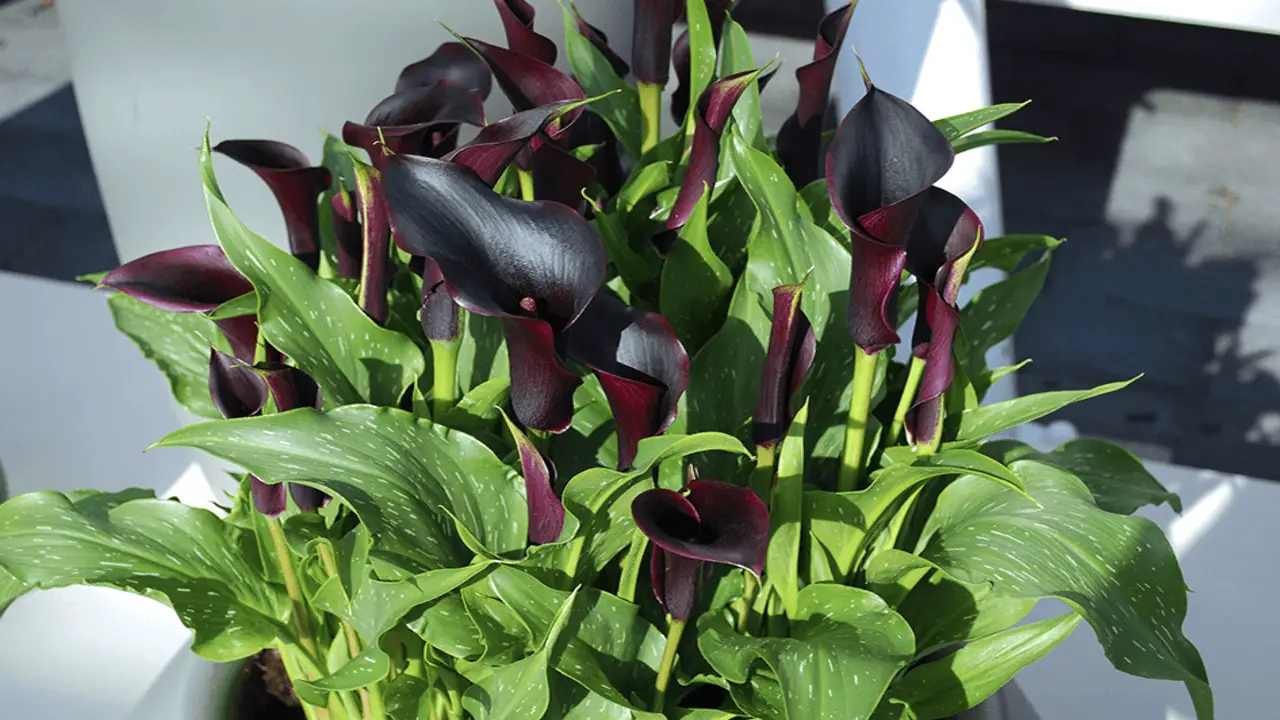
Planting calla lily bulbs is a straightforward process that can yield beautiful results. Following these steps will give your calla lilies a good start and increase their chances of thriving in your garden. Monitor their progress and provide regular care, including watering and fertilizing as needed. Here are six simple steps to help you how to plant calla lily bulbs:
Step 1: Choose the Right Location
Choosing the right location is crucial when planting calla lily bulbs. These beautiful flowers thrive in areas with full or partial sun and well-drained soil. Selecting a spot that receives at least six hours of sunlight each day is important, as this will help the bulbs grow and bloom properly.
Additionally, ensure the soil drains well and is not prone to waterlogging, as calla lilies do not like to sit in water. Before planting, prepare the soil by loosening it and removing any weeds or debris. Once you have chosen the perfect location, you can begin planting your calla lily bulbs and look forward to enjoying their stunning blooms.
Step 2: Prepare The Soil
Preparing the soil is an essential step in planting calla lily bulbs. These beautiful flowers thrive in well-draining soil that is rich in organic matter. To prepare the soil, start by clearing the area of any weeds or debris. Then, loosen the soil with a garden fork or tiller to ensure good drainage.
If the soil is heavy clay or compacted, you can amend it with organic matter such as compost or peat moss to improve its texture. Spread a layer of organic mulch over the prepared soil to help retain moisture and suppress weeds. By preparing the soil properly, you will give your calla lilies the best possible start and ensure their healthy growth and blooming.
Step 3: Plant The Bulbs

Planting calla lily bulbs is a relatively simple process for gardeners of all skill levels. Choose a location with full sun or partial shade and well-draining soil. Dig a hole about 4-6 inches deep and place the bulb in the hole with the pointed end facing up.
Cover the bulb with soil, gently firming it around the base to ensure good contact. Water the area thoroughly after planting to help settle the soil and encourage root growth. It’s important to note that calla lilies are not frost-tolerant, so if you live in a colder climate, you may need to dig up the bulbs and store them indoors during winter. With proper care and attention, your calla lilies should start to bloom within a few months of planting.
Step 4: Water And Fertilize
Watering and fertilizing are important aspects of growing healthy calla lilies. These beautiful flowers require regular watering, especially during the hot summer months. It is best to keep the soil consistently moist but not overly saturated. Be sure to water deeply, allowing the water to reach the roots.
In terms of fertilization, calla lilies benefit from a balanced, slow-release fertilizer applied once a month during the growing season. This will give them the nutrients for healthy growth and vibrant blooms.
Remember to follow the instructions on the fertilizer packaging and adjust accordingly based on your specific soil conditions and climate. With proper watering and fertilization, your calla lilies will thrive and bring beauty to your garden or indoor space.
Step 5: Mulch For Protection
Mulching is important in planting calla lily bulbs, providing protection and insulation during the colder months. Applying a layer of mulch around the plants’ base helps regulate soil temperature, preventing extreme fluctuations that can harm the bulbs.
It also helps to retain moisture in the soil, reducing the need for frequent watering. Opt for organic materials such as straw, wood chips, or shredded leaves when choosing mulch for calla lilies. Apply a layer of mulch about 2-3 inches thick, leaving a small gap around the stems to prevent rotting. Mulching protects your calla lily bulbs and promotes healthy growth and beautiful blooms in the coming seasons.
Step 6: Care And Maintenance
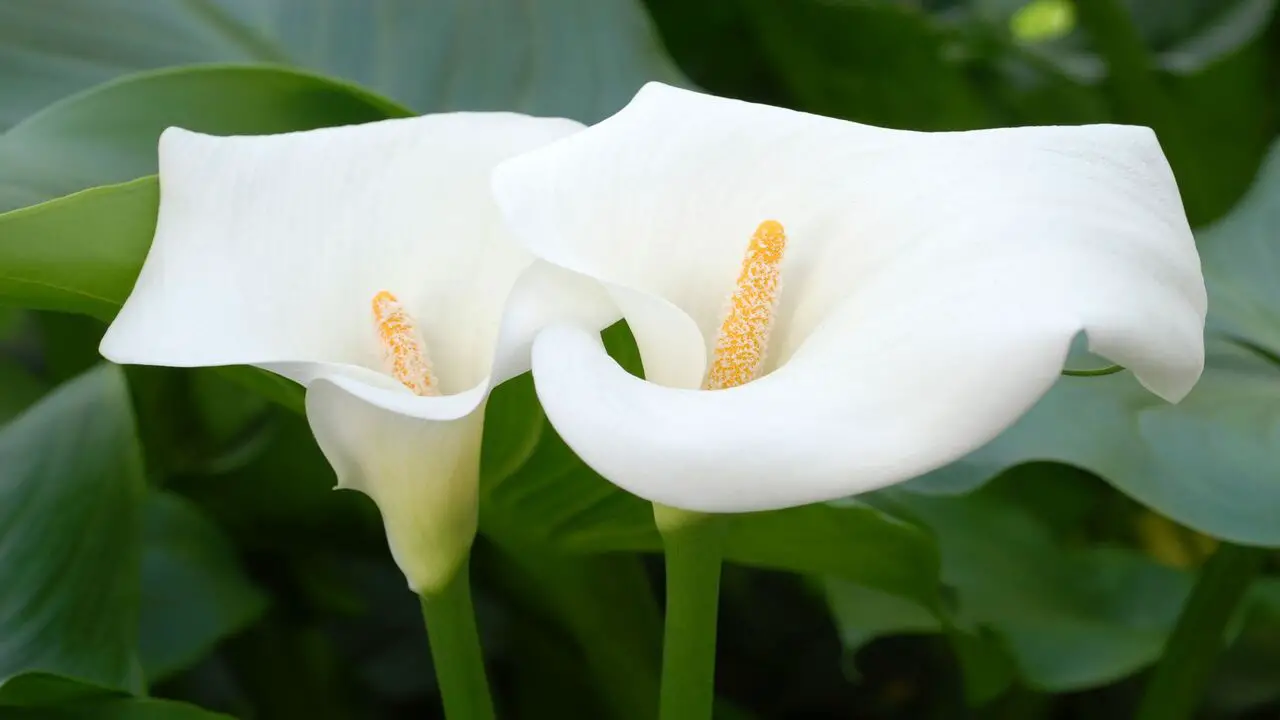
Taking proper care of your calla lily bulbs is essential for their growth and blooming. By following these care and maintenance tips, you can ensure that your calla lily bulbs thrive and produce beautiful blooms year after year. Here are some tips for the care and maintenance of calla lily bulbs:
- Planting: Choose a location with full or partial sunlight and well-draining soil. Dig a hole about twice the bulb’s depth and place it in with the pointed end facing upward.
- Watering: Calla lilies prefer moist soil, so water them regularly, especially during dry periods. However, be careful not to overwater, as this can cause root rot.
- Fertilizing: Apply a balanced fertilizer once a month during the growing season to provide essential nutrients to your calla lilies.
- Mulching: Consider mulching around your calla lilies to help retain moisture in the soil and suppress weed growth.
- Pruning: Remove dead or yellowing leaves to promote healthy growth and prevent diseases.
- Winter Care: Calla lilies are not frost-tolerant in colder climates. Before the first frost, dig up the bulbs and store them in a cool, dry place until spring.
Troubleshooting Common Issues
Troubleshooting Common Issues when planting Calla Lily bulbs can help ensure a successful and beautiful garden. Here are some common issues that may arise when planting Calla Lily bulbs, along with tips to troubleshoot them:
- Bulbs not sprouting: If your Calla Lily bulbs are not sprouting, it may be due to insufficient watering or planting them too deep. Ensure to water the soil regularly and check the planting depth, ensuring that the top of the bulb is just below the soil surface.
- Yellowing leaves: Yellowing leaves on your Calla Lily plants can indicate overwatering or poor drainage. Allow the soil to dry out slightly between waterings and ensure proper drainage in the planting area.
- Pests or diseases: Calla Lilies can be susceptible to pests such as aphids or diseases like root rot. Monitor your plants regularly for any signs of infestation or disease, and take appropriate measures such as using insecticidal soap or adjusting watering practices.
- Lack of blooms: If your Calla Lilies are not producing blooms, it may be due to insufficient sunlight or inadequate fertilization. Ensure that your plants receive at least six hours of sunlight daily, and consider using a balanced fertilizer specifically formulated for flowering plants.
You can help promote healthy growth and vibrant blooms in your Calla Lily garden by troubleshooting these common issues.
Common Mistakes To Avoid
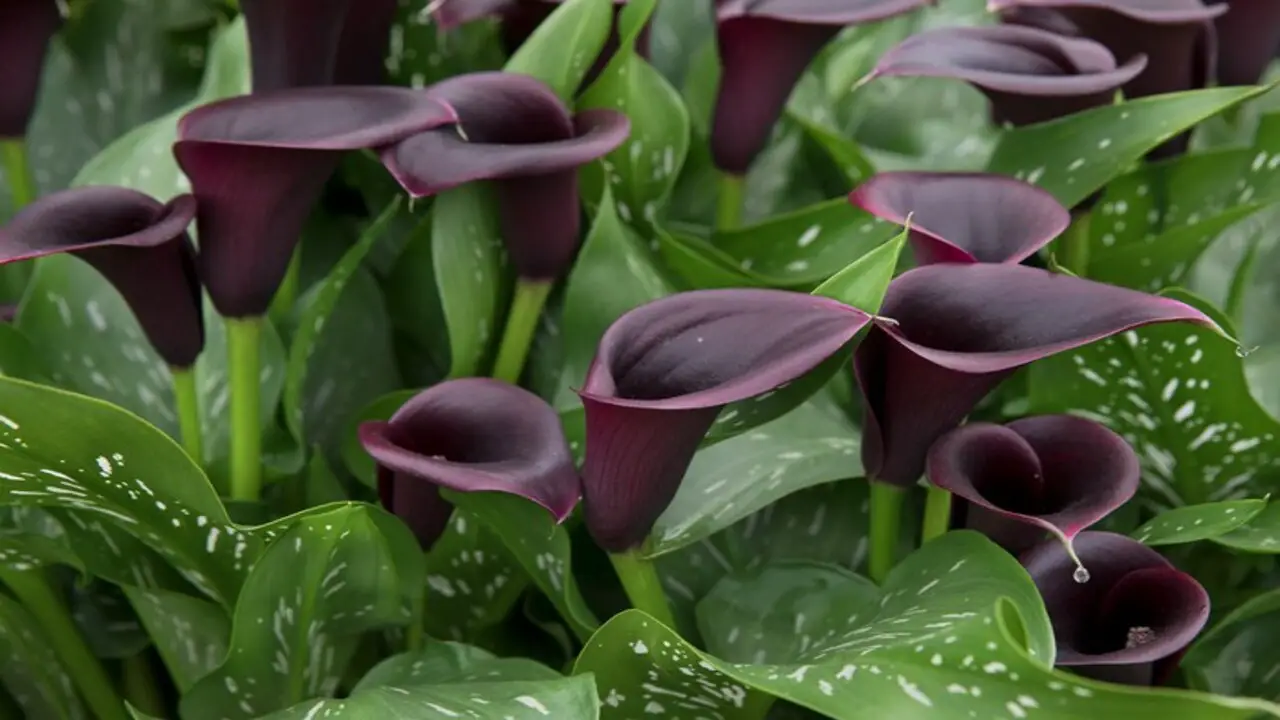
When planting calla lily bulbs, it’s important to avoid common mistakes that can hinder their growth and overall health. By avoiding these common mistakes, you can ensure that your calla lily bulbs have the best chance of thriving and producing beautiful blooms. Here are some key mistakes to avoid:
- Planting The Bulbs Too Deep: Calla lily bulbs should be planted with the top of the bulb just below the soil surface. Planting them too deep can prevent them from receiving adequate sunlight and may result in stunted growth.
- Overwatering: While calla lilies require regular watering, overwatering can lead to root rot and other issues. It’s important to allow the soil to dry out slightly between waterings to prevent waterlogged conditions.
- Planting In Poor Drainage: Calla lilies prefer well-draining soil. Planting them in heavy or clay soils that retain too much moisture can cause root damage and hinder their growth.
- Neglecting Fertilization: Calla lilies benefit from regular fertilization during the growing season. Failing to provide adequate nutrients can result in weak plants and fewer blooms.
- Not Providing Enough Sunlight: Calla lilies thrive in full sun or partial shade. Insufficient sunlight can lead to leggy growth and fewer flowers.
Conclusion
To sum up, planting calla lily bulbs is a rewarding and beautiful endeavour. You can ensure successful growth and vibrant blooms by following the steps outlined above. Remember to choose a suitable location with well-drained soil, properly prepare the soil, plant the bulbs at the right depth, and provide adequate water and fertilizer.
Mulching and regular care and maintenance will help protect and nourish your calla lilies. Additionally, be aware of common issues and troubleshooting techniques to address any problems. Avoiding common mistakes will also contribute to your calla lilies’ overall health and vitality.
Remember to choose a well-draining location, provide ample sunlight and water, and protect the bulbs from frost. With proper care, your calla lilies How To Plant Calla Lily Bulbs will continue to grace your garden with their presence year after year.
Frequently Asked Questions
1.What Month Do You Plant Calla Lily Bulbs?
Ans: Calla lily bulbs are best planted in the spring after the last frost date. In warmer climates, they can also be planted in the fall. These bulbs prefer well-draining soil and partial shade. Remember to plant them 4-6 inches deep and 12 inches apart for optimal growth and development.
2.How Deep Should Calla Lily Bulbs Be Planted?
Ans: Calla lily bulbs should be planted about 4-6 inches deep in well-drained soil with partial sunlight. Ensure the pointed end is facing up and the roots are down. Planting too shallow can lead to frost damage, while planting too deep may hinder growth.
3.Which Side Of Calla Lily Bulb Goes Down?
Ans: Remember to place the pointed end facing downward when planting calla lily bulbs. This ensures proper growth with roots growing downwards and shoots growing upwards. If unsure, look for small roots or sprouts. Plant in well-draining soil and keep moist but not waterlogged.
4.What Is The Best Way To Plant Calla Lilies?
Ans: Choose a location with partial sun and well-draining soil to plant calla lilies. Dig a hole, place the bulb with the pointed end facing up, and cover it with soil. Water thoroughly after planting and keep the soil moist throughout the growing season.
5.When Is The Best Time To Plant Calla Lily Bulbs?
Ans: The ideal time to plant Calla Lily bulbs is during the spring when the soil has warmed up. Dig a hole 2-3 inches deep in well-draining soil and choose a spot that receives partial shade. Remember to water regularly, but avoid overwatering to prevent rot.


