Quick Summary: Slow release watering for outdoor plants delivers water gradually and deeply, preventing runoff and ensuring roots get the hydration they need. It’s an eco-friendly and effective way to keep your garden thriving, especially during dry spells, by promoting healthier root systems and conserving water.
Hello fellow garden lovers! Are your outdoor plants looking a little thirsty, even after you water them? Maybe you’ve noticed water pooling on the surface or running off before it can soak in. This is a common gardening puzzle, and often, the solution isn’t about watering more, but watering differently. We all want our plants to flourish, and a key to that is giving them the right amount of water at the right pace. Traditional methods can sometimes be inefficient, leading to wasted water and less-than-happy plants. But don’t worry! Today, we’re diving into the wonderful world of “slow release watering for outdoor plants.” It’s a simple yet powerful technique that will help your plants grow stronger, deeper roots and make your water bill happier too. Get ready to transform your watering routine and watch your garden thrive!
Why Slow Release Watering is a Game-Changer for Your Garden
Imagine a gentle, persistent rain that sinks deep into the soil, nourishing every bit of the root system. That’s precisely what slow release watering aims to replicate. Unlike a quick sprinkle that might only wet the surface and evaporate, slow, steady watering allows moisture to penetrate the soil deeply. This is crucial for developing strong, robust root systems that reach further down, making your plants more resilient to drought and stress. For beginners, this means less guesswork and more success!
This method is a superhero for several reasons:
- Deeper Root Growth: When water is applied slowly, roots are encouraged to grow downwards in search of moisture, creating a more stable and healthy plant.
- Water Conservation: By reducing runoff and evaporation, you use less water overall. This is fantastic for your wallet and our planet’s precious water resources.
- Reduced Disease Risk: Wet foliage can be a breeding ground for fungal diseases. Slow watering techniques often target the soil directly, keeping leaves dry.
- Improved Nutrient Uptake: Well-hydrated roots are better at absorbing essential nutrients from the soil.
- Less Soil Erosion: Gentle watering prevents the topsoil from being washed away, protecting your garden’s structure.
Whether you’re nurturing delicate flowers, robust vegetables, or thirsty shrubs, adopting slow release watering principles will make a noticeable difference in their health and vigor. It’s one of the most impactful, yet simple, adjustments you can make to your gardening practices.
Understanding the Basics: How Water Moves Through Soil
Before we get our hands dirty with different methods, let’s quickly chat about how water behaves in soil. Think of soil as a sponge. When you pour water onto it, it first fills up the big spaces (macropores) and then slowly seeps into the smaller ones. The rate at which water enters and moves through the soil depends on a few things:
- Soil Type: Sandy soils drain quickly, while clay soils hold water for longer but can become waterlogged if not managed well. Loam, a mix, is often ideal. The USDA NRCS provides excellent information on soil properties that influence water movement.
- Soil Compaction: Tightly packed soil makes it harder for water to penetrate.
- Organic Matter: Compost and other organic materials act like tiny sponges, improving the soil’s ability to absorb and retain water.
Slow release watering essentially works with these natural soil properties, ensuring that water has enough time to soak in where it’s needed most – the root zone. It’s about patience and efficiency, allowing the soil to do its job of absorbing and holding moisture.
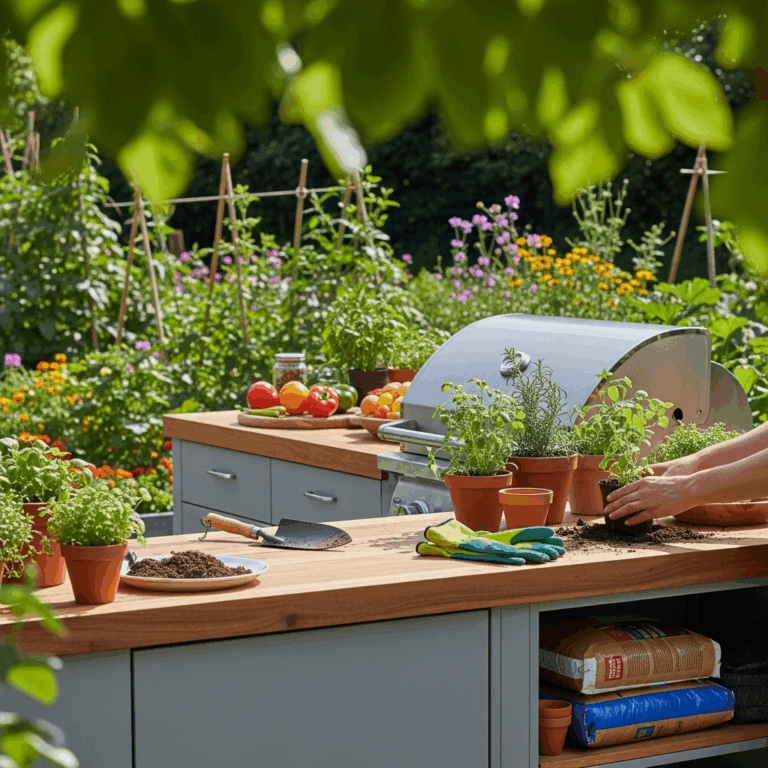
Methods for Slow Release Watering: Your Step-by-Step Guide
Now for the practical part! There are several effective ways to implement slow release watering for your outdoor plants. You can choose the method that best suits your garden size, plant types, and budget. We’ll break down some of the most popular and beginner-friendly options:
1. Drip Irrigation Systems: The Efficient Powerhouse
Drip irrigation is perhaps the most recognized method of slow release watering. It involves a network of tubes and emitters that deliver water directly to the base of each plant, drop by drop. It’s incredibly efficient and customizable.
How to set up a basic drip system:
- Choose your components: You’ll typically need a backflow preventer (to protect your home’s water supply), a pressure regulator (drip systems work at low pressure), a filter, main tubing, and drip emitters or soaker hoses.
- Connect to your faucet: Attach the backflow preventer, filter, and pressure regulator to your outdoor faucet.
- Lay out the main tubing: Run the main tubing along your garden beds or around containers.
- Add emitters or soaker hoses: Punch drip emitters near the base of each plant, or connect soaker hoses that will slowly seep water along their length.
- Connect the tubing: Use T-connectors and elbow fittings to guide the tubing where you need it.
- Test and adjust: Turn on the water slowly and check for leaks. Ensure each plant is receiving water at its base. You can water for longer periods, allowing the soil to become thoroughly moist without runoff.
Pros: Highly efficient, conserves water, reduces weed growth (as only the root zones are watered), customizable for different plant needs, can be automated with a timer.
Cons: Initial setup cost can be higher, emitters can clog if water is not filtered, requires some planning.
2. Soaker Hoses: The Simpler, Flexible Choice
Soaker hoses are made of porous material that “weeps” water along its entire length. They are a simpler, often more affordable alternative to a full drip system, perfect for garden beds and rows of plants.
Using soaker hoses effectively:
- Placement is key: Lay the soaker hose on the soil surface or slightly buried near the base of your plants. For rows, run it along the center of the row. For wider beds, you might need to snake it back and forth.
- Connect to the tap: Attach the soaker hose to a water source, preferably through a timer.
- Water slowly: Turn on the water at a low to moderate pressure. You should see water weeping from the entire length of the hose.
- Monitor soil moisture: Water until the soil is moist a few inches down. This might take longer than a traditional hose, but that’s the goal! Lift a little soil to check.
- Avoid kinks: Ensure the hose isn’t kinked, as this will stop water flow to that section.
Pros: Easy to set up and use, relatively inexpensive, good for watering long rows or garden beds, waters soil directly.
Cons: Can be less precise than emitters (waters entire length), can degrade in direct sunlight over time, may not be ideal for widely spaced plants, can be prone to kinking.
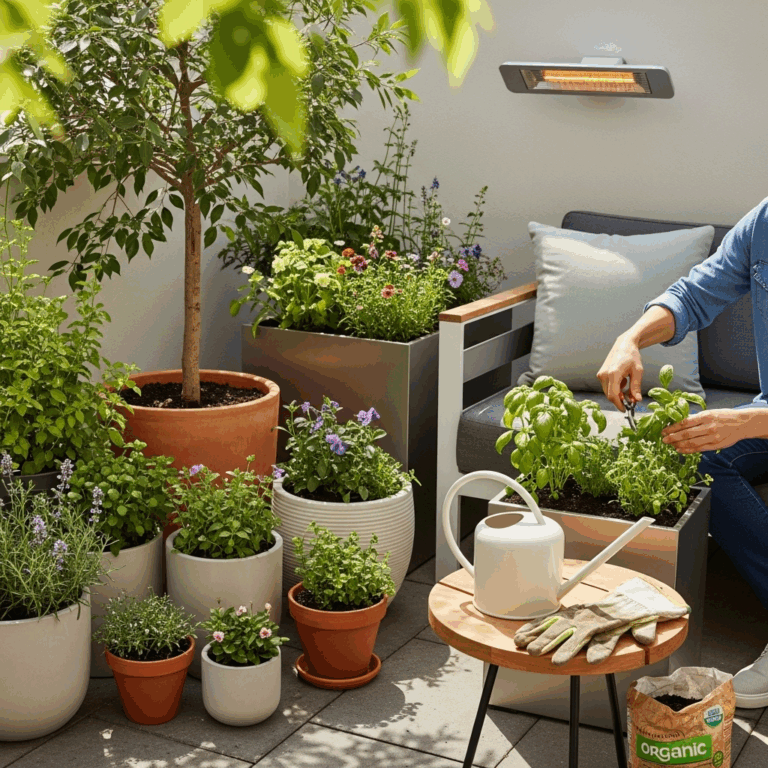
3. Hand Watering with Care: The Patient Approach
Even with a hose, you can practice slow release watering! The key is patience and technique.
How to hand water for slow release:
- Use the right nozzle: Opt for a watering wand with a gentle shower setting or a hose nozzle that allows for controlled flow. Avoid high-pressure sprayer settings.
- Water the soil, not the leaves: Aim the water directly at the base of the plant, around the root zone.
- Water slowly and deeply: Don’t just wet the surface. Move the watering wand slowly around the base of a plant, allowing water to soak in. Continue watering until the soil is moist several inches down. For larger plants, this might mean spending several minutes per plant.
- Check for runoff: If you see water pooling or running off, slow down your watering or stop for a bit to let it absorb before continuing.
- Water deeply less often: Instead of light, frequent watering, aim for deep watering less often. This encourages roots to grow deeper.
Pros: Inexpensive (if you already have a hose), allows for precise watering of individual plants, good for smaller gardens or containers.
Cons: Time-consuming, can be tiring, easy to overwater or underwater if not paying close attention, still relies on user diligence.
4. Watering Globes and Ollas: The Sub-Irigation Secrets
Watering globes and ollas (unglazed clay pots) are charming and effective tools for slow, consistent watering, especially for containers or smaller garden areas.
Using watering globes and ollas:
- For Watering Globes: Fill the globe with water, invert it, and push the spout firmly into the soil near the plant’s roots. The water will slowly release as the soil dries out.
- For Ollas: These are porous clay vessels buried in the soil, leaving just the opening exposed. You fill the olla with water, and it gradually seeps out through the clay walls directly into the surrounding soil, providing constant moisture to the roots.
Pros: Very aesthetically pleasing (especially ollas), excellent for containers or individual plants, waters at the root level, helps prevent overwatering, reduces watering frequency needed.
Cons: Globes can break easily, can be expensive for covering a large area, ollas can be fragile and need careful handling, may not provide enough water for very large or thirsty plants in hot weather.
Choosing the Right Method for Your Garden
The best slow release watering method for you depends on your specific needs. Here’s a quick guide:
| Garden Type | Recommended Slow Release Methods | Why |
|---|---|---|
| Vegetable Garden Beds (Rows) | Soaker Hoses, Drip Irrigation (with emitter lines) | Efficiently delivers water along the entire row to develop strong root systems for veggies. |
| Flower Beds (Mixed Plantings) | Drip Irrigation (with emitters), Hand Watering (carefully) | Allows for targeted watering to individual plants with varying needs. |
| Container Plants/Patios | Watering Globes, Ollas, Hand Watering (carefully) | Delivers consistent moisture to plants in pots, which dry out quickly, and prevents waterlogging. |
| Large Shrubs and Trees | Drip Irrigation (with multiple emitters at the drip line), Hand Watering (deeply and slowly) | Encourages deep root establishment, crucial for long-term health and drought tolerance. |
| New Plantings/Seedlings | Hand Watering (very gently), Drip Irrigation (low flow emitters) | Provides consistent moisture without disturbing delicate roots or washing away seeds. |
Tip: You can often combine methods! For instance, use drip irrigation for your main beds and watering globes for your potted patio plants.
When and How Often to Water
Timing is crucial for effective watering. The general rule of thumb for slow release watering is to water deeply and less frequently. This sounds counterintuitive, but it strongly encourages those deep roots.
Best Times to Water:
- Early Morning: This is generally the golden hour for watering. The cooler temperatures reduce evaporation, and plants have the entire day to absorb the moisture. It also allows any splashed foliage to dry before nightfall, minimizing disease risk.
- Late Afternoon/Early Evening: If you can’t water in the morning, late afternoon is the next best option. However, try to avoid watering right before dark, as prolonged wet foliage overnight can invite fungal problems.
Avoid: Midday watering is the least efficient due to rapid evaporation. Watering in the dark might leave plants susceptible to diseases.
How to Know When to Water:
The best indicator is your soil! Don’t water on a strict schedule. Instead, do a quick “finger test”:
- Dig in: Stick your finger about 2-3 inches into the soil near the plant’s base.
- Assess:
- If it feels dry: It’s likely time to water.
- If it feels moist: Hold off and check again in a day or two.
- If it feels wet: You’re watering too much or too often.
For new plantings, you’ll need to water more frequently until their root systems are established. As plants mature and their roots grow deeper, they’ll become more drought-tolerant.
Seasonal Adjustments for Slow Release Watering
Your plants’ water needs change with the seasons, and so should your watering habits. Slow release watering remains the principle, but the frequency and duration will adapt.
Spring:
As plants emerge from dormancy and start to grow, they’ll need consistent moisture. Focus on establishing a good root base with deep watering. Soil is often moist from spring rains, so check regularly before watering.
Summer:
This is typically the peak season for watering. High temperatures increase evaporation, and plants are actively growing and producing. Deep, slow watering becomes even more critical. You might need to water more frequently, but always check the soil first.
Autumn:
As temperatures cool and growth slows, water needs decrease. Continue to monitor soil moisture and water deeply when dry. This is an important time to hydrate plants before winter dormancy, helping them survive freezing temperatures. Watering too late into the fall can be detrimental if it leads to freeze damage in the soil around roots.
Winter:
In most climates, outdoor plants are dormant and require very little supplemental water. If you experience extended dry spells during winter and have evergreen plants, a deep watering on a mild day can be beneficial. Always ensure water can drain to prevent root freezing.
Tips for Maximizing Slow Release Watering Success
Beyond the methods, a few extra tips can help you become a slow release watering pro:
- Mulch, Mulch, Mulch! A layer of organic mulch (like wood chips, straw, or shredded bark) around your plants is a gardener’s best friend. It conserves soil moisture, suppresses weeds, regulates soil temperature, and breaks down to improve soil health. Apply a 2-3 inch layer, keeping it a little away from the plant stems.
- Improve Your Soil: Adding compost or other organic matter to your soil physically improves its structure, helping it absorb and retain water more effectively. Healthy soil is key to happy plants! The EPA offers great resources on home composting.
- Group Plants with Similar Needs: If possible, plant species with similar water requirements together. This makes it easier to provide the right amount of water to everyone without over or under-watering others.
- Consider Your Microclimate: Areas in full sun, windy spots, or near heat-reflecting surfaces will dry out faster. Pay attention to these zones and adjust watering as needed.
- Install a Timer: For drip systems or soaker hoses, an automatic timer can take the guesswork out of watering frequency and duration, ensuring consistency.
Frequently Asked Questions About Slow Release Watering
Q1: How long should I water with a slow release method?
A1: It varies depending on your soil, plant type, and weather. For deep watering, aim for 20-30 minutes with drip irrigation or soaker hoses at a low setting, or longer if hand watering. The goal is to get water at least 6-8 inches deep into the soil. Always check by digging a little.
Q2: Will slow release watering work in sandy soil?
A2: Yes! Sandy soil drains very quickly. Slow release methods are perfect because they give the water time to soak in before it can drain away. You might still need to water a bit more frequently than in clay soil, but the water applied will be used more effectively.
Q3: Can I use slow release watering for my vegetable garden?
A3: Absolutely! It’s highly recommended for vegetable gardens. Consistent, deep watering leads to healthier plants, better fruit development, and can help prevent issues like blossom end rot in tomatoes.
Q4: I’m worried about overwatering. Can slow release methods still cause problems?
A4: While slow release methods are much less likely to overwater than quick sprinklers, it’s still possible. The key is to only water